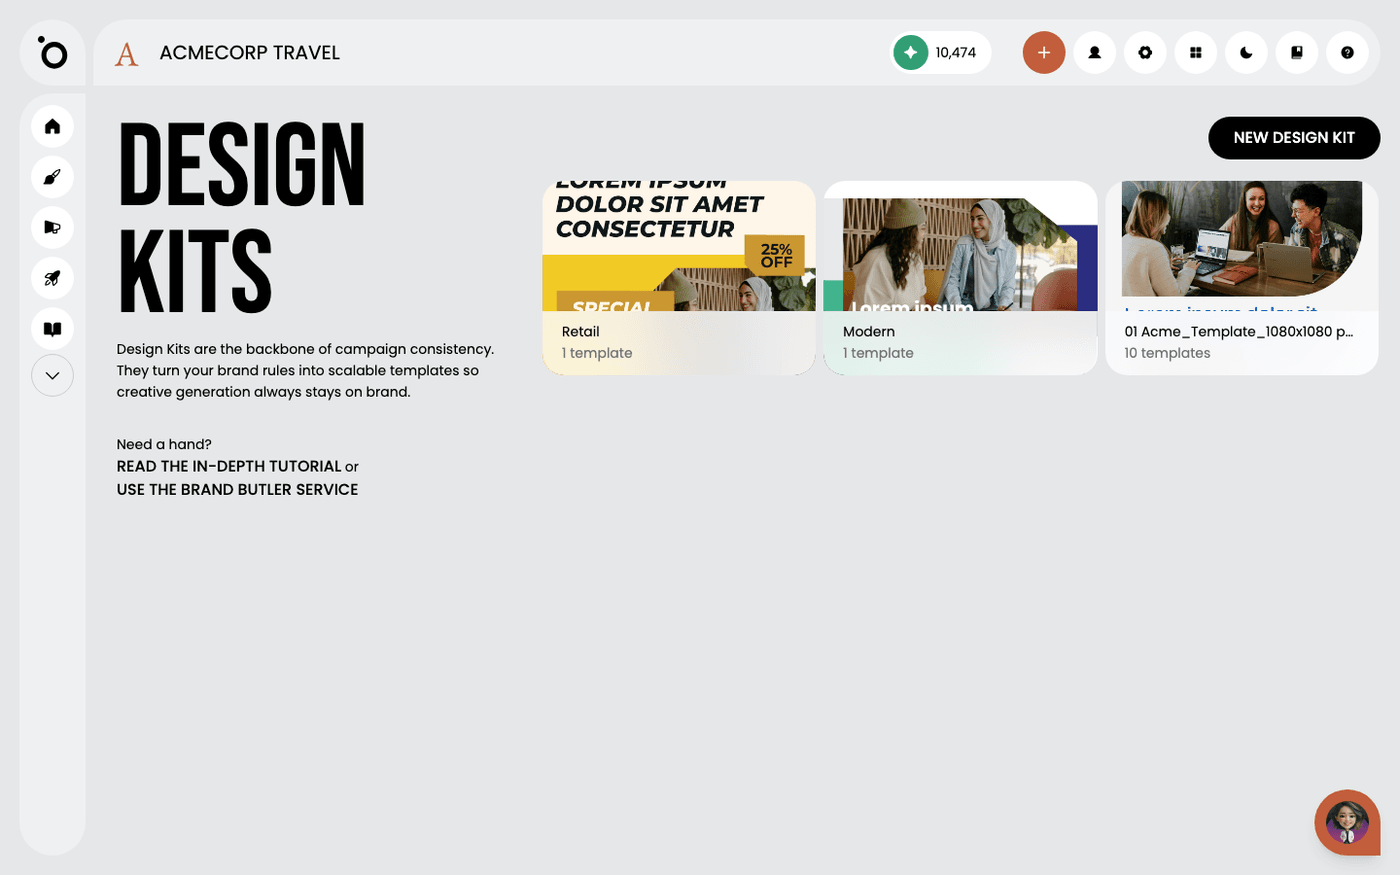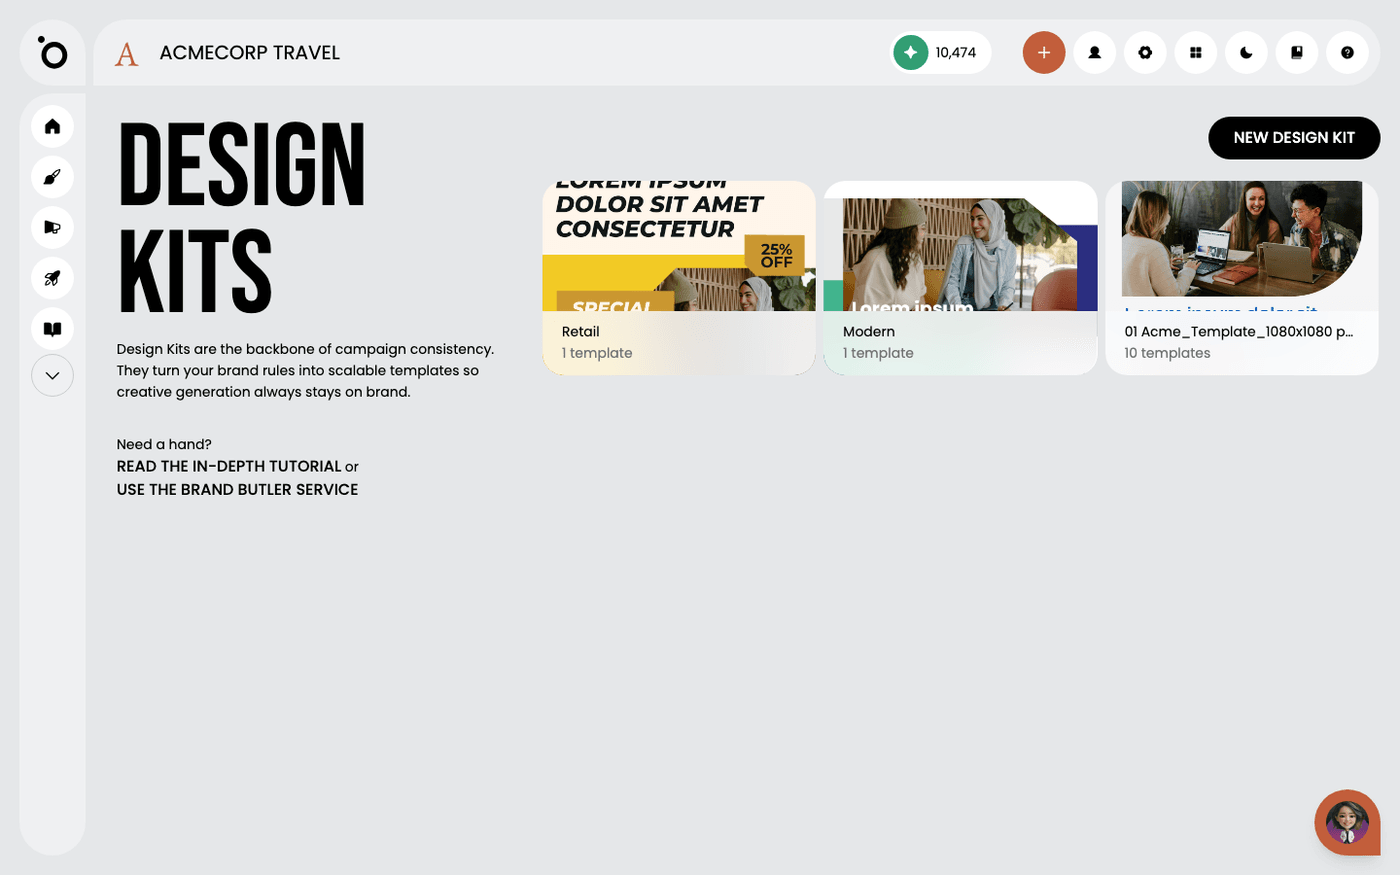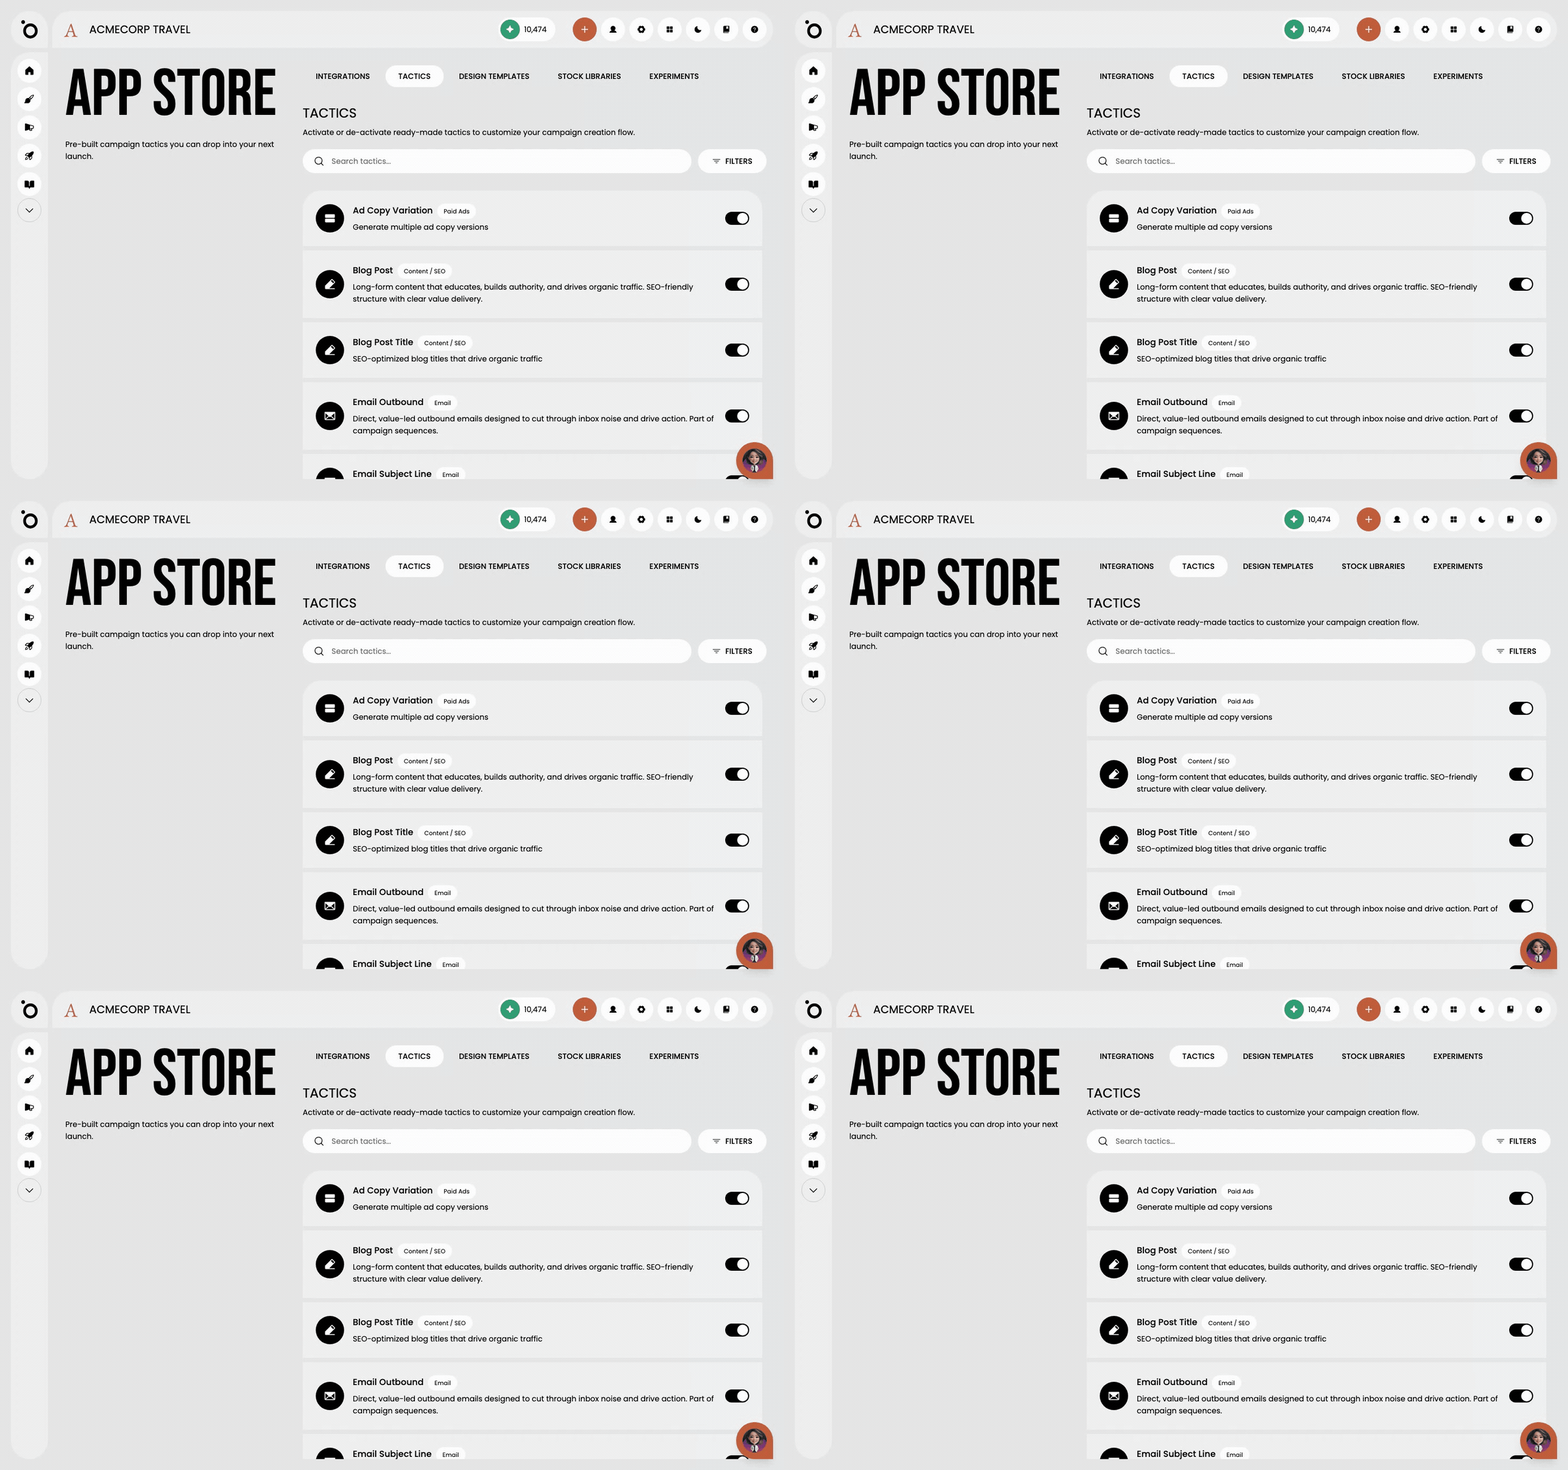
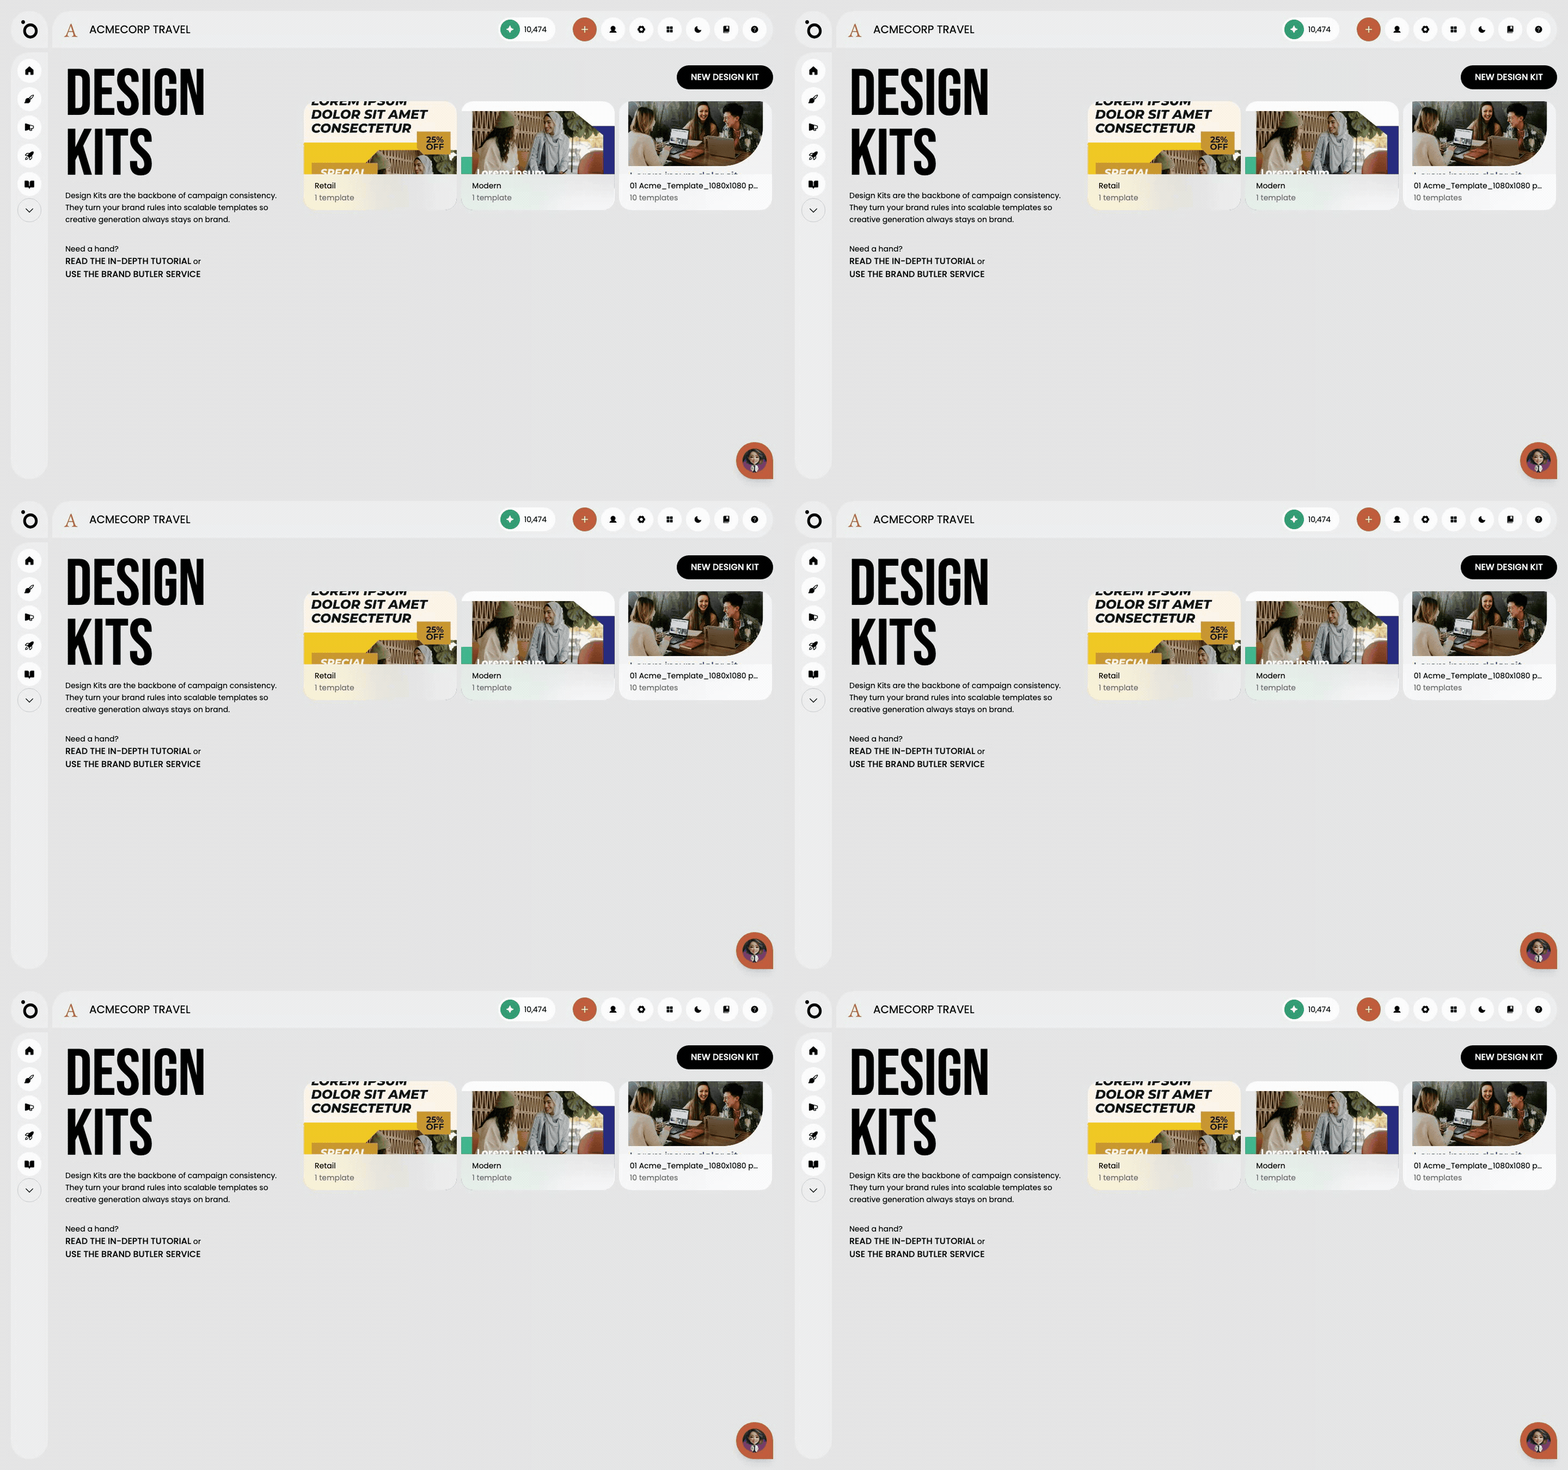
In short: App Store → Design Templates tab → Add. Then Brand DNA → Design Kits → open the kit → edit the parent → Clone design template for each format.
A design kit is a set of templates that Protaigé fills with your content. Building one from a blank canvas is slow. The Template Store has ready-made kits. You add one to your Brand DNA and make it your own.
A kit has one parent design and child formats cloned from it. Read Design Kits 101 first if that is new to you. This page takes about seven minutes.
Open the store
There are two ways in. Open the App Store and choose the Design Templates tab to see the full grid. Or open Brand DNA, then Design Kits, press New design kit and choose TEMPLATE STORE. Both go to the same place.
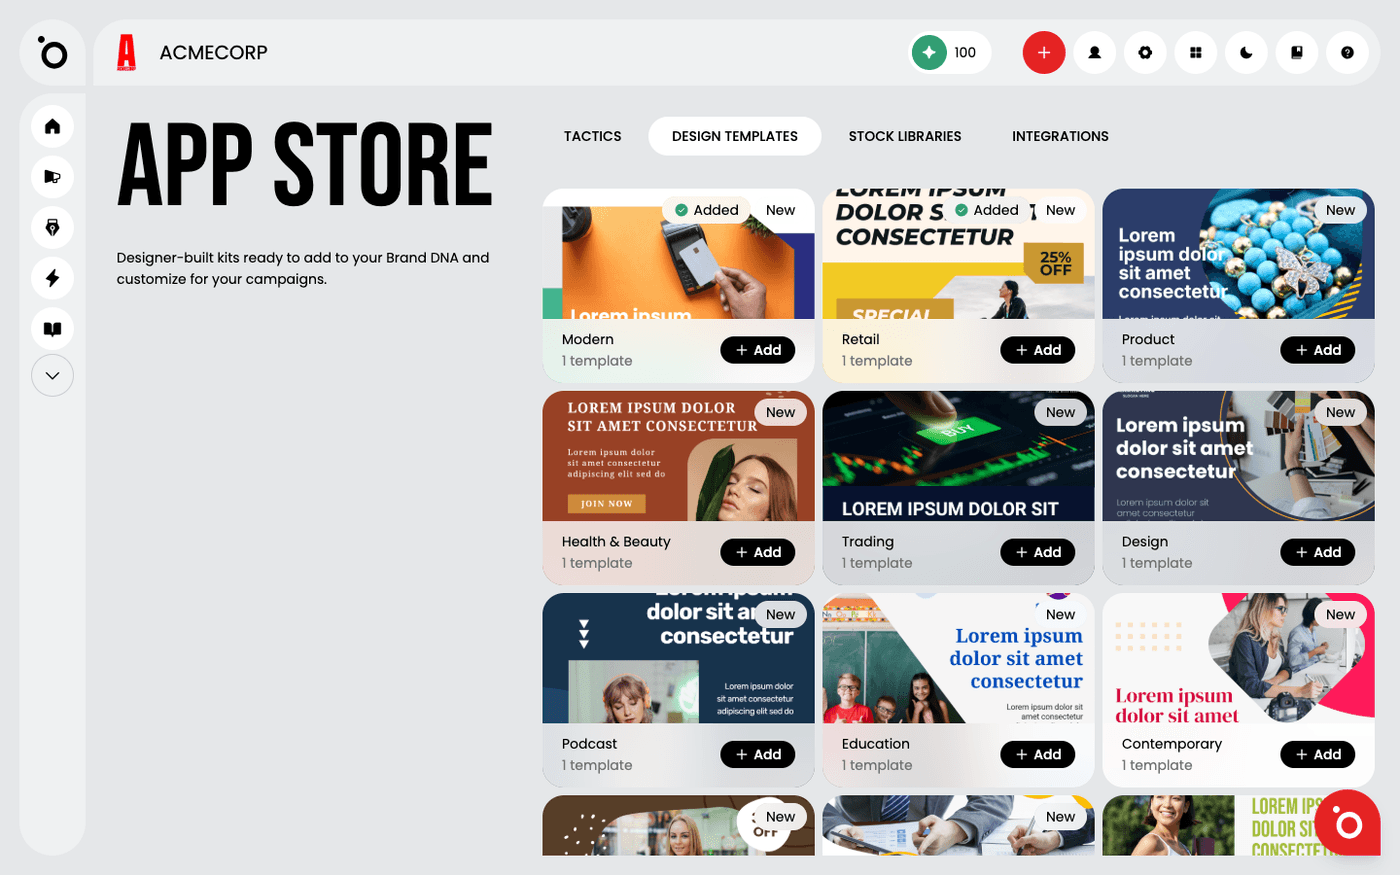
Or reach it from your Design Kits
If you have no kits yet, the Design Kits page shows a row called Start with a template. Click a kit there to preview it, or press Explore Template Store to see them all.
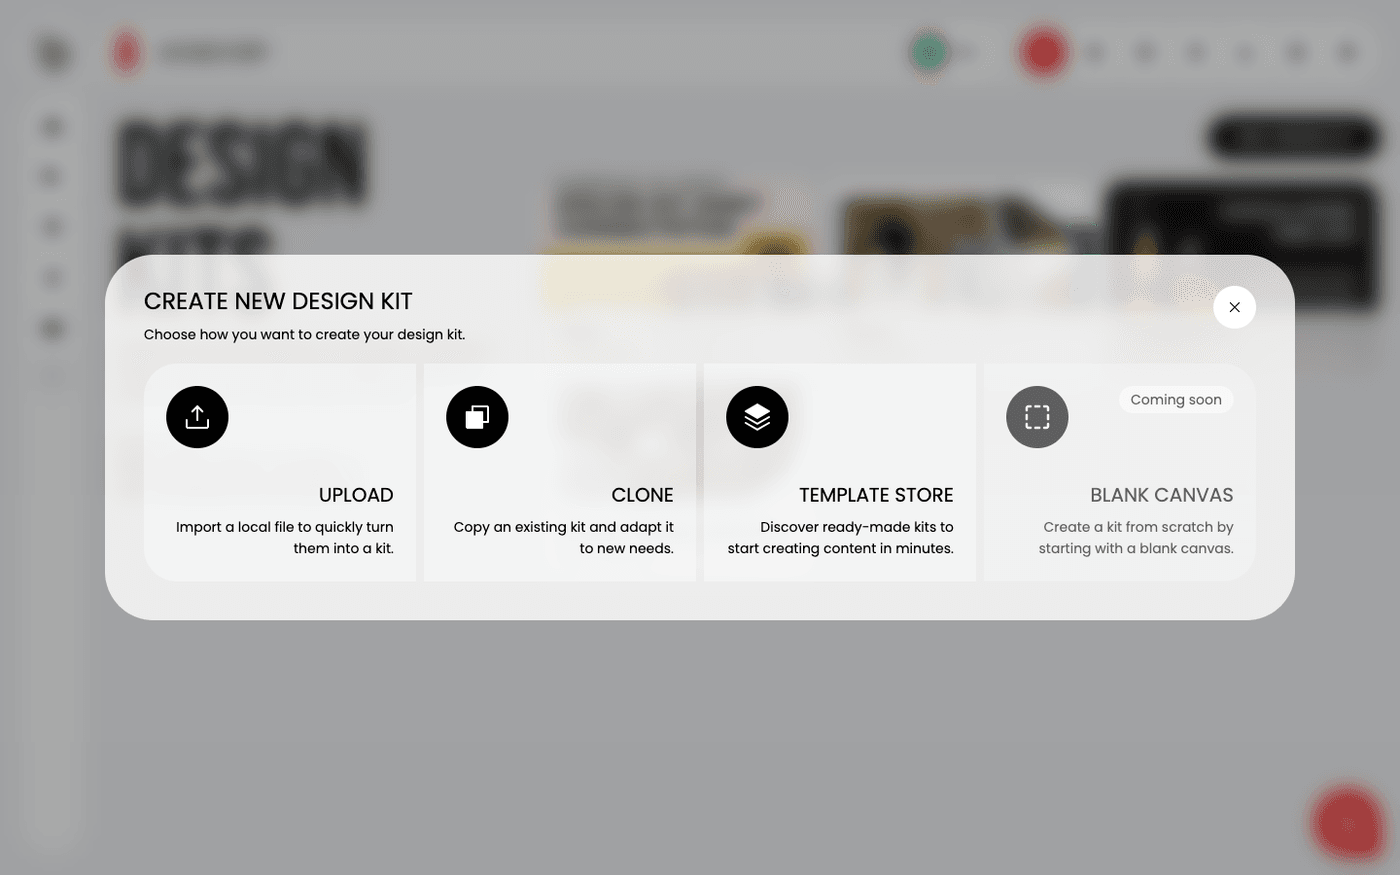
Browse and add one
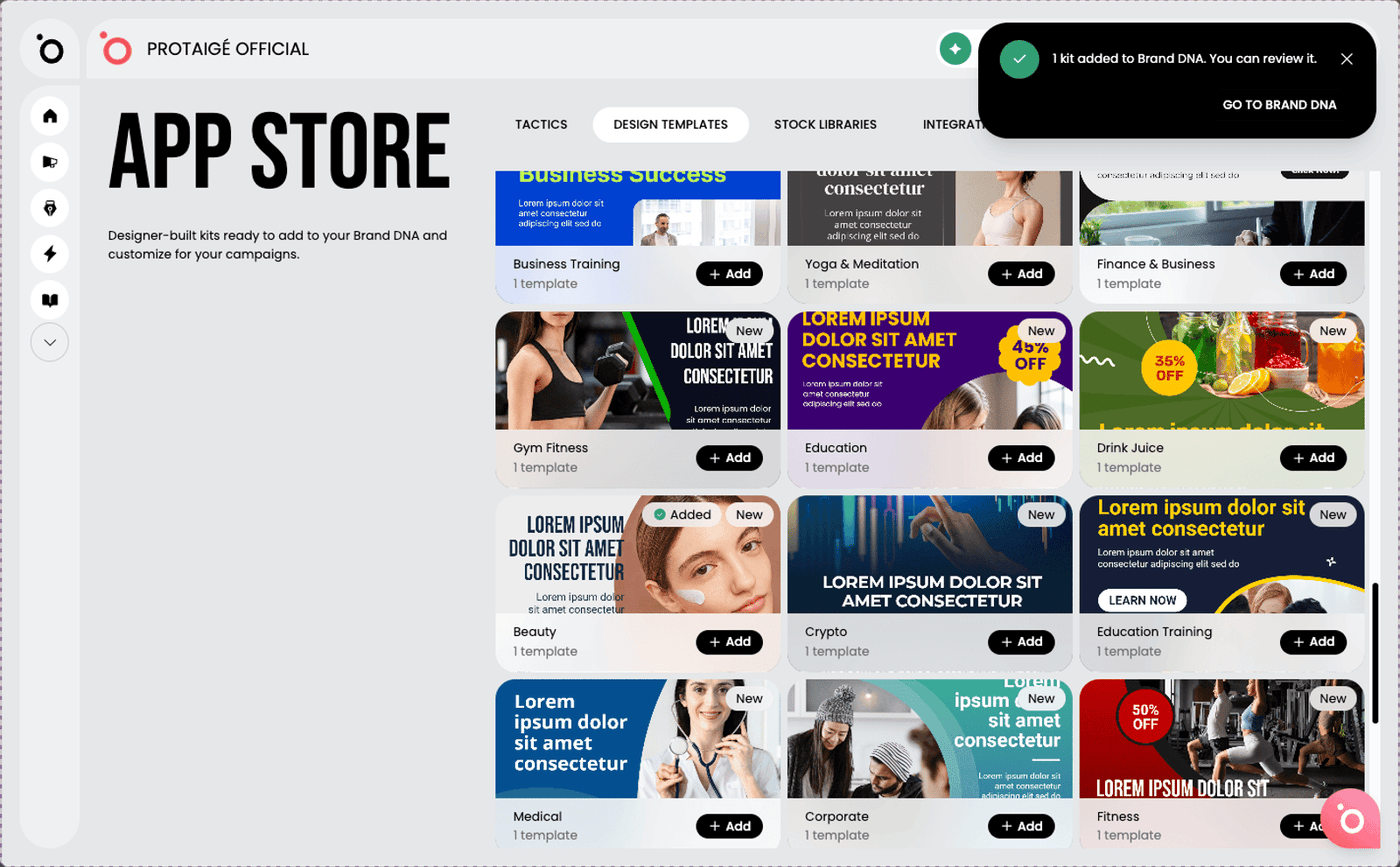
Click a kit to preview what is inside. When you find one you want, press Add on the card, or Add to Brand DNA in the preview. To add several at once, tick their boxes and press Add to Brand DNA at the bottom. Added kits appear in your Design Kits.
Customise the parent
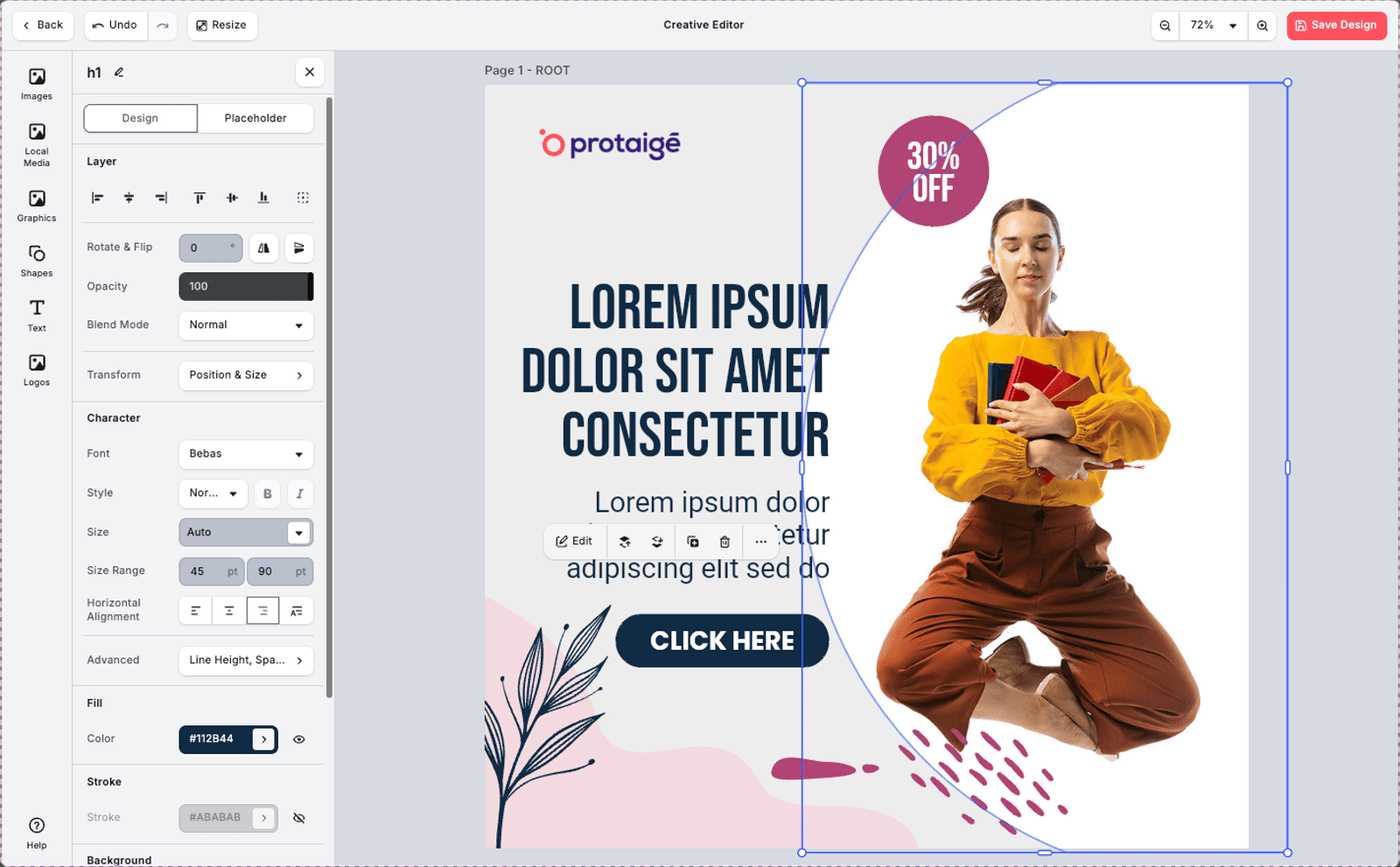
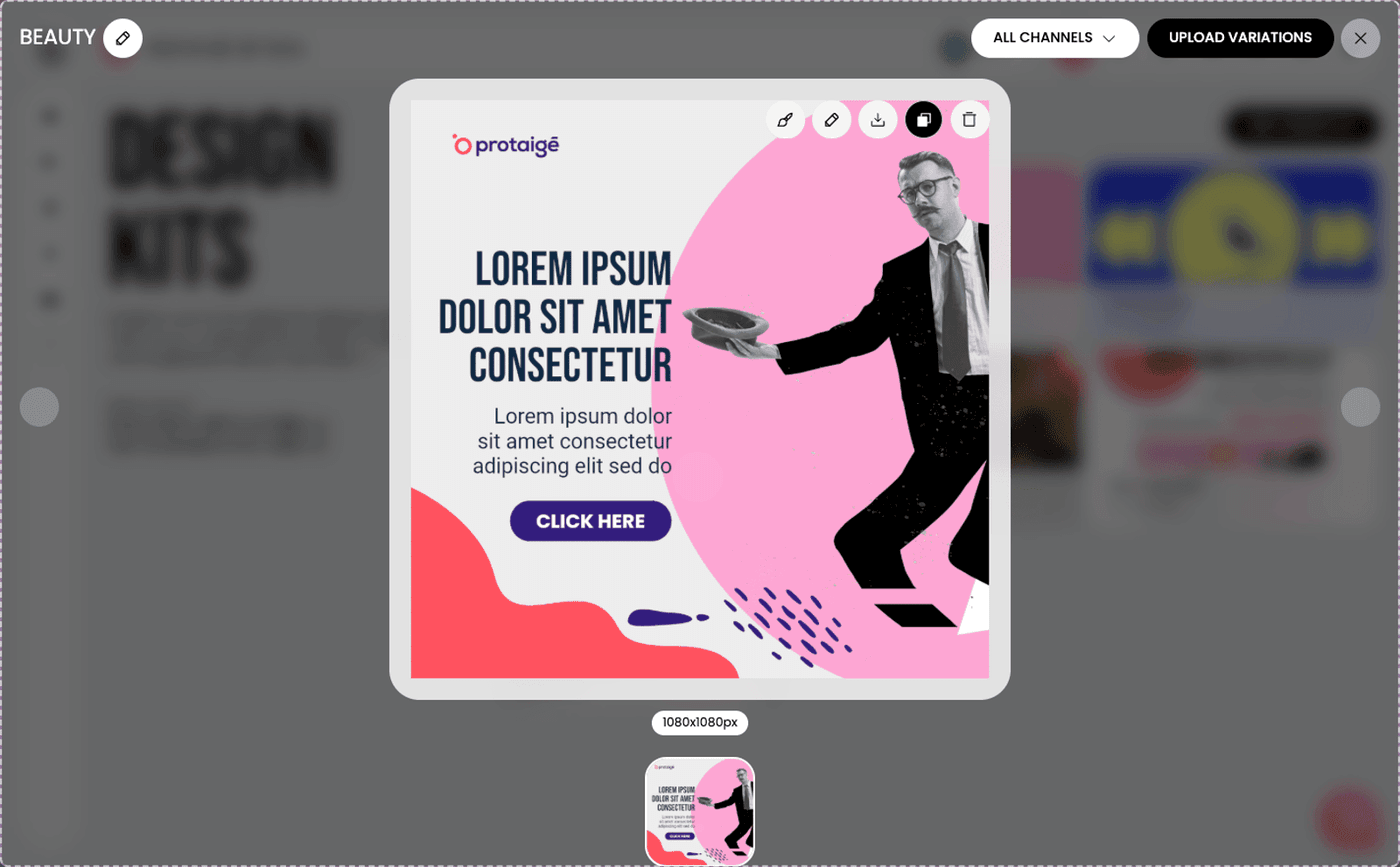
Open the kit, then open its parent design. Press Edit design in visual editor. Swap the images, set your copy, and adjust colours and layout. The parent is the source of truth, so do the real design work here.
Clone it into another format
When the parent looks right, press Clone design template. The clone starts as an exact copy, so you adapt it rather than start again.
Resize the clone
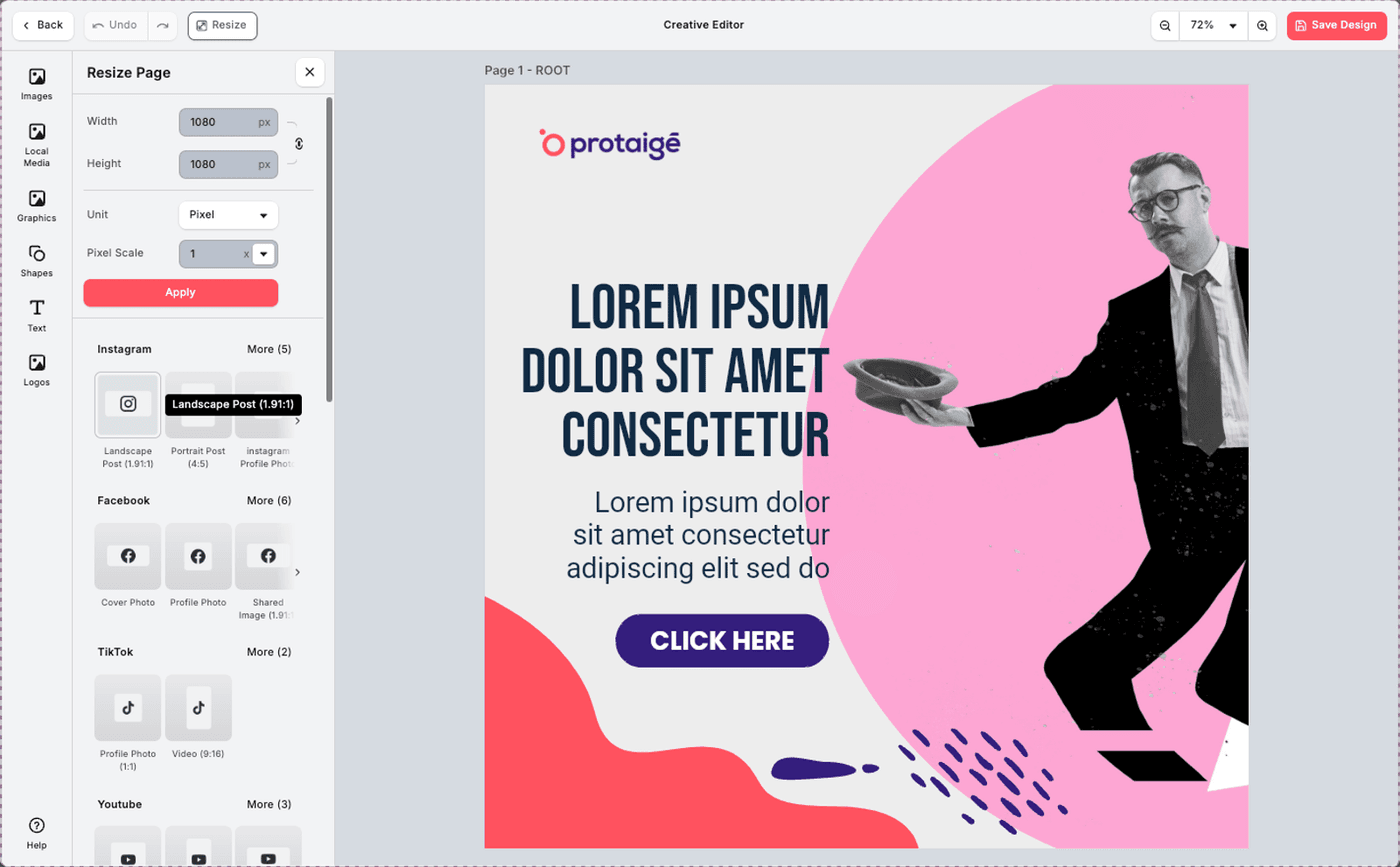
Open the clone in the editor. Change the page size to the format you need, then move things until they sit right. Save your changes.
Label it
Press Edit design settings. Choose the Design Types this format is for, so the kit knows what each format does. Set as parent marks which design is the parent.
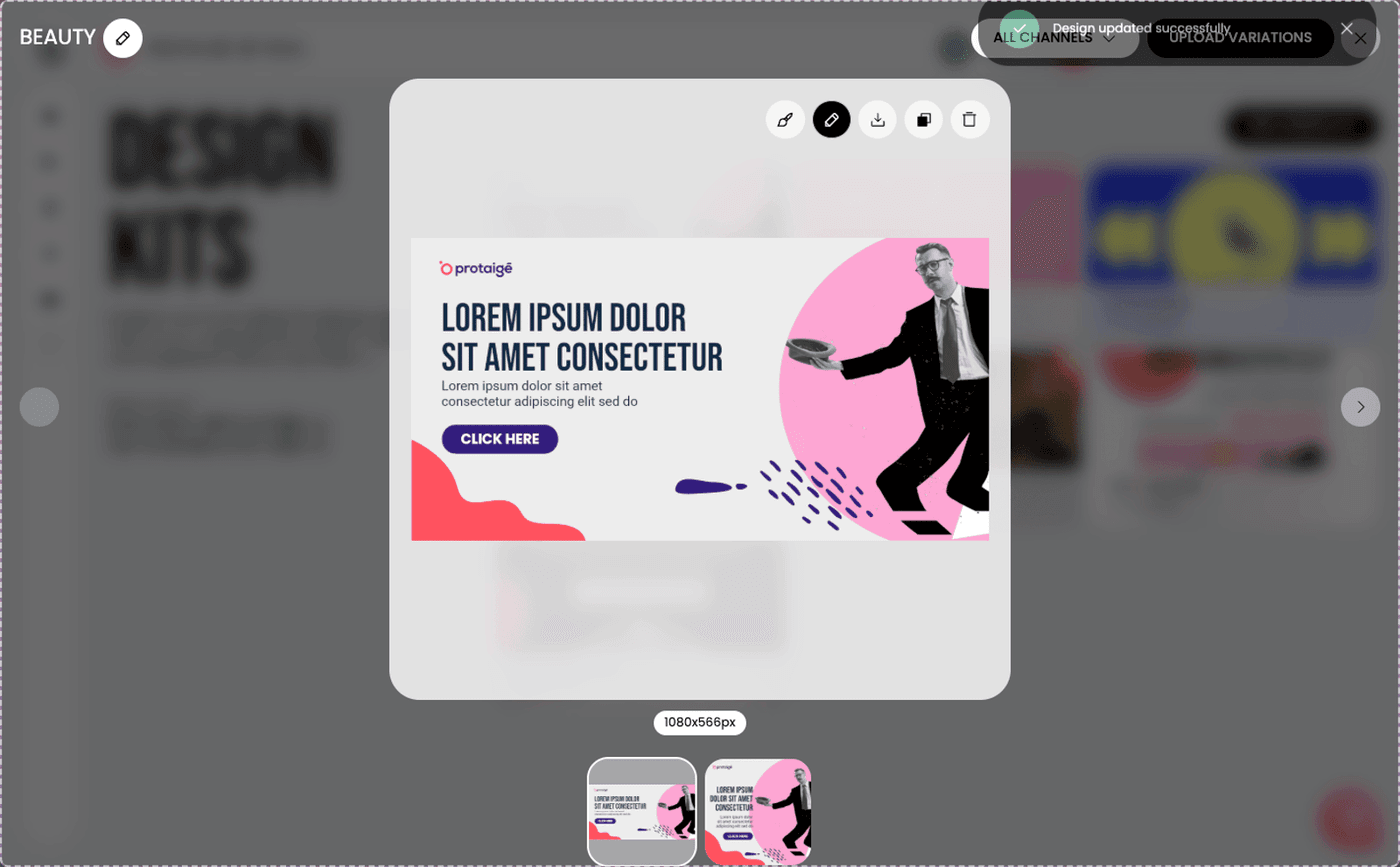
Keep cloning, resizing and labelling until you have every format your campaigns need. The result is a complete kit you can use in any campaign.
Last updated 12 August 2026