
What you'll learn
Upload, manage and tag photos
Series
2.09
Section
Photo DNA
Last Updated
May 28, 2026 1:29 AM
Status
Live
TL;DR: Upload your brand photos, check the AI-generated tags, and they’ll be instantly available in the visual editor.
Before you jump into building layouts, you’ll want your brand imagery exactly where you need it. Photo DNA section lets you upload, preview, and manage your brand’s photography in one central place — complete with instant tagging and AI-powered metadata.
Every photo you upload here becomes instantly available inside the visual editor, ready to drag and drop into your layouts, banners, and creative assets.
Use this guide to build a well-organised photo library that keeps your campaigns on-brand and visually consistent from the start.
Further Reading
Teach Protaigé your visual style
Brand DNA: Your brand's home base
A step-by-step guide

Navigate to the PHOTOS section.

Click inside the upload area to start adding fresh new imagery to your library.

Navigate to your local folder and drag your photos into the upload area.

Preview your photos, then proceed to start uploading to the Asset Library.

Click a photo thumbnail to manage or view details for that brand asset.

Our AI instantly creates tags and metadata—simply scroll through the details panel to explore this rich information.

Download your selected image here.

Remove unwanted images by clicking Delete.
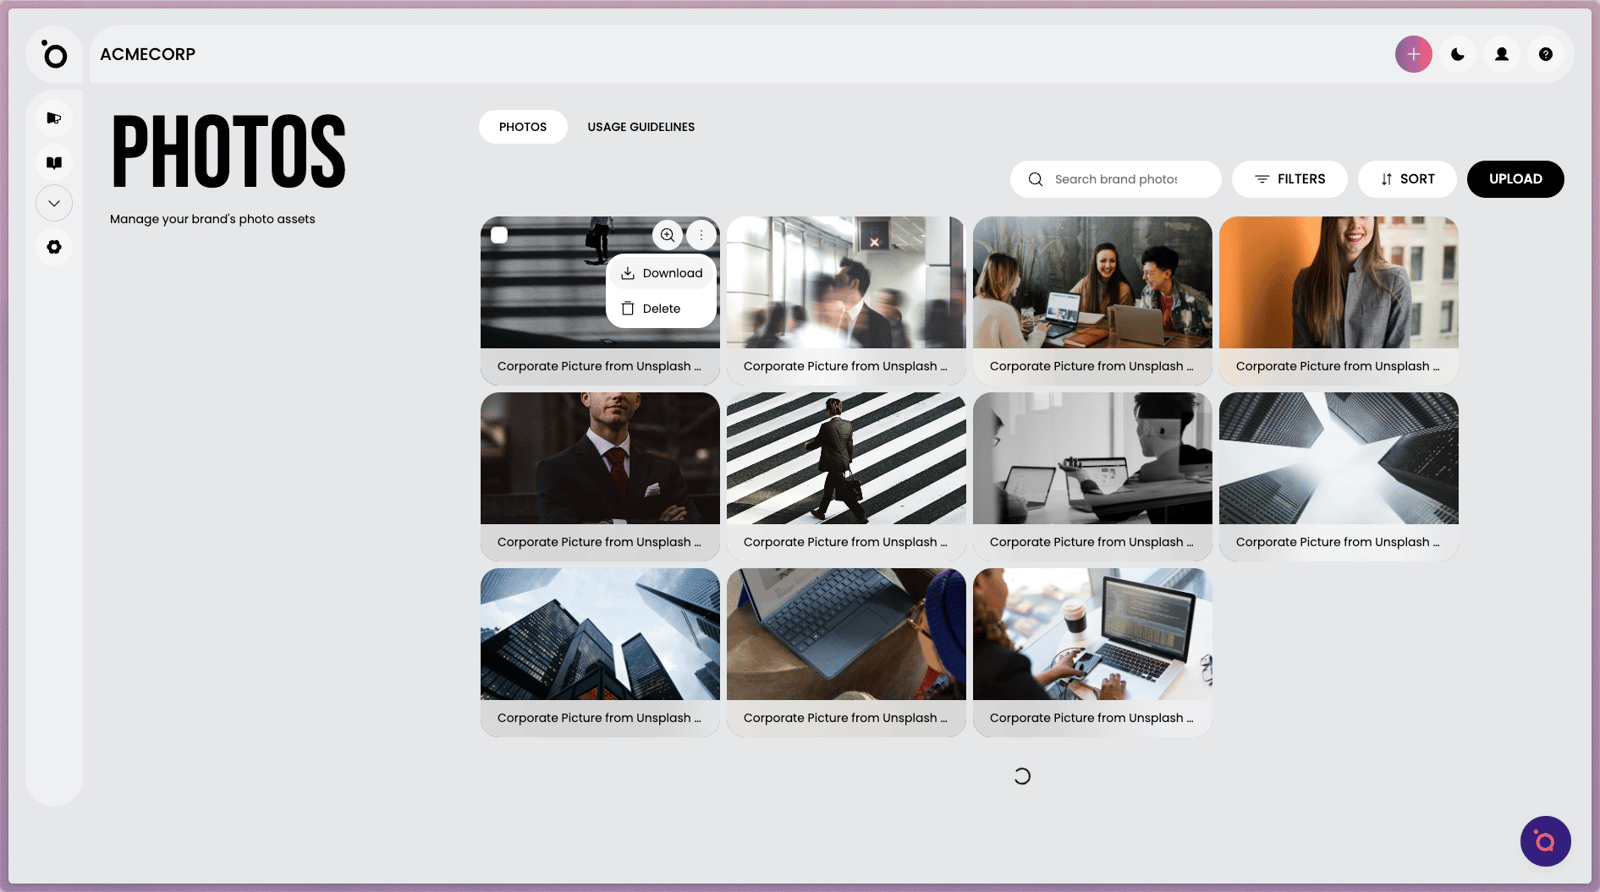
Access quick actions by selecting the options icon.

Tap the Filters button to quickly narrow down your photo selection.
