
What you'll learn
How to import your local psd files.
Series
3.3
Section
Brand DNA
Last Updated
May 28, 2026 1:30 AM
Status
Live
TL;DR: Batch upload your PSD files to create organised design kits, then designate a parent asset and tag channels to ensure design updates cascade correctly and surface for the right campaigns.

1. Access the Design Templates section to manage, view, or edit available design assets.

2. Clicking the upload icon.

3. Navigate to your local folder and select your files. Batch uploads will be organised as a single kit.

4. Confirm the upload.

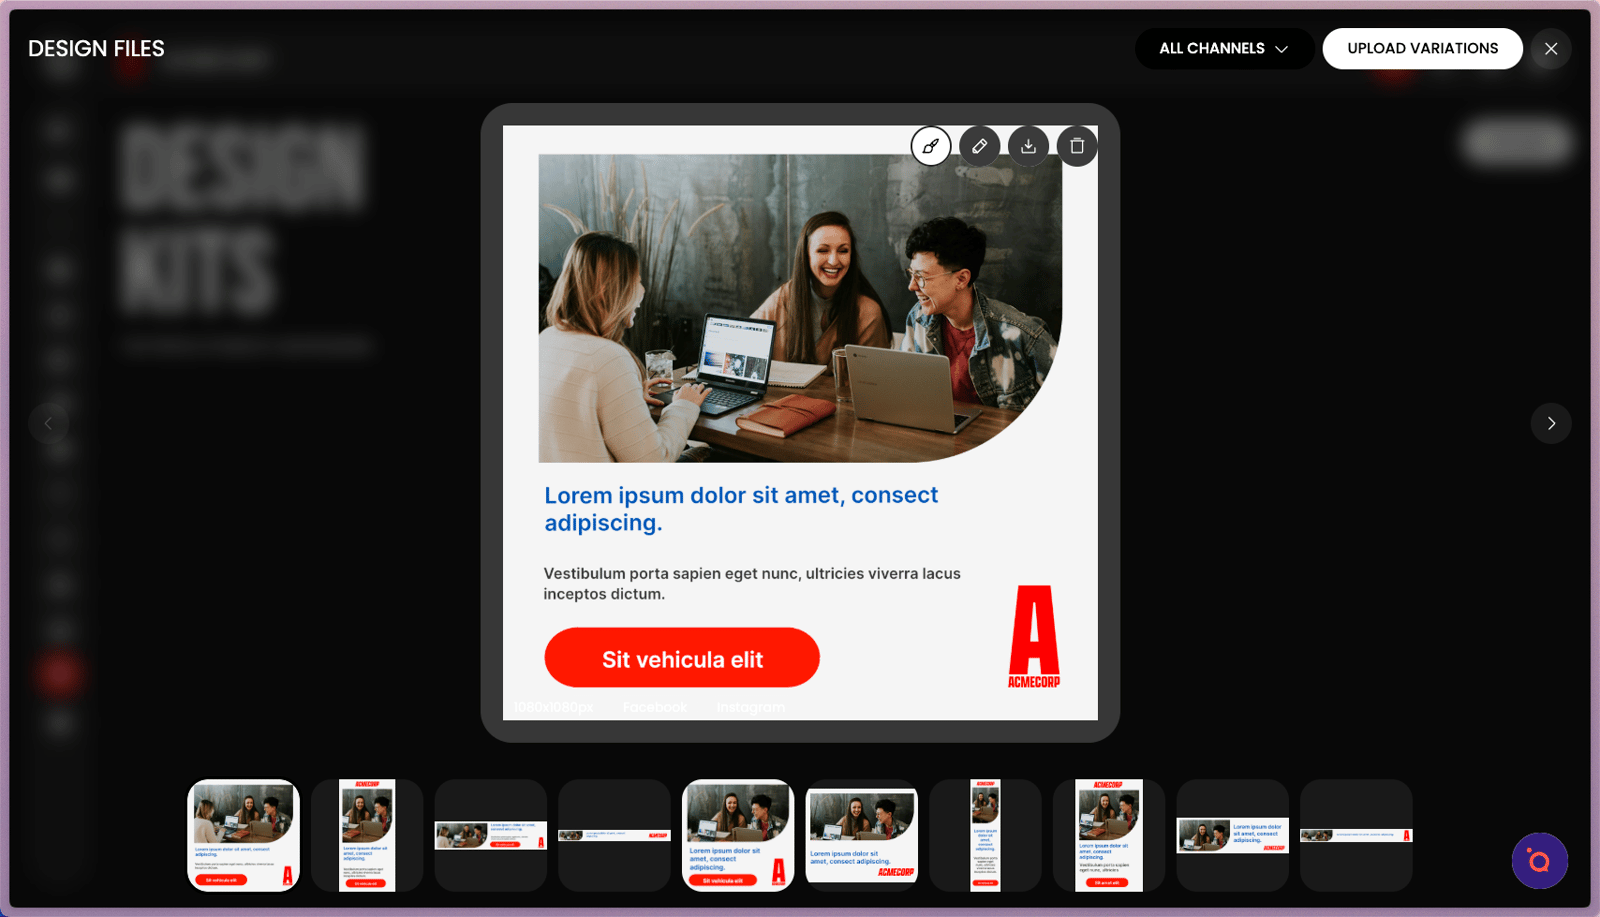
5. Select the primary visual asset to establish it as the parent. Updates made to this layout will automatically cascade through all related layouts in your kit.

6. Define each asset by channel to instantly filter content during campaign setup.
By tagging PSDs with the correct channel, the system can filter and surface the right formats downstream when you generate campaigns.

7. When you're done, clicking UPLOAD FILES to start the import process.

8. Once your files have been uploaded, they'll automatically be organised into a kit. Click the thumbnail to explore the group.
⚡ Troubleshooting Common Issues
Problem | Quick Fix |
Images Not Editable | Ensure the layer is named image and uses a shape mask. |
Text Breaking the Layout | Verify that text bounding boxes are appropriately sized to accommodate varying text lengths. Adjust auto-resize settings if necessary. |
Font Not Displaying Correctly | Confirm that all template fonts are uploaded to Brand DNA → Fonts. Missing fonts will default to a fallback, potentially disrupting the design. |
Missing Layers After Import | Check for hidden or locked layers in the PSD before importing. Only visible and unlocked layers are processed. |
Elements Shifting After Import | Ensure all elements are aligned to grids or guides in Photoshop. Misalignment can cause shifts during import. |
Background Imported as Image | Replace image-based backgrounds with shape layers filled with the desired colour. This allows for easier edits and maintains design flexibility. |
Image Swapping Issues | Confirm that images intended for swapping are placed within shape masks, not clipping masks or flattened layers. Test by swapping images to ensure they fit correctly within the designated area. |
Low-Resolution Image Alerts | Use high-quality images to prevent low-DPI warnings. We can handle images up to 4096x4096 pixels during editing, but higher resolutions can be used during export. |
Text Too Close to Edges | Adjust text boxes to ensure content doesn't sit too close to bleed or safety lines, preventing potential cropping issues during printing. |
Browser Compatibility Issues | We supports modern browsers. Ensure you're using the latest version of a supported browser. |
