
Select quality images from autopic, brand library or stock to match your concept
TL;DR
Use AutoPic, your brand library, stock search or upload → Add favourites to your Lightbox → Preview and refine them in layout → Apply across your campaign.

Your Hero Image is the visual anchor of your campaign. It’s the first thing your audience sees and the strongest cue for your campaign’s tone, message, and emotion. Every layout, banner, and creative asset in your campaign draws direction from this image.
A well-chosen hero image connects your approved concept and hero copy, turning the campaign’s story into something people can instantly feel. It’s not just decoration — it’s the visual embodiment of your big idea.
Protaigé gives you multiple ways to find the perfect hero image. You can browse your brand library, use stock sources, upload campaign photography, or let AutoPic, our intelligent image recommender, retrieve images for you.
Your shortlisted images are added to your Lightbox, where you can review and refine your choices. When you’re ready, your chosen hero image is automatically placed into the key visual in the next stage, allowing you to see how it looks in layout before the asset is rolled out across the campaign.
How AutoPic Works
AutoPic is our intelligent image search assistant. It scans your Brand Library and connected stock image sources to recommend visuals that capture the essence of your campaign — not just the words in your copy.
Behind the scenes, AutoPic reads your campaign’s headline, body copy, and strategy context to understand the story you are telling. It then translates your marketing message into visual ideas, searching for scenes, subjects, and moods that express the same emotion and intent.
Instead of matching literal keywords, AutoPic looks for imagery that represents what your campaign feels like.
Each image shortlist is generated automatically and refreshed every time you update your concept or hero copy, ensuring the recommendations always align with your campaign’s story and target audience.
A step-by-step guide

1. Access the Hero Image section to begin selecting your campaign’s primary image.

2. AutoPic is our intelligent image recommender that shortlists suitable images from your brand and stock libraries.

3. Your Brand Library is accessible from this tab.

4. Stock search is also available.

5. Connected libraries are in this dropdown.

6. Click GO TO APP STORE to manage stock image library settings or add new sources.

7. Stock libraries can be toggled on or off.

8. This is the stock library Image ID if you need to download the file directly.

9. If you have campaign images ready, upload them in this tab.

10. Add your images from your local library using drag and drop.

11. Check this to begin curating your perfect shortlist.

12. Your shortlisted images will be saved in this Lightbox.

13. Remove unwanted images from your selection with the delete icon.

14. Next, Build Key Visual to view your images in layout.

16. Your preferred images will be dynamically placed in the image placeholder. Select the image to replace it.

17. Use the Replace button to swap out the current image in your design.

18. Your image selection and libraries will be visible in this side panel.

19. Brand library images are in this section.

20. Uploaded campaign images are here.

21. This is your Lightbox.

22. Stock search is also available within the editor.

23. Select the new image to preview in layout.

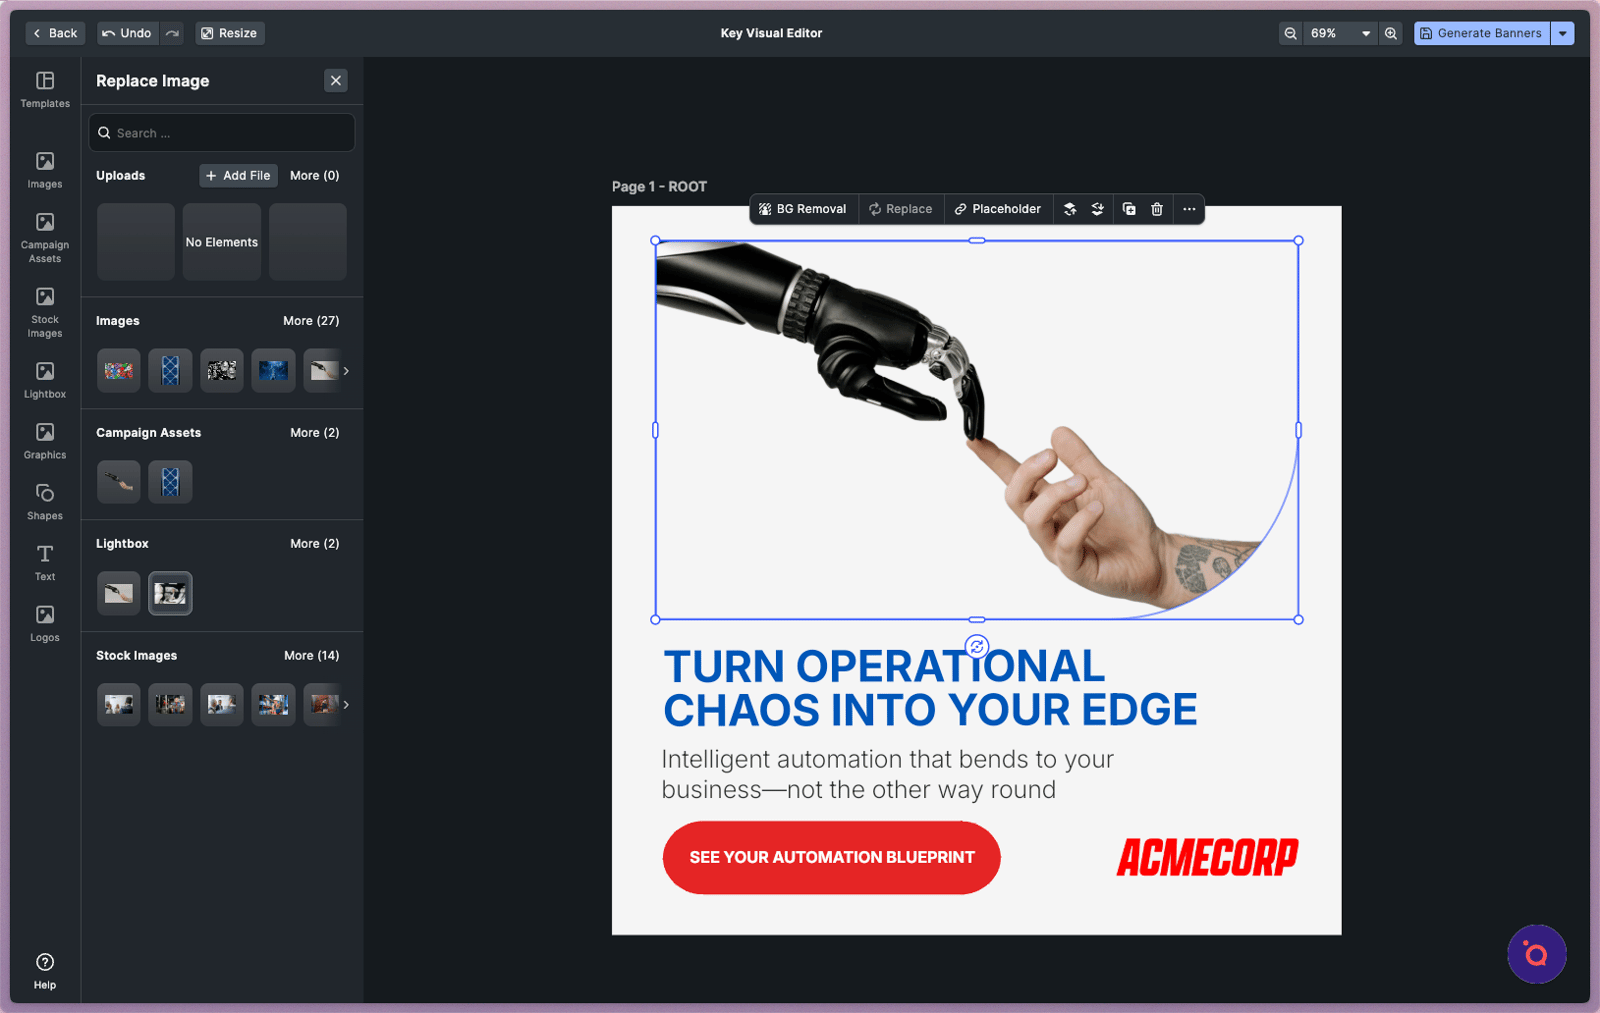
24. Explore other image editing tools like Background Removal.

26. Filters and other image adjustments are in this panel.

27. Try different filters and effects to make your hero image pop.

28. Click and drag the image to adjust its composition and placement.

29. Other image modes like scale, fit and rotate are available here.

30. When you've completed your edits, click Generate Banners to apply the changes to all the assets in the Design Kit.

31. Or, choose Save if you’d like to finish this task at a later time.

32. Saved Drafts are stored in the Assets tab, within the Draft button.
