
What you'll learn
Quick interface tour, using menus, brand selector and search
Series
1.2
Section
Overview
Last Updated
Feb 4, 2026 8:46 PM
Status
Live
Welcome to Protaigé Beta. This overview will help you find your way around the platform and understand how the main sections connect. You’ll learn where to manage your brand, build campaigns, track assets, and access your creative tools — everything you need to move from setup to launch.
A step-by-step guide
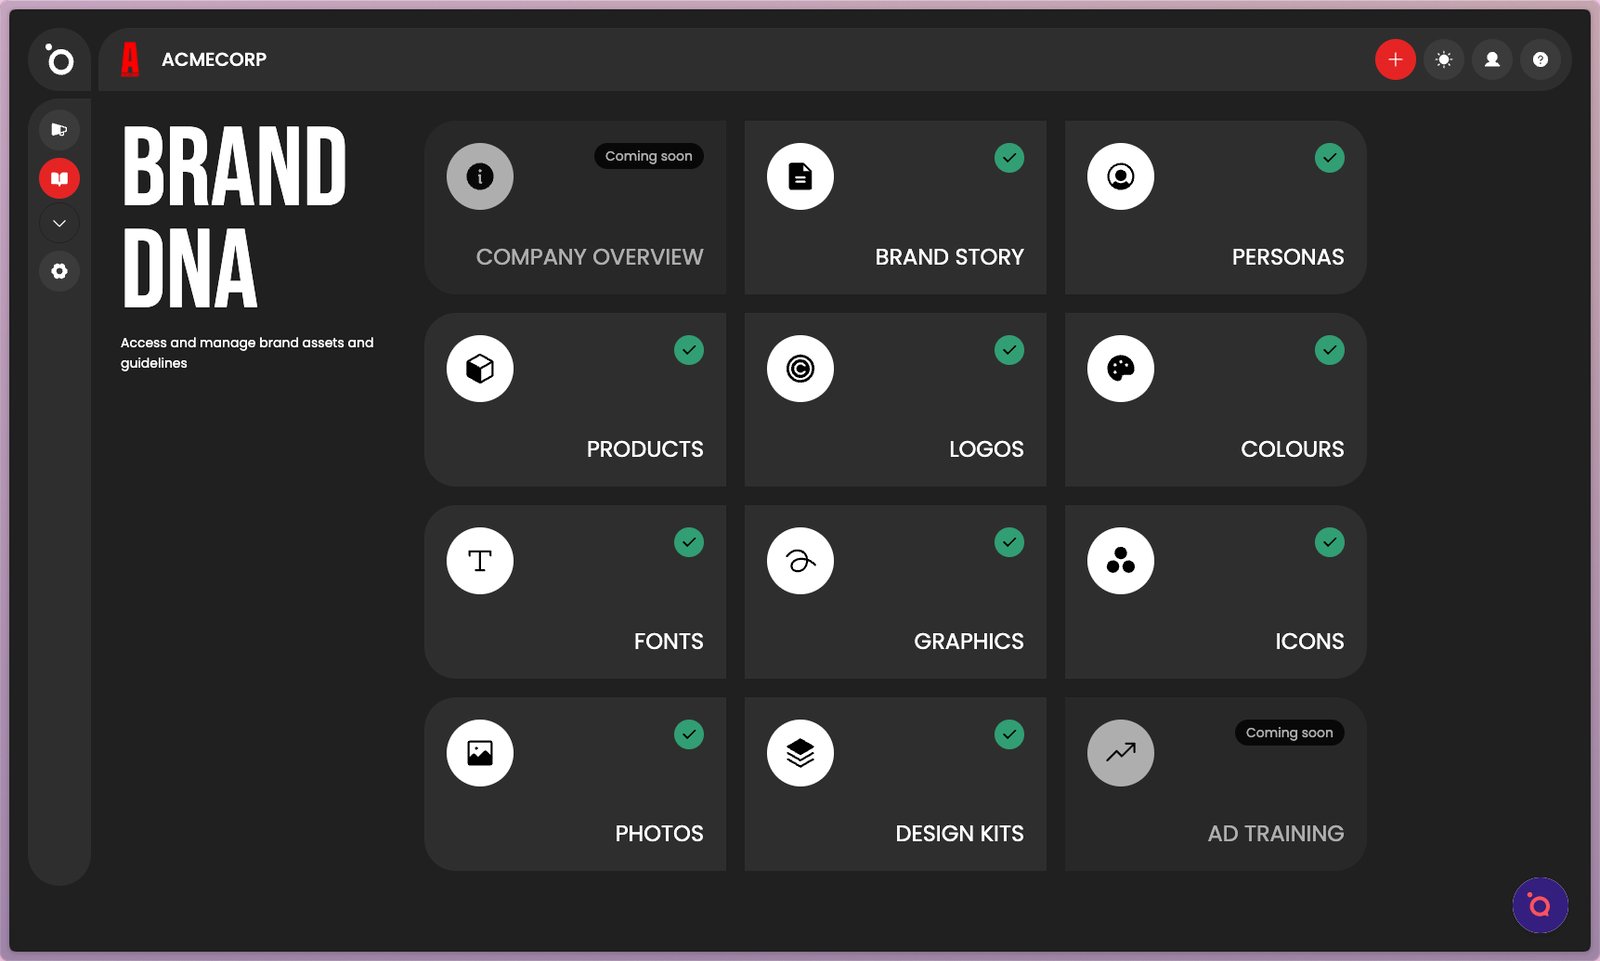
1. This is the home of your brand identity. It is where you store and manage everything that defines how your brand looks, sounds, and feels across every campaign.
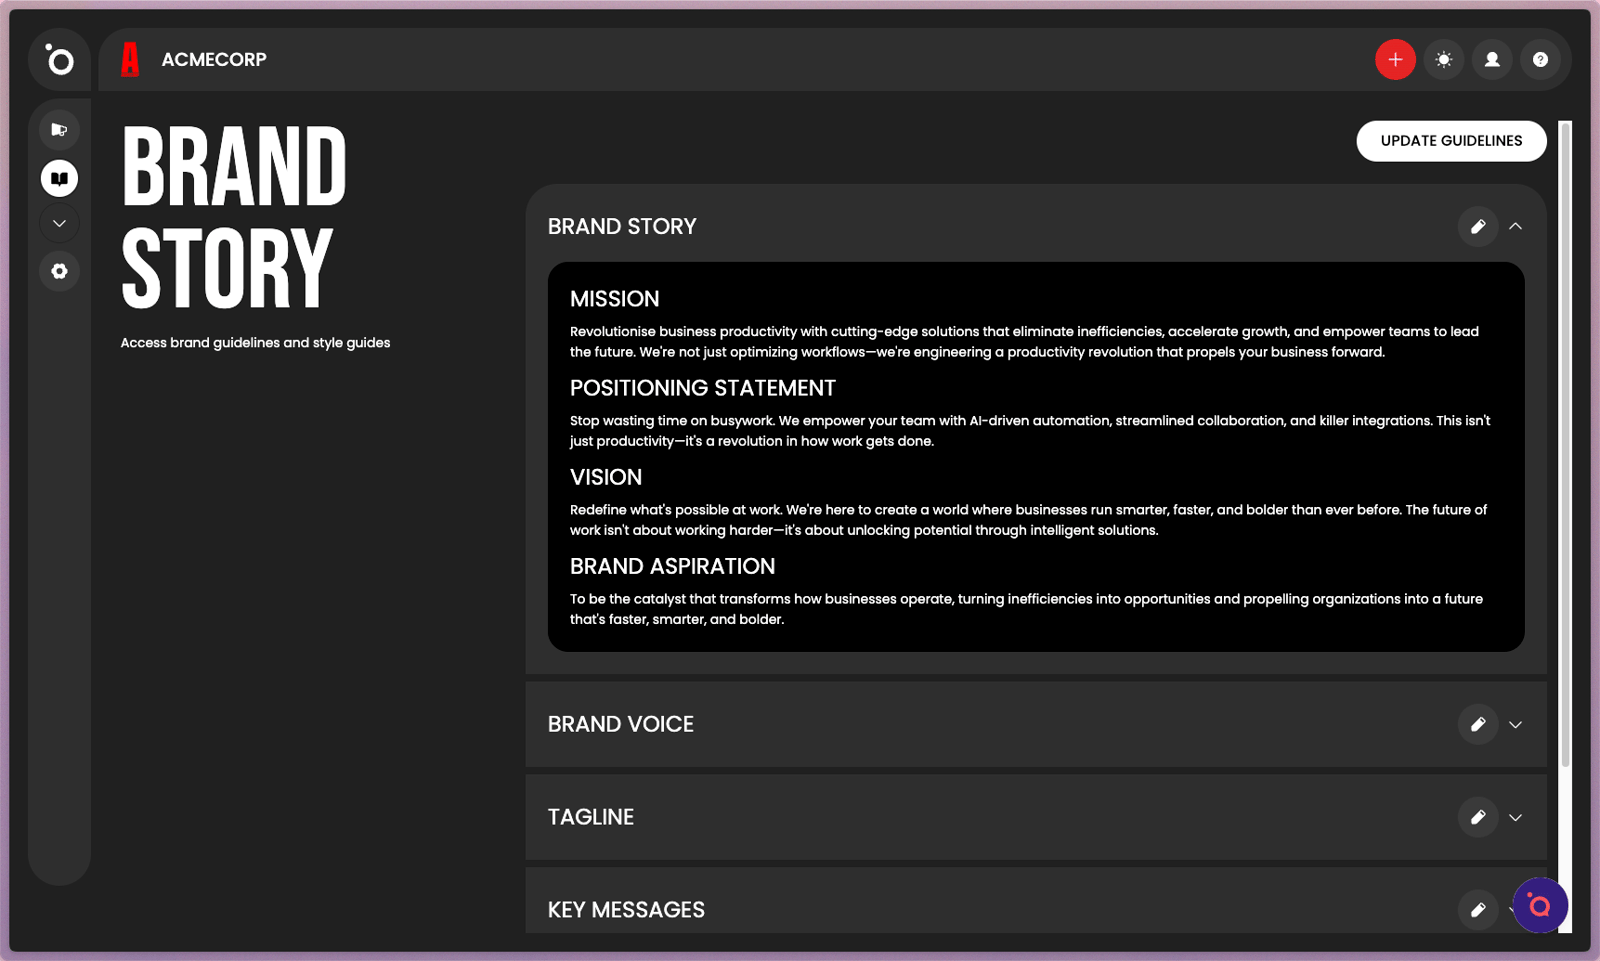
2. Brand Story is your narrative foundation. Add your mission statement, vision, and tone of voice so your campaigns always reflect what your brand stands for.
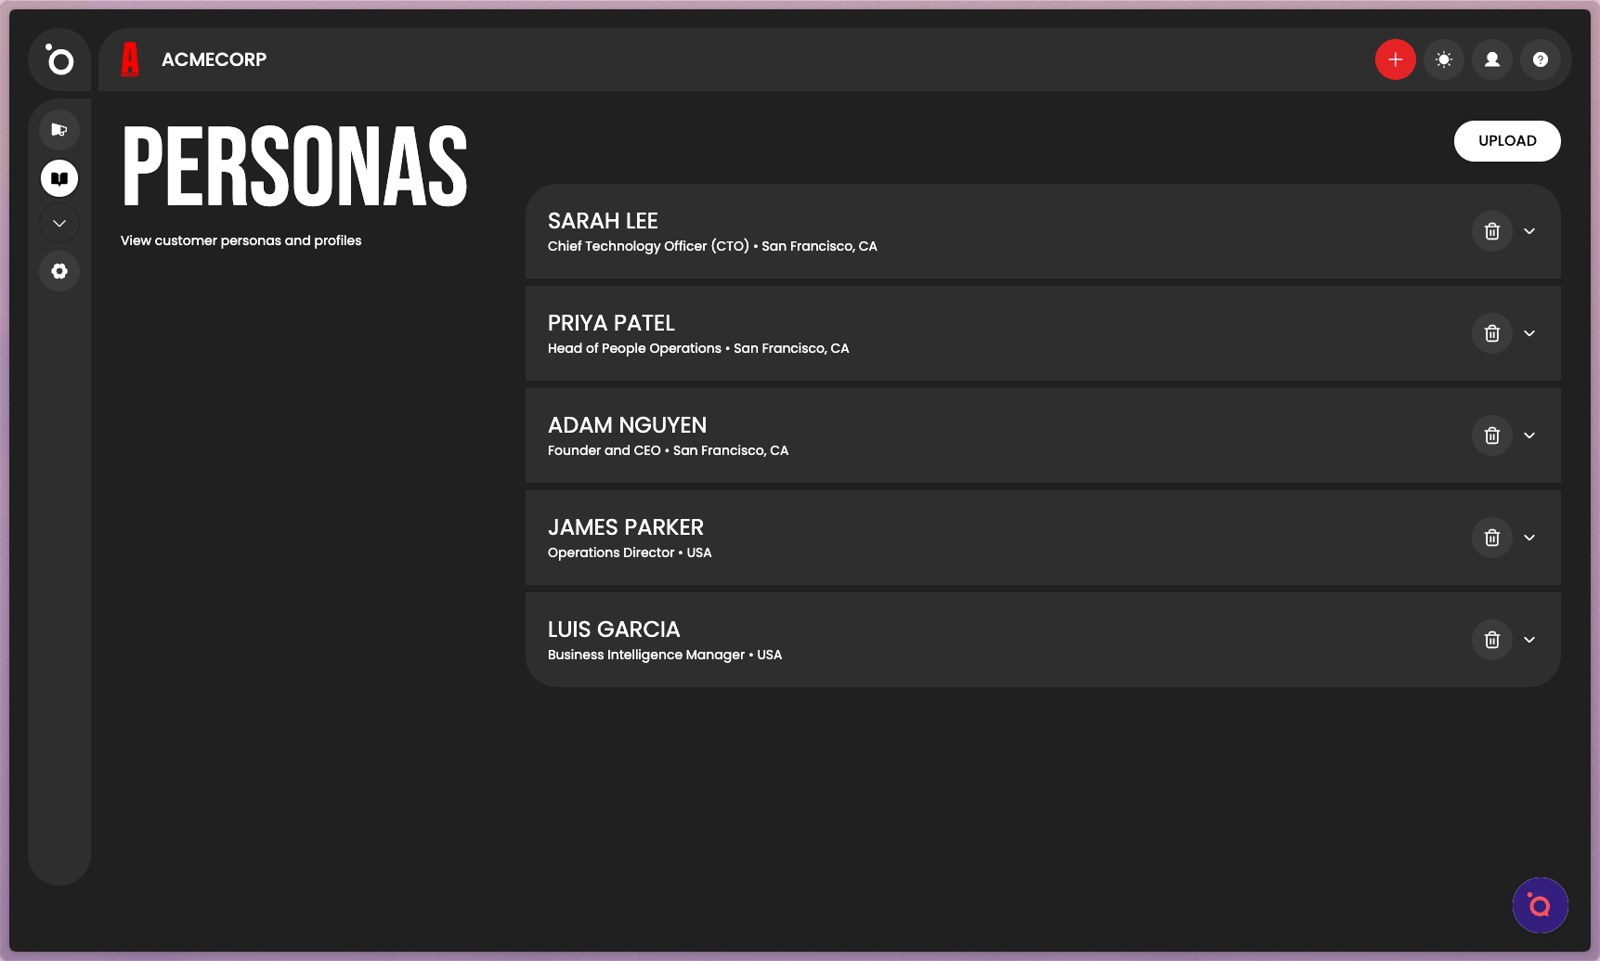
3. Define your audience segments here. Include goals, challenges, and motivations so your AI agents can target the right people with the right message.
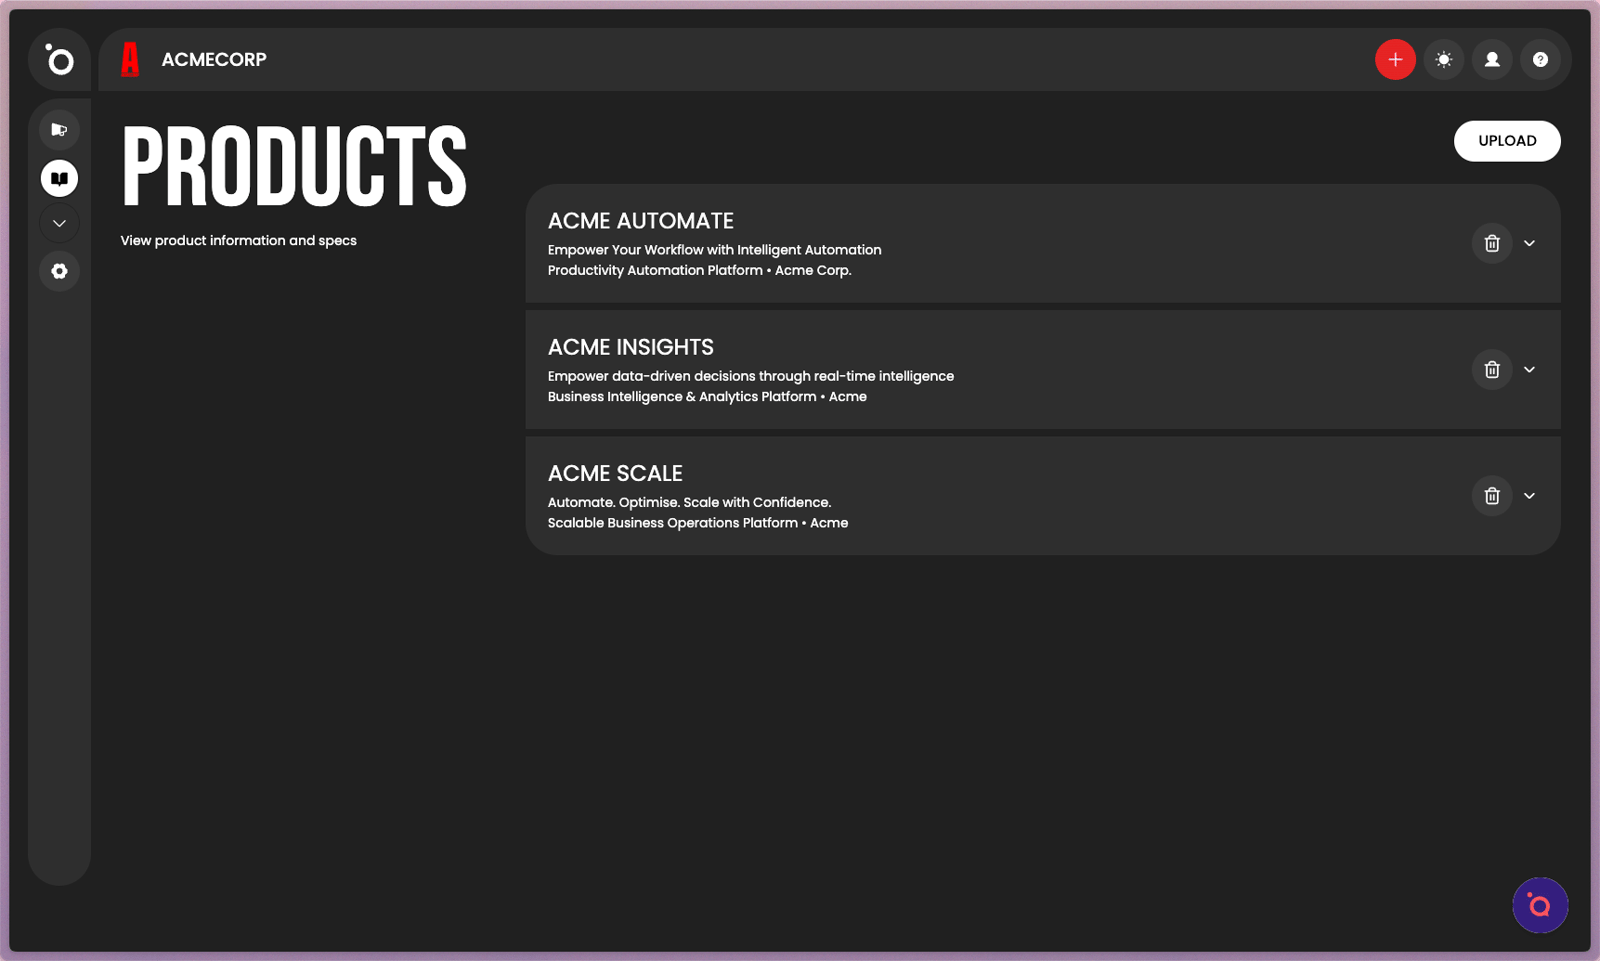
4. List your products or services with descriptions, features, and value propositions. Our AI agents reference these when creating campaign strategy or copy.
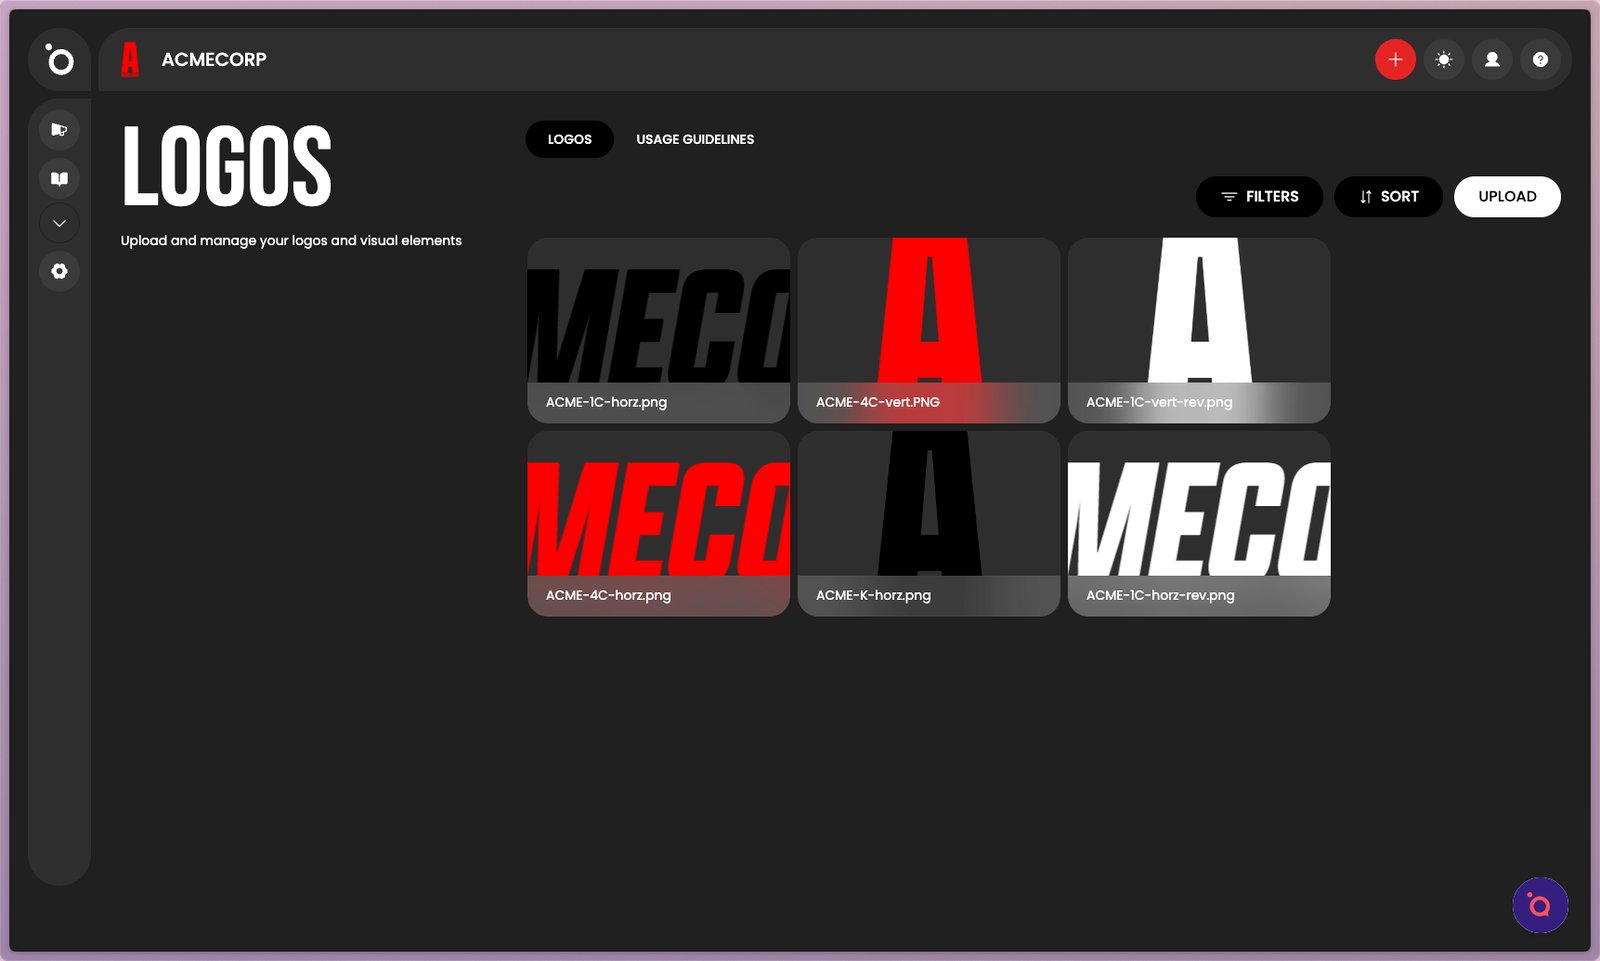
5. Upload all logo versions including horizontal, vertical, and icon formats. These will be accessible in the creative editor. Usage Guidelines can also be documented here.
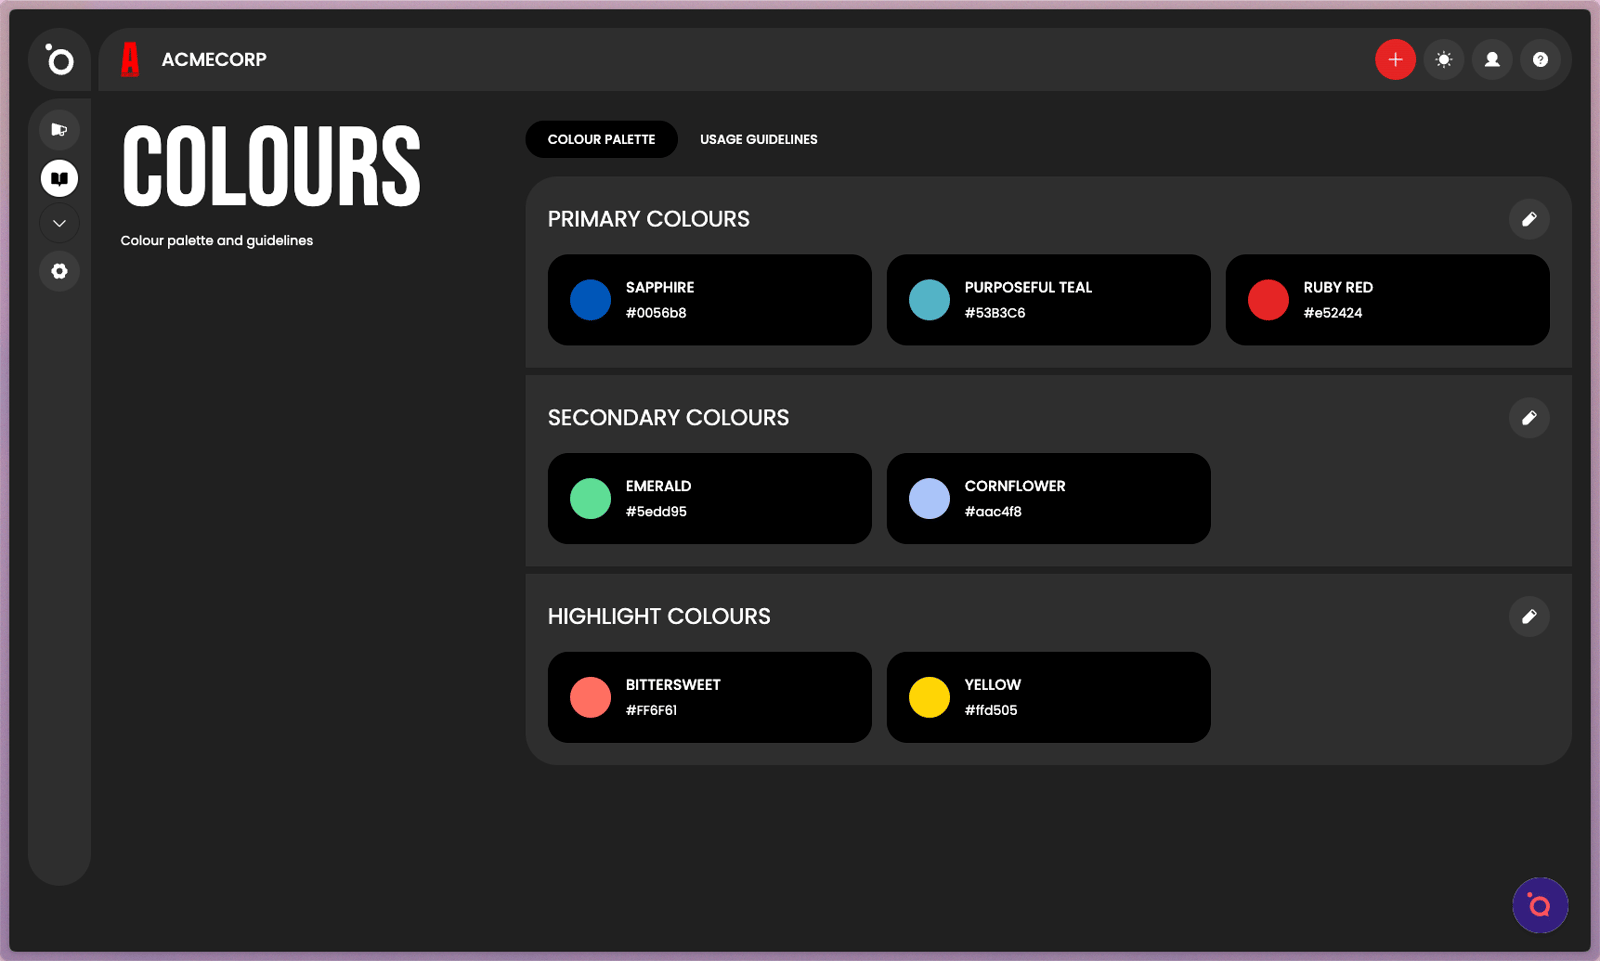
6. Add your primary and secondary brand colours here.
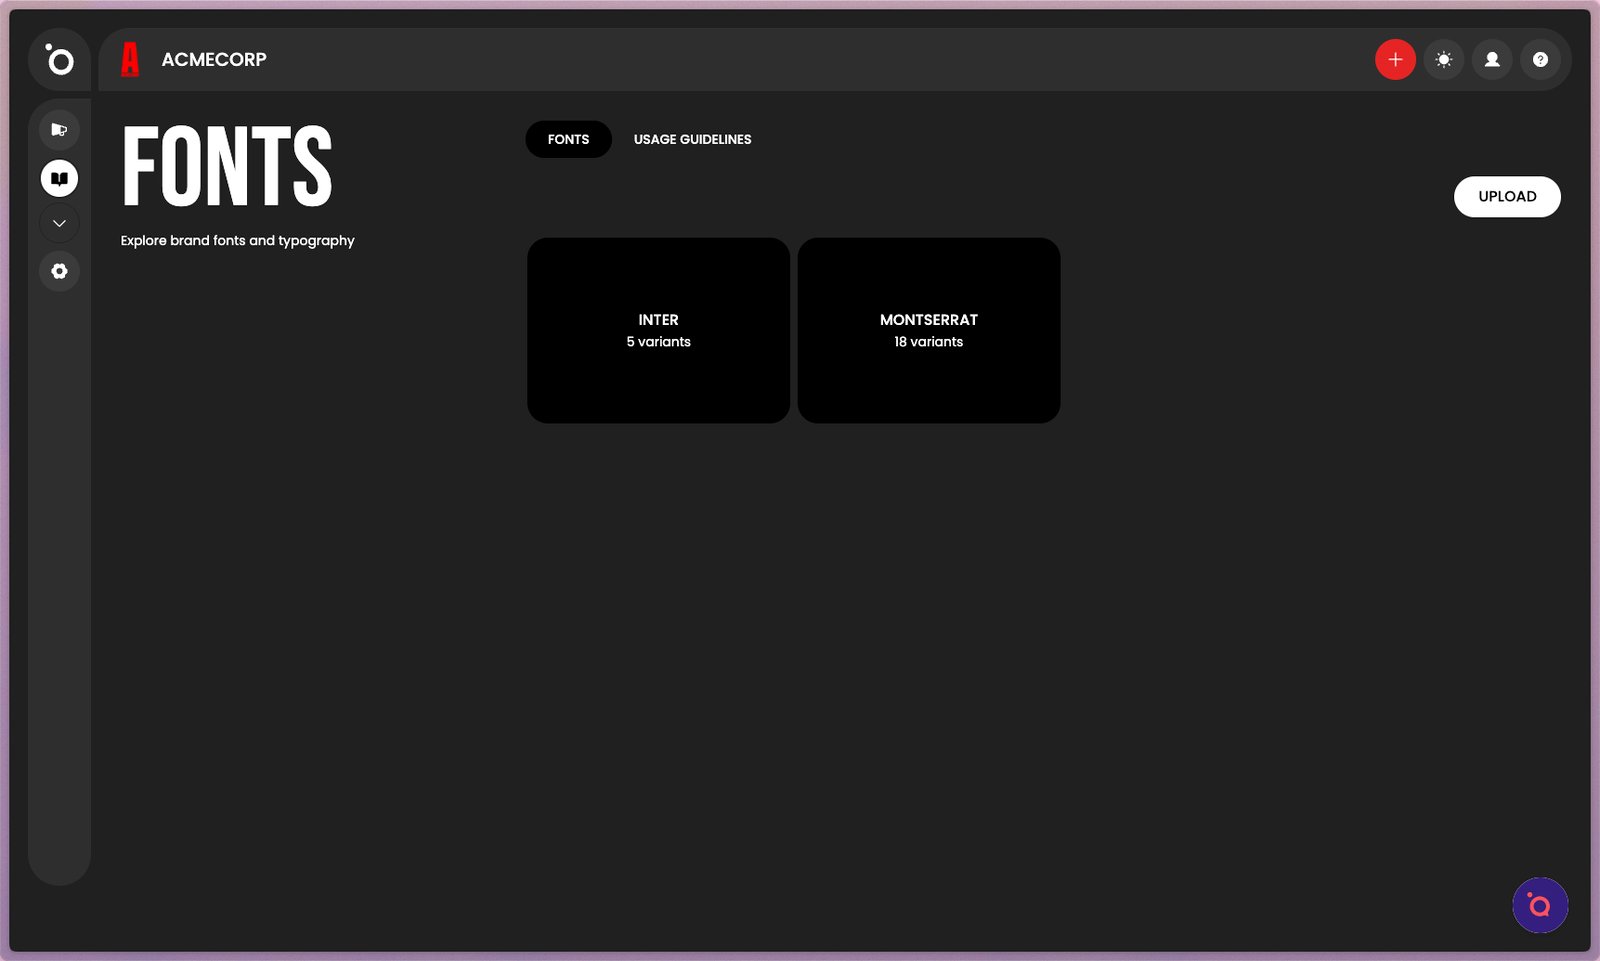
7. Upload your brand typefaces and set usage rules such as headings, subheadings, and body text. This ensures every piece of content uses the correct typography.
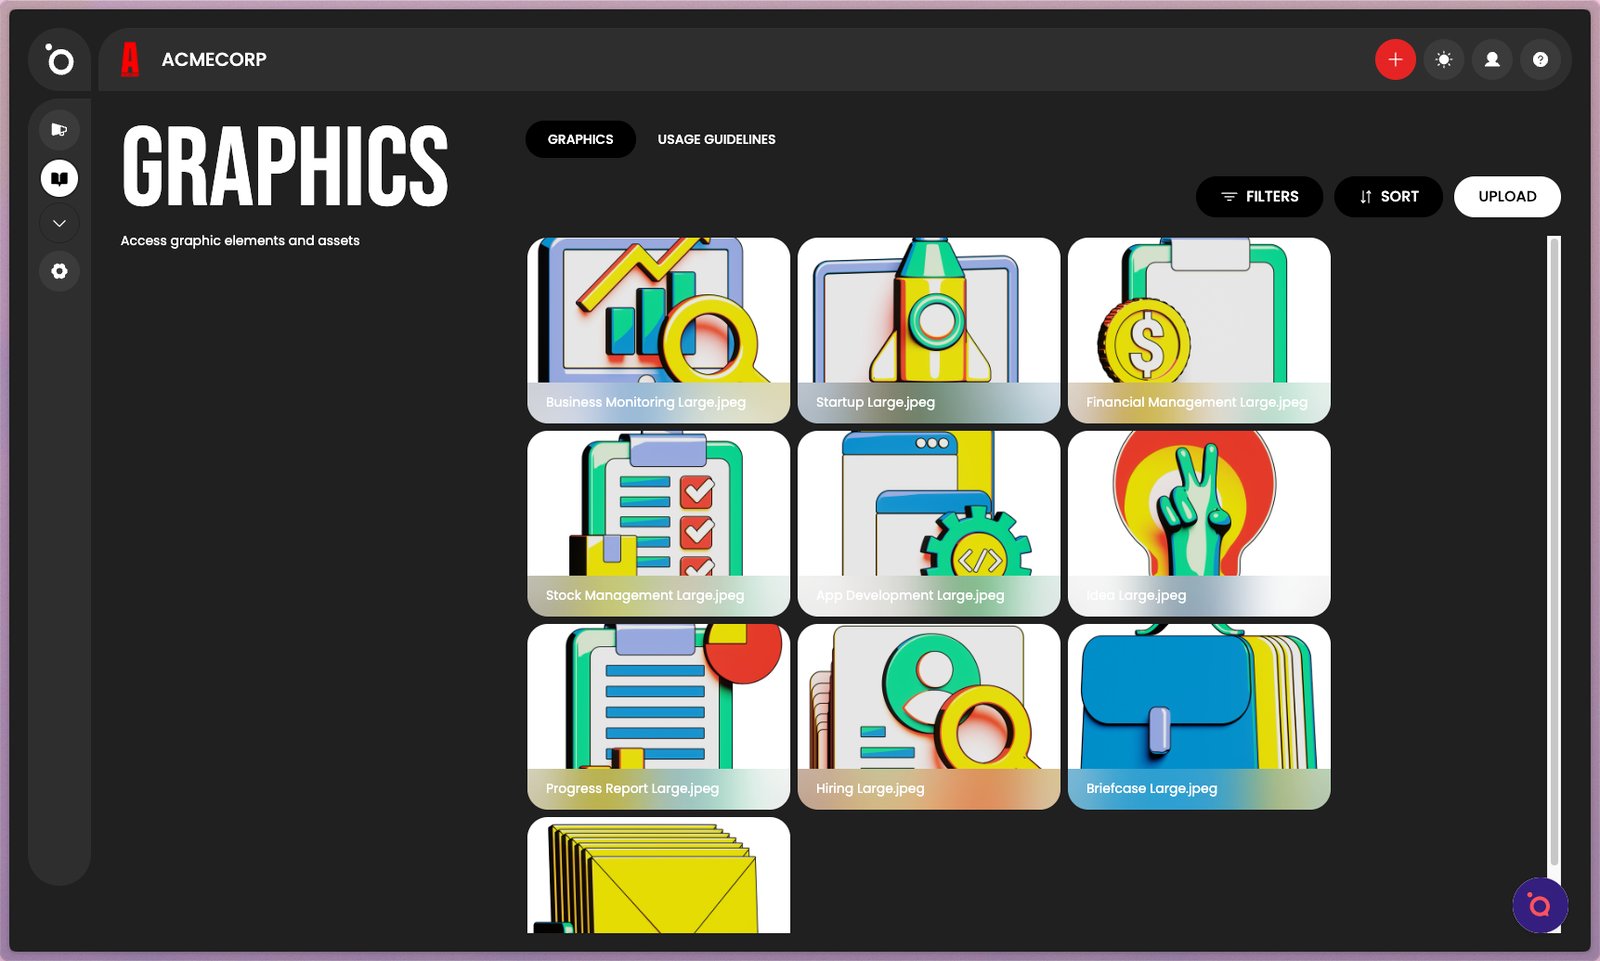
8. Store reusable graphic elements such as shapes, textures, and supporting artwork. These assets are available to use across all campaigns and templates.
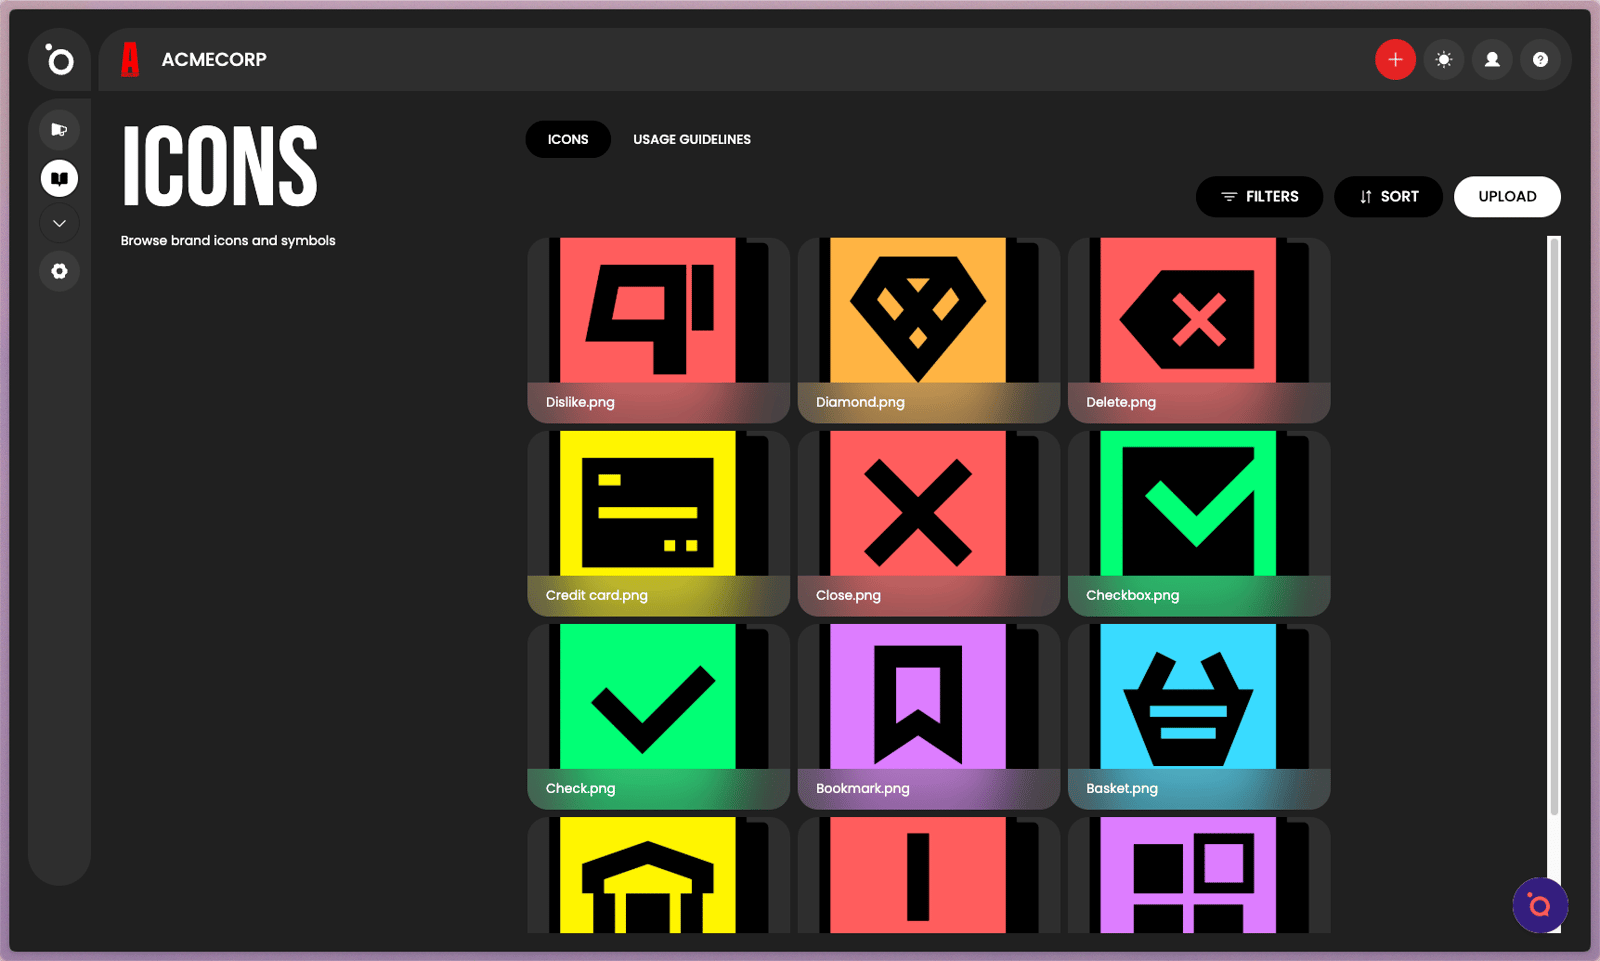
9. Upload your icon library so your campaigns stay visually consistent. Icons can be used in layouts, ads, and social formats.
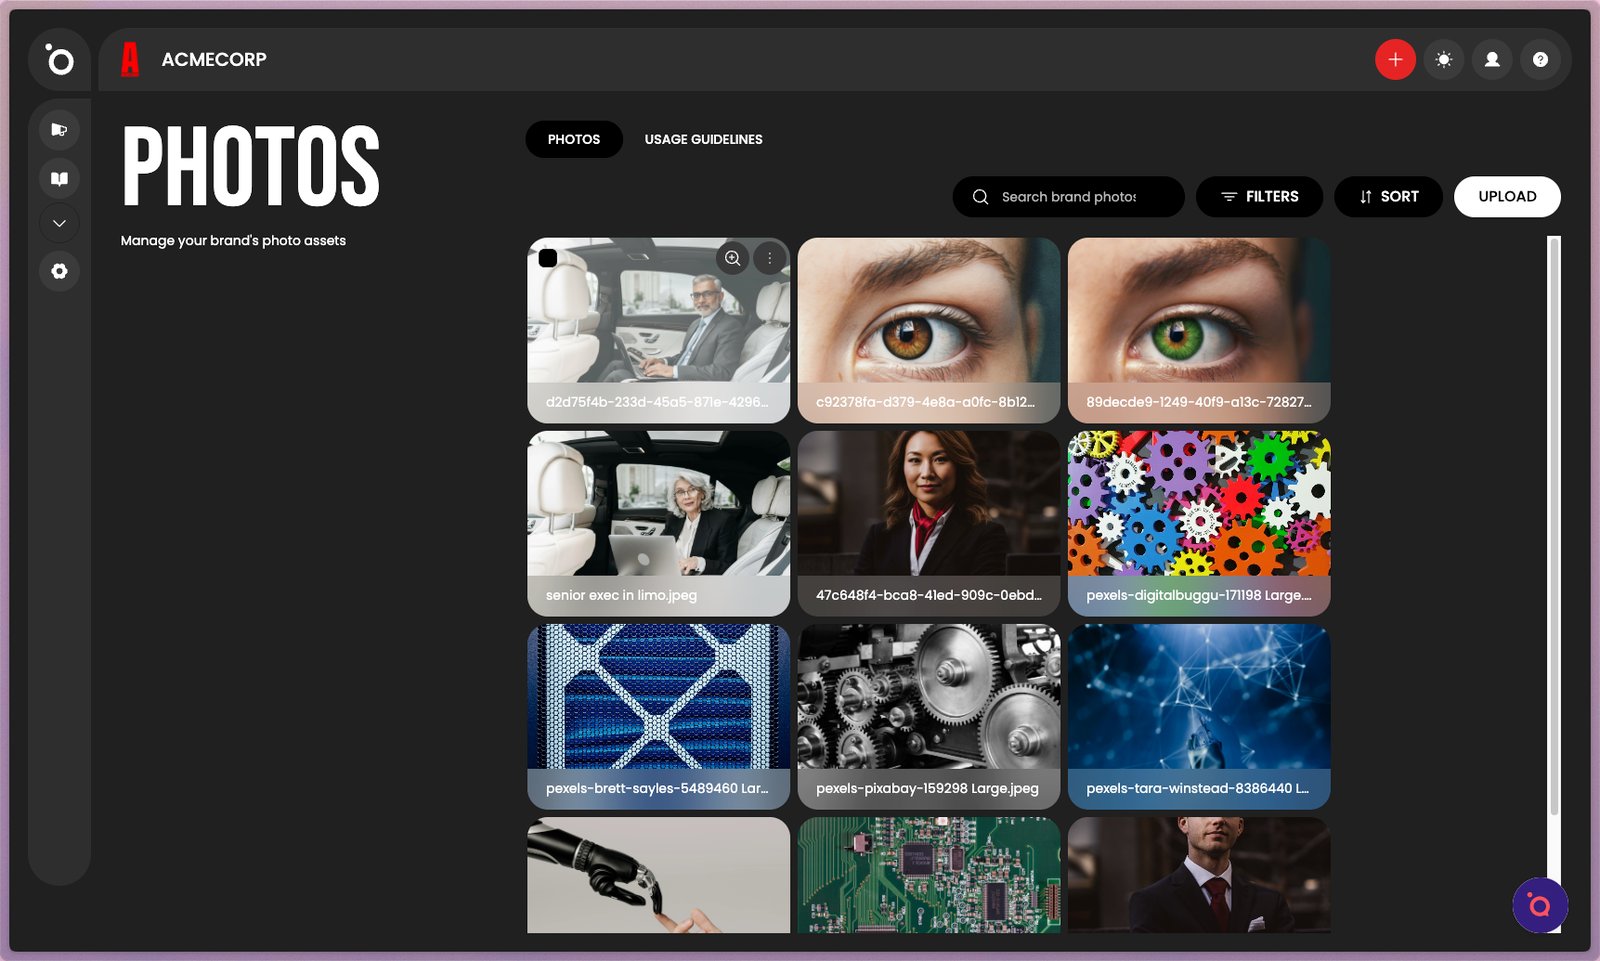
10. Manage your brand photography and image assets.

11. You can also edit or create new images using AI tools in the editor.
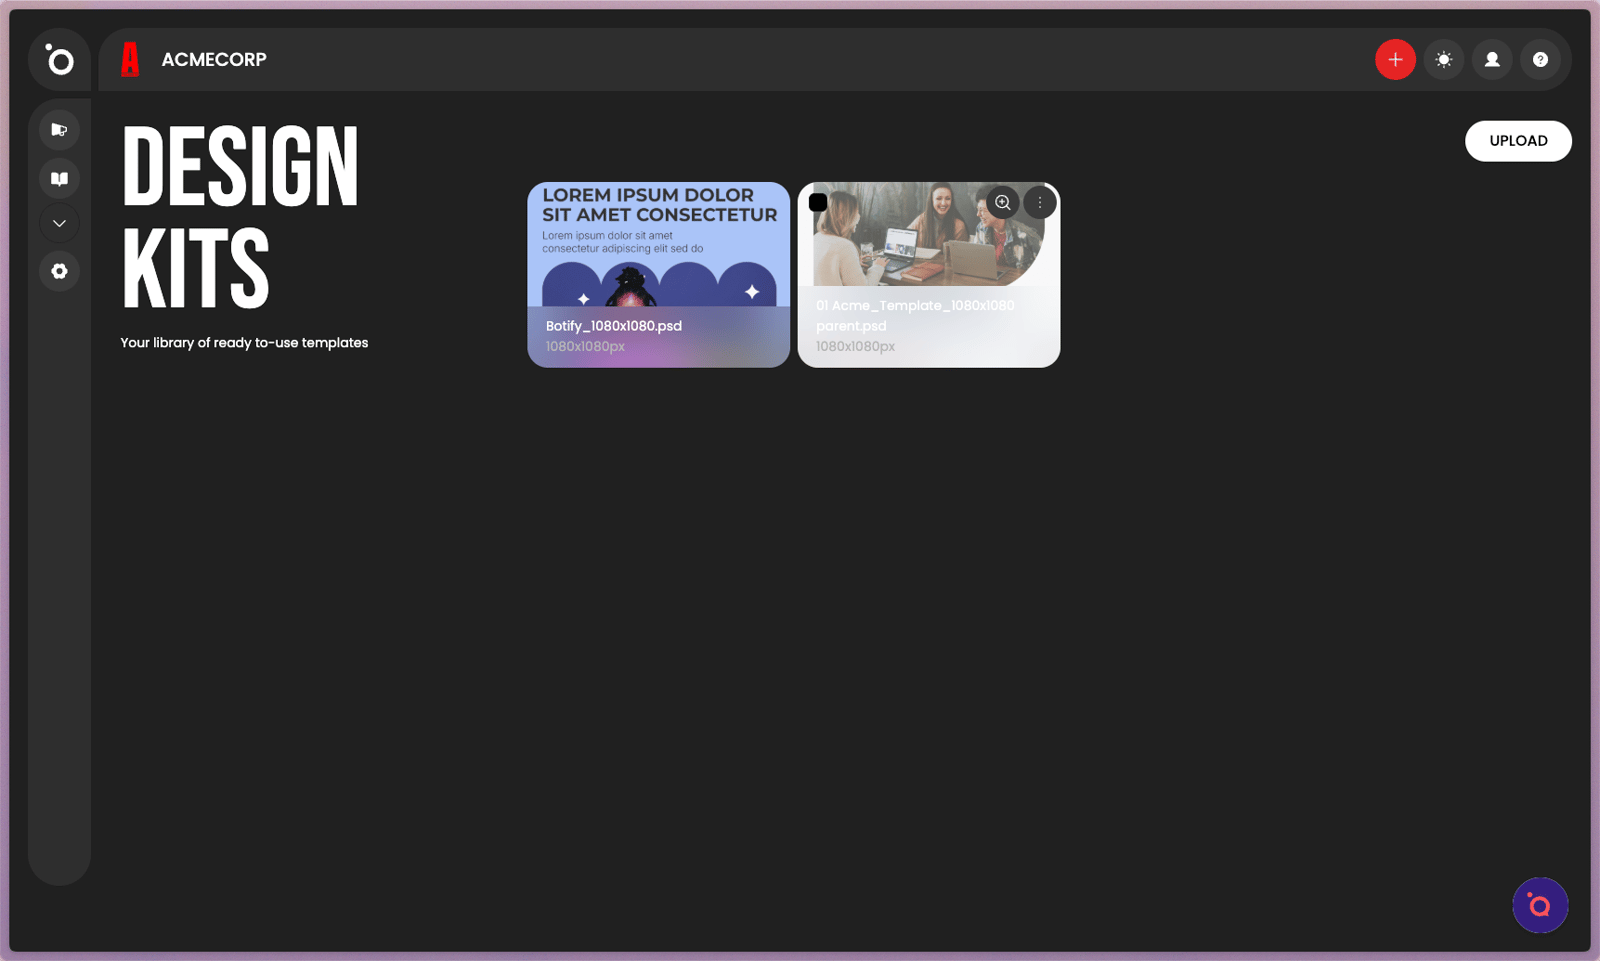
12. Access and manage your layout templates. Design Kits define how your brand visuals scale across formats and keep all campaigns on brand automatically.
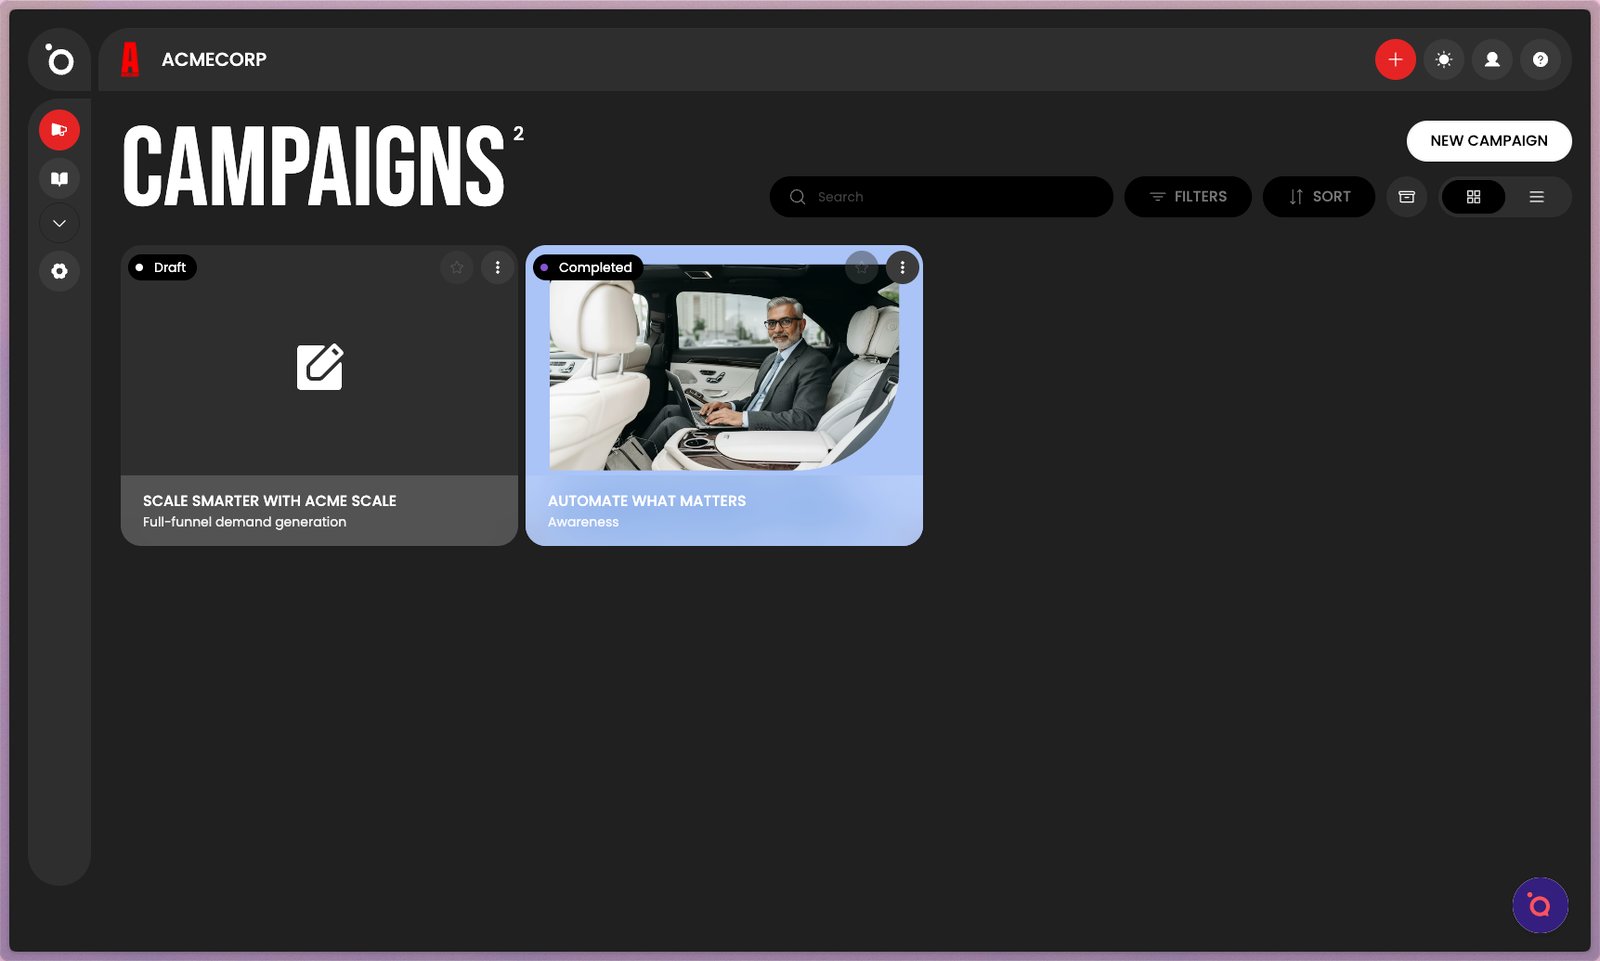
14. The Campaign Dashboard is where all your campaigns live. Each campaign card opens directly into the creative workflow so you can continue from where you left off.

15. You can create a new campaign from the dashboard or the Plus sign in the navigation bar.
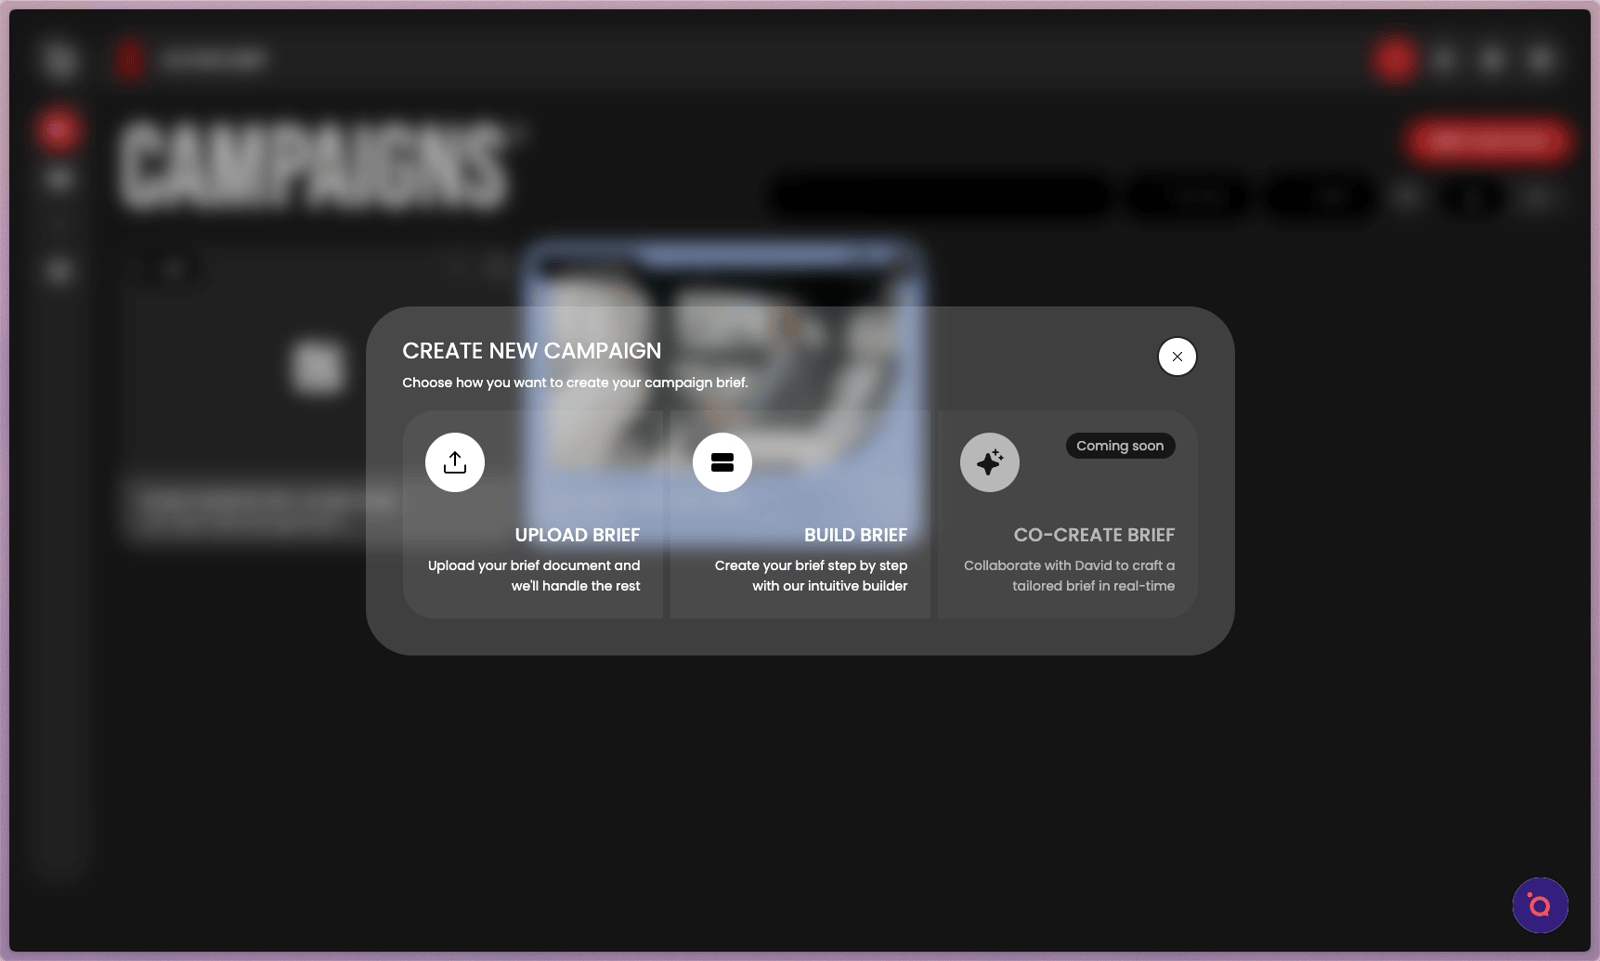
16. Campaigns can be initiated by Uploading a Brief or using our form-based Brief Builder.

17. Turn the lights on.

18. Or turn them off.

19. Change your profile settings here.

20. Brand settings are down here.
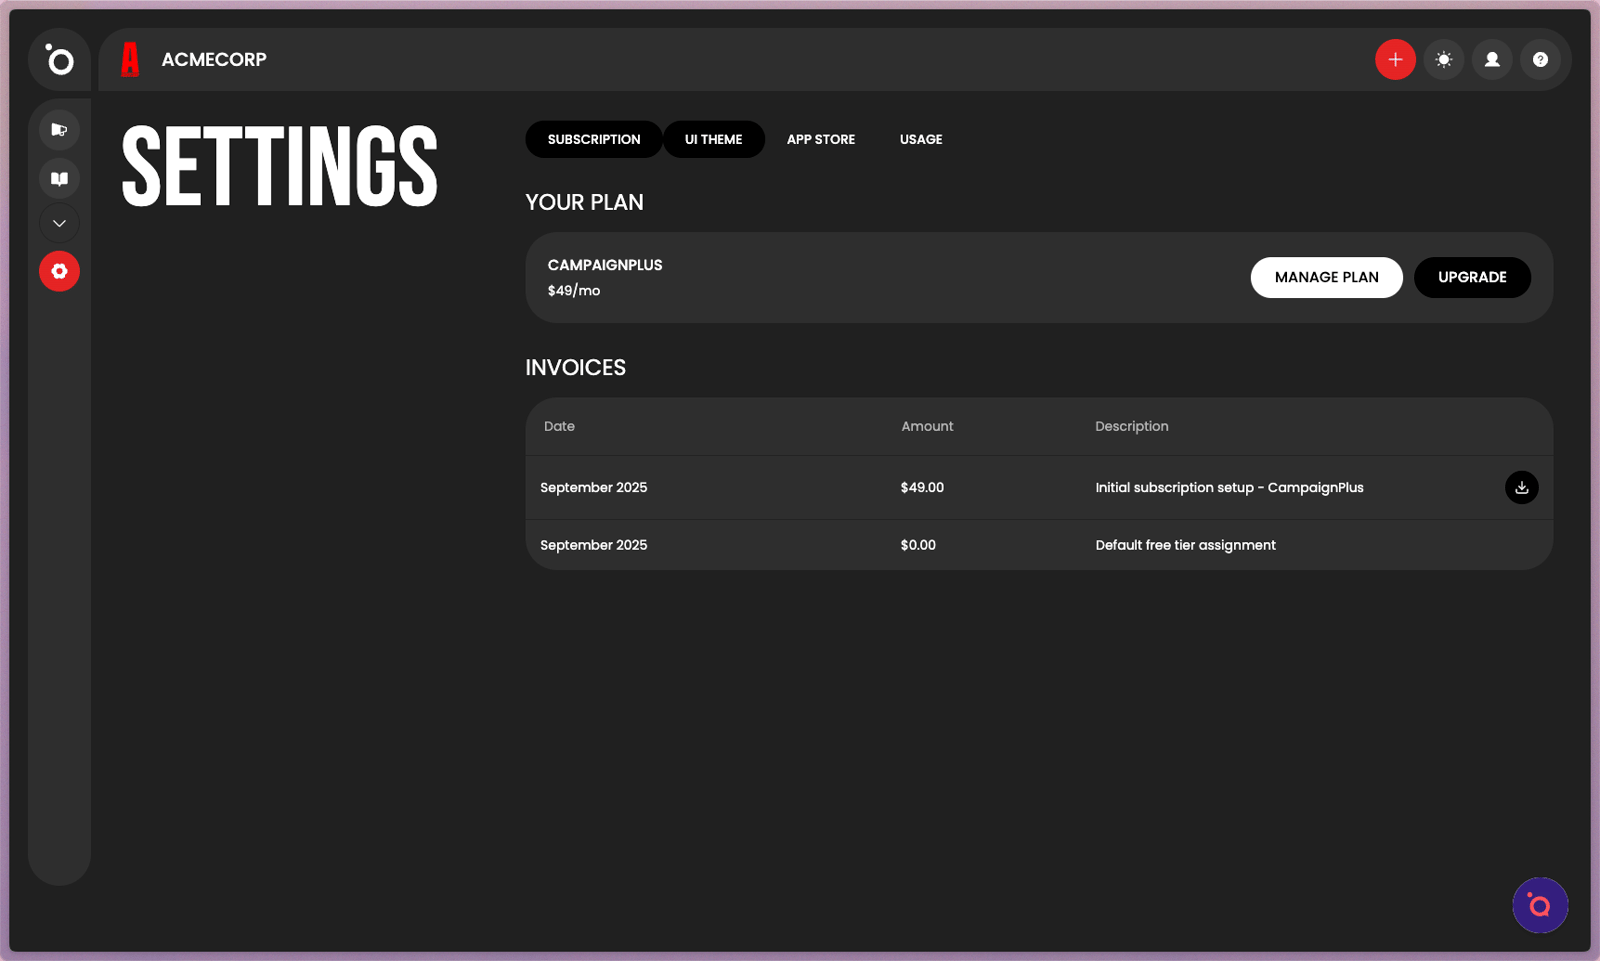
21. View and manage your current plan. You can upgrade, downgrade, or change your subscription.
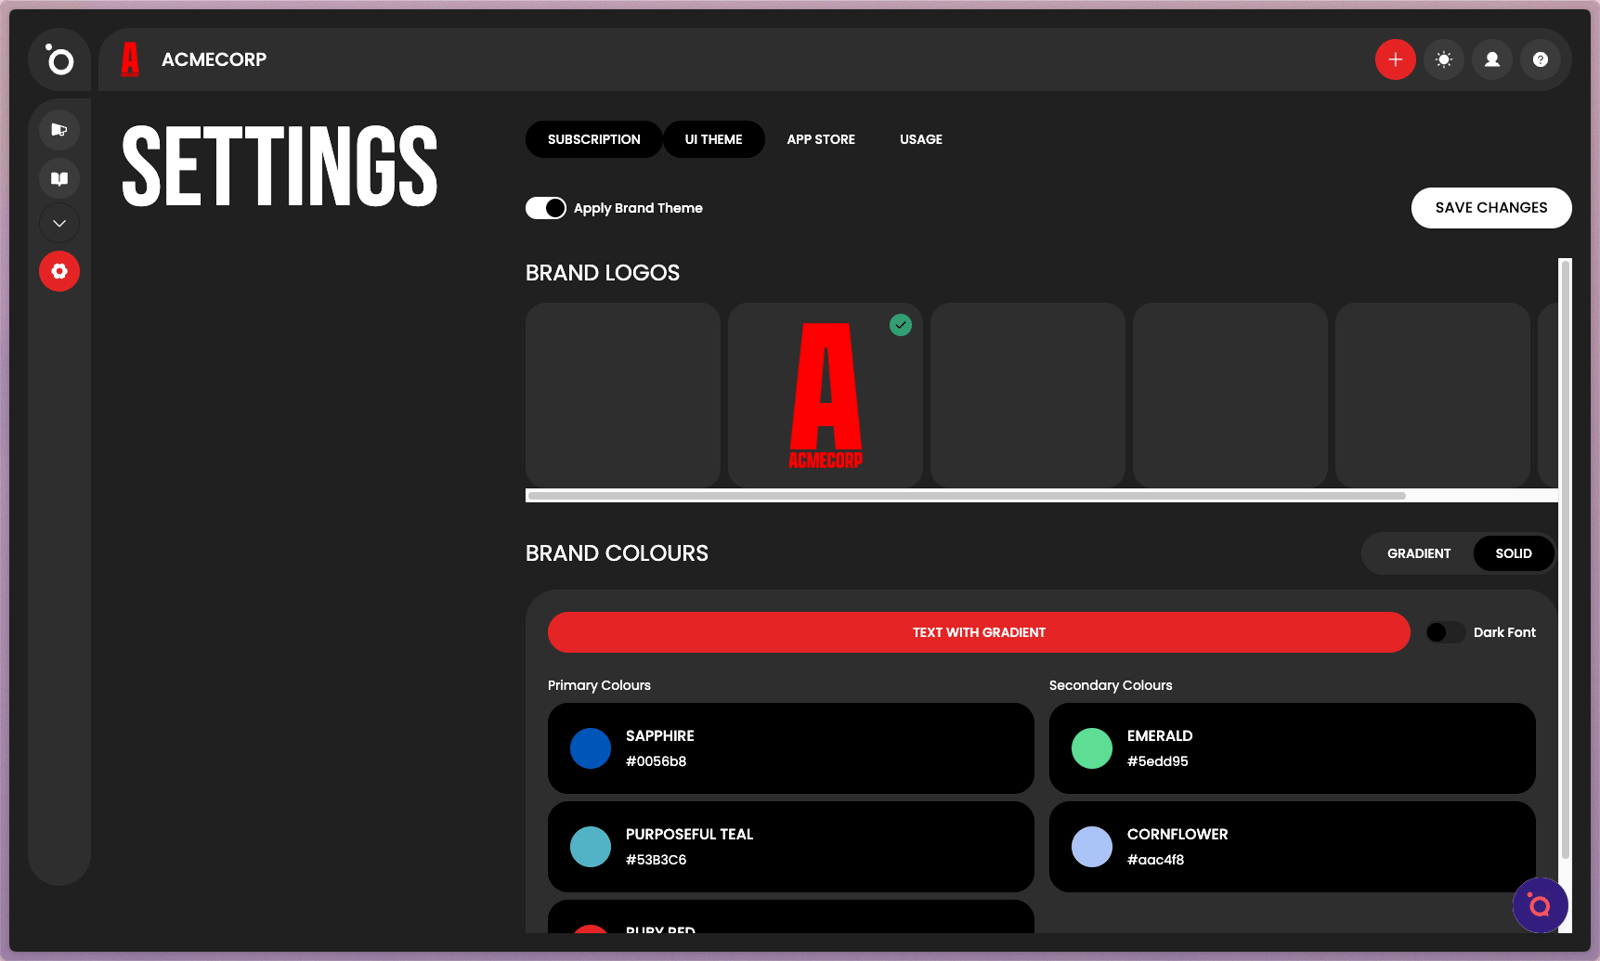
22. Customise your interface. Add your logo and adjust accent colours to make your workspace feel like home.
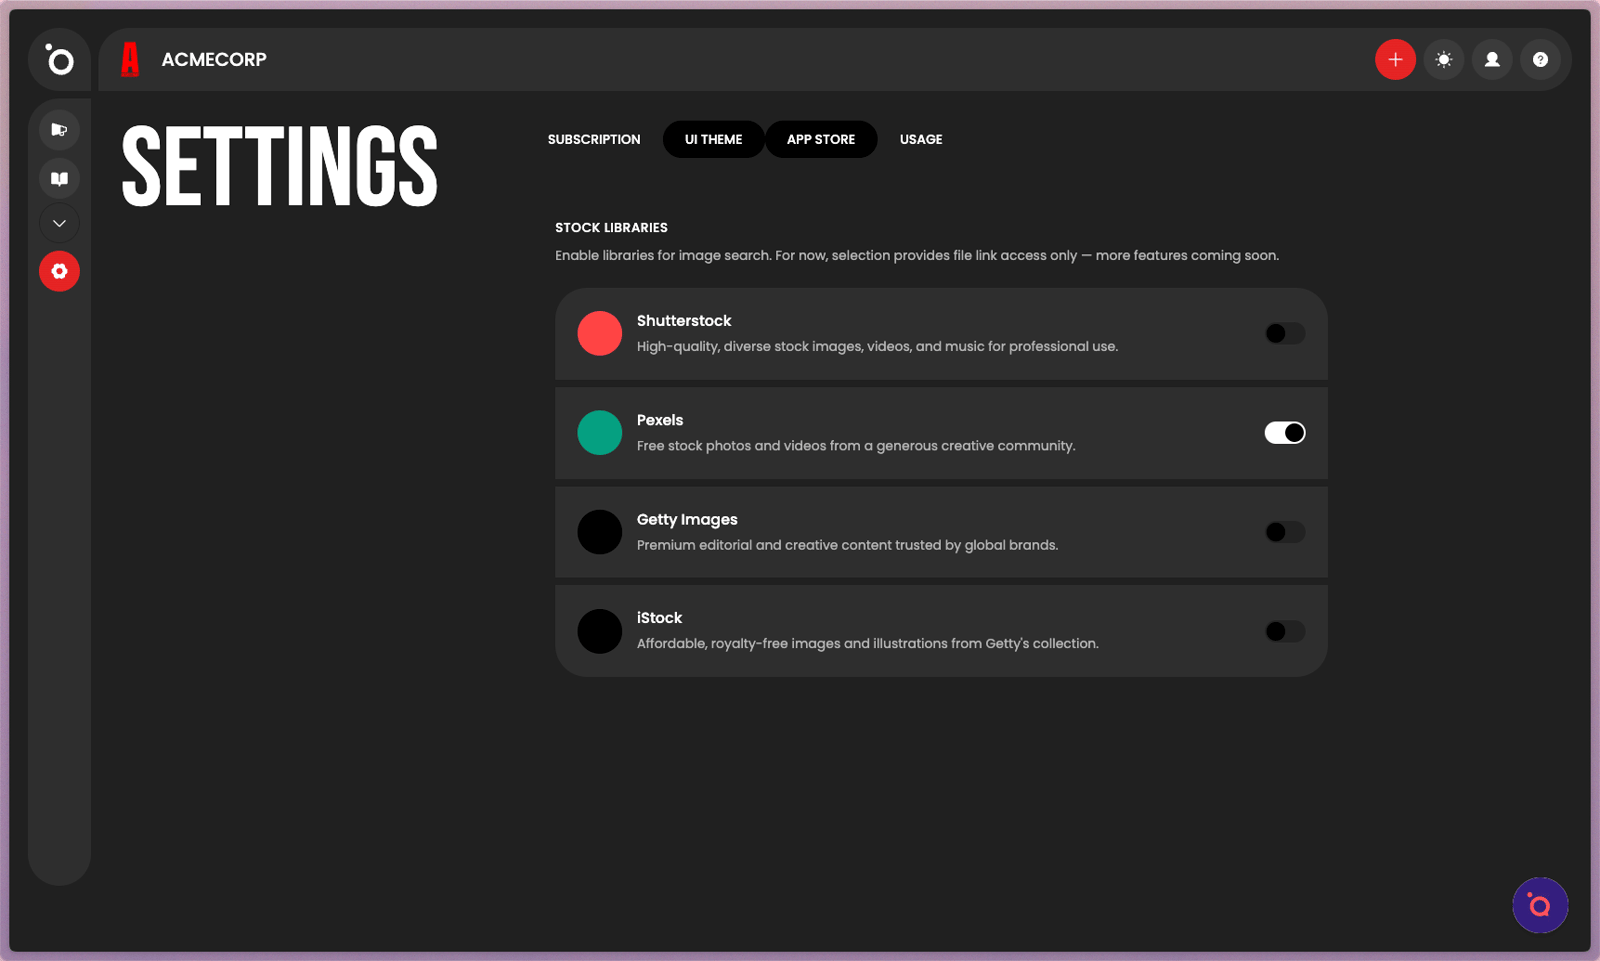
23. Browse and connect external tools in the App Store. Stock Libraries are available now, with ad platforms and other integrations coming soon.
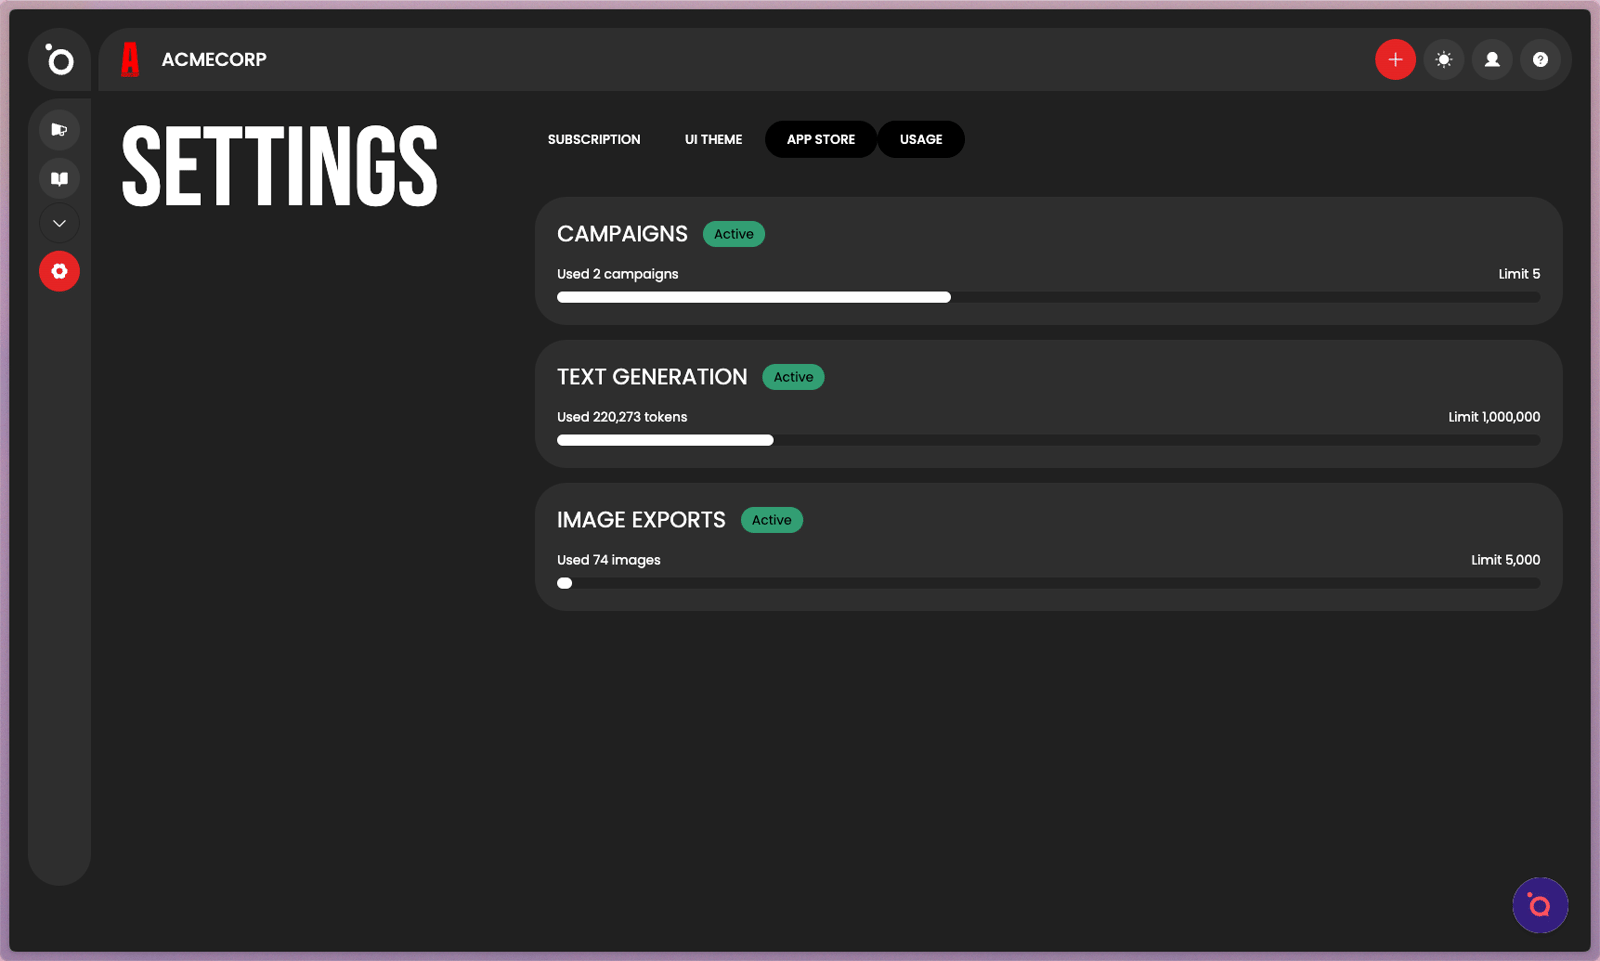
24. Monitor how your plan resources are being used. Each category displays how much of your limit has been used so you can manage capacity before your next billing cycle.
