
How to create your first campaign with Helix Insights and the Brief Builder
TL;DR
This quick-start flow lets you experience Protaigé’s value immediately, showing how your AI agents turn your brand data into a working campaign in minutes.
When you sign up, your AI agency studies your website to understand your brand. It interprets your story, identifies your key products, and profiles your likely audiences, then saves these insights in Brand DNA. This connected system makes it easy to start your first campaign — your AI agents already have enough context to create a credible foundation for you to build on.
Your inferred Brand DNA helps you experience Protaigé right away. You can use the Brief Builder to create your first campaign in minutes, with your brand story, products, and personas already in place. Once you see your campaign in action, you can refine these details, upload your own persona and product documentation, and strengthen your future campaigns with richer, validated data.
This first campaign also uses a generic design kit that demonstrates how Protaigé brings your brand to life visually. It’s a quick, hands-on way to see the full creative workflow from brief to banners — before you invest time in building your custom templates.
A step-by-step guide

1. Your AI agency has learned your brand, products, and personas from your website. Use the Brief Builder to kick off your first campaign by following the prompts. You don’t need to add much detail as your business insights are already stored in your Brand DNA.

2. Choose the products you want to feature in this campaign. You can review and refine their full descriptions later in your Brand DNA.

3. Choose the personas you want to target. You can select more than one.

4. When all fields are complete, click Create to finalise your brief and activate your creative agents.

5. Your campaign will appear here when it’s ready. Click the card to start creating.

6. The User Brief shows your inputs. The Campaign Brief expands on them using your stored brand knowledge.

7. Head to the Concept section to get your AI Creative Director working on the big idea behind your campaign.

8. You’ll get two concepts to choose from — pick your favourite to continue.

9. Move on to Hero Copy to write your campaign message based on the concept you selected.

10. After your copy is approved, go to Hero Image to select your campaign visual.

11. AutoPic is our intelligent image recommender that shortlists suitable images from your brand and stock libraries.

12. Your Brand Library is accessible from this tab. You'll upload photos later.

13. Stock search is also available.

14. Click APP STORE to manage stock image library settings.

15. This is the stock library Image ID if you need to download the file directly.

16. If you have campaign images, upload them in this tab.

17. Your shortlisted images will be saved in the Lightbox. Click Create Key Visual to build your layout.
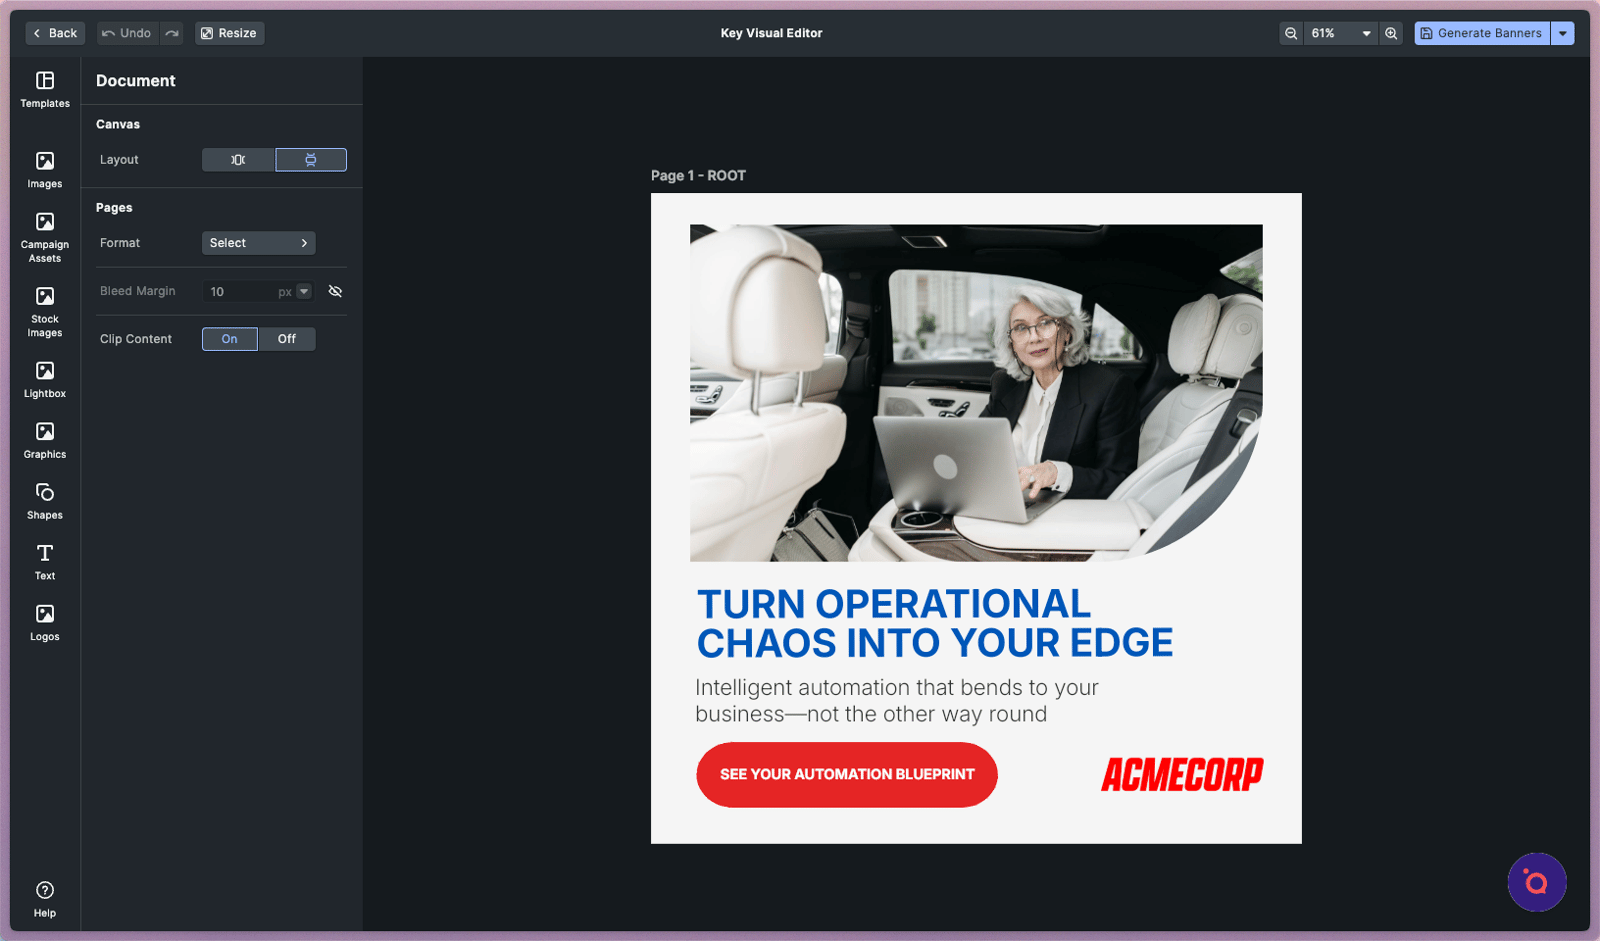
18. The visual editor will place your selected hero image and finalised hero copy within the dynamic Design Kit layout. Explore the editor to discover all the possibilities.

19. Click Generate Banners when you have finalised your edits. All changes made here will roll out to the rest of the kit.

20. Edit individual banners or Approve to export
