
Combine copy and images into a hero layout
TL;DR
Create your Key Visual → Customise colours, images, and components → Save or approve → All related assets update automatically → Download in Assets folder
Your Key Visual is the heart of your campaign design. It unites your hero copy and hero image into a single layout that defines the visual tone for every asset in your campaign. It’s where your concept becomes tangible — the first time you see words and visuals working together to tell your story.
In Protaigé, your Key Visual is more than a single design. It serves as the parent asset within your Design Kit, meaning any change you make here — from a colour adjustment to a headline update — automatically flows through to every related child asset. This propagation workflow eliminates repetitive editing, ensuring every banner, format, and variation stays consistent and up to date.
The Key Visual also gives you full creative control. You can test different layouts, colours, and imagery before generating your full banner set. Once approved, the system transforms your design into every campaign format instantly, saving time while maintaining brand alignment.I
Design Freedom in the Visual Editor
The Key Visual editor in Protaigé is a professional-grade creative engine that gives you full control of your campaign layout. You can change background colours, adjust gradients, edit images, or fine-tune composition — all directly within your browser.
Every visual element is dynamic and editable. Update a headline colour, reposition a logo, or swap an image once — and the same adjustment will flow through every banner, social post, or display asset linked to that parent layout. This makes revision cycles fast, consistent, and completely effortless.
You can:
- Recolour components using your brand palette.
- Flip, rotate, or crop images.
- Adjust text size, weight, and alignment.
- Replace images instantly from your brand or stock libraries.
- Remove backgrounds, apply filters, or correct lighting.
- Edit shapes, frames, and bounding boxes to perfect spacing and balance
…and so much more.
These tools make the editor feel as powerful as desktop design software, but with the added advantage of Protaigé’s automation. Each adjustment stays linked to your Brand DNA, so your fonts, colours, and logos always remain consistent across the entire campaign.
A step-by-step guide

1. Select Create Key Visual.

2. You can also get started from the Lightbox.
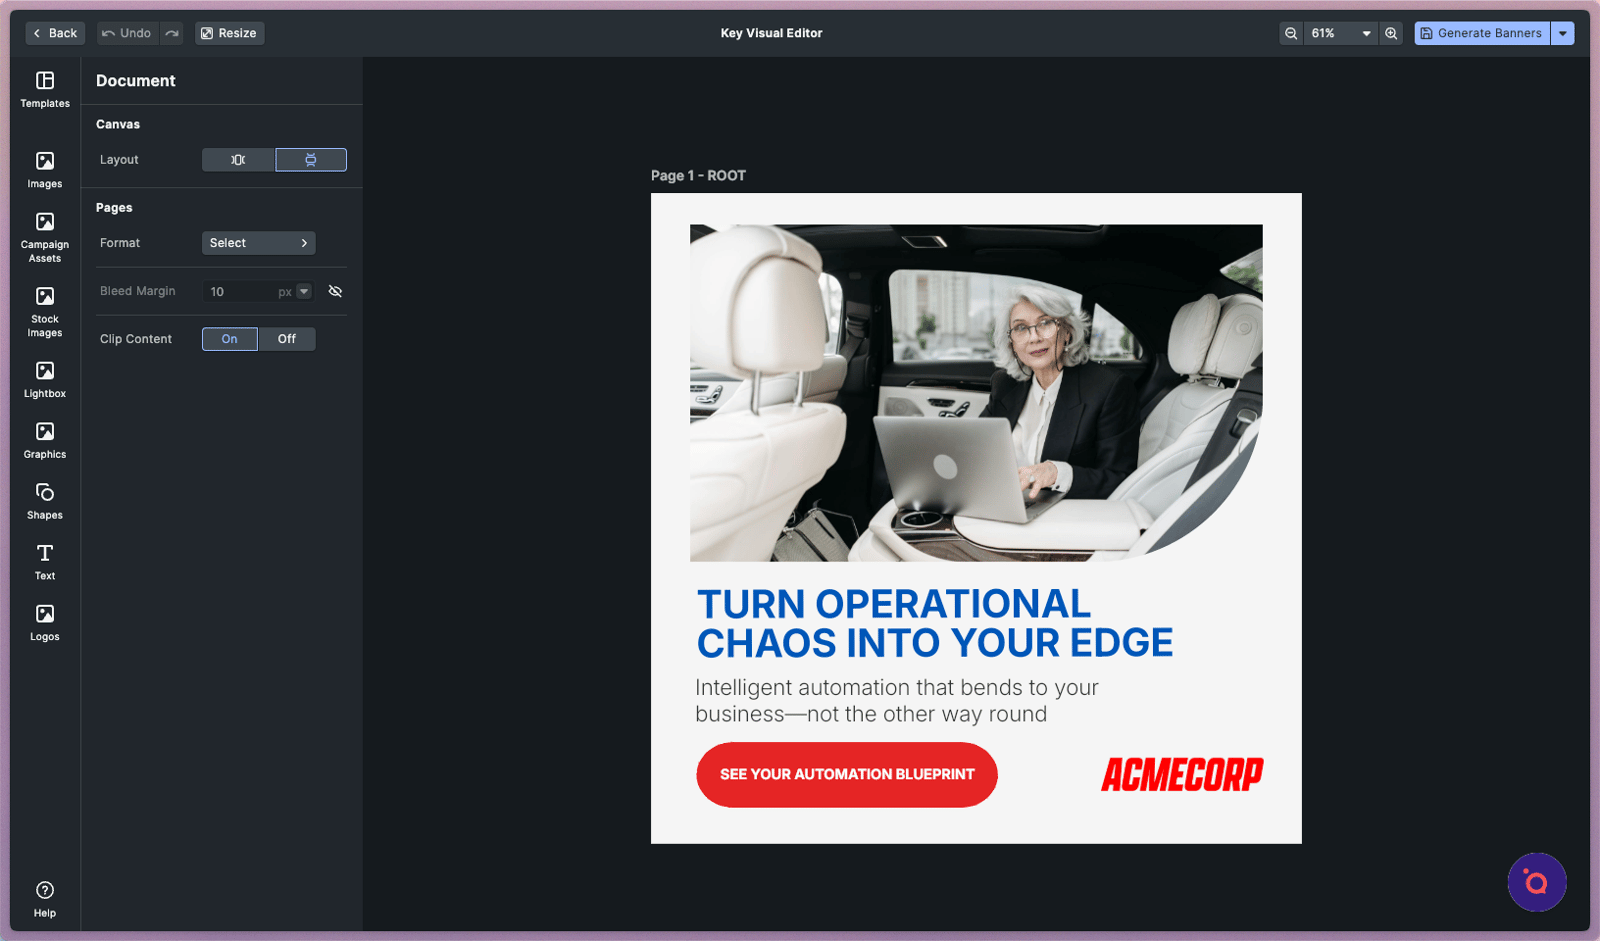
3. The visual editor will place your selected hero image and finalised hero copy within the dynamic Design Kit layout. Click to begin customising your key visual.

4. Your Design Kits are available here.


5. Select a different template to instantly transform your design.


7. This CTA is too long. Let's shorten it.

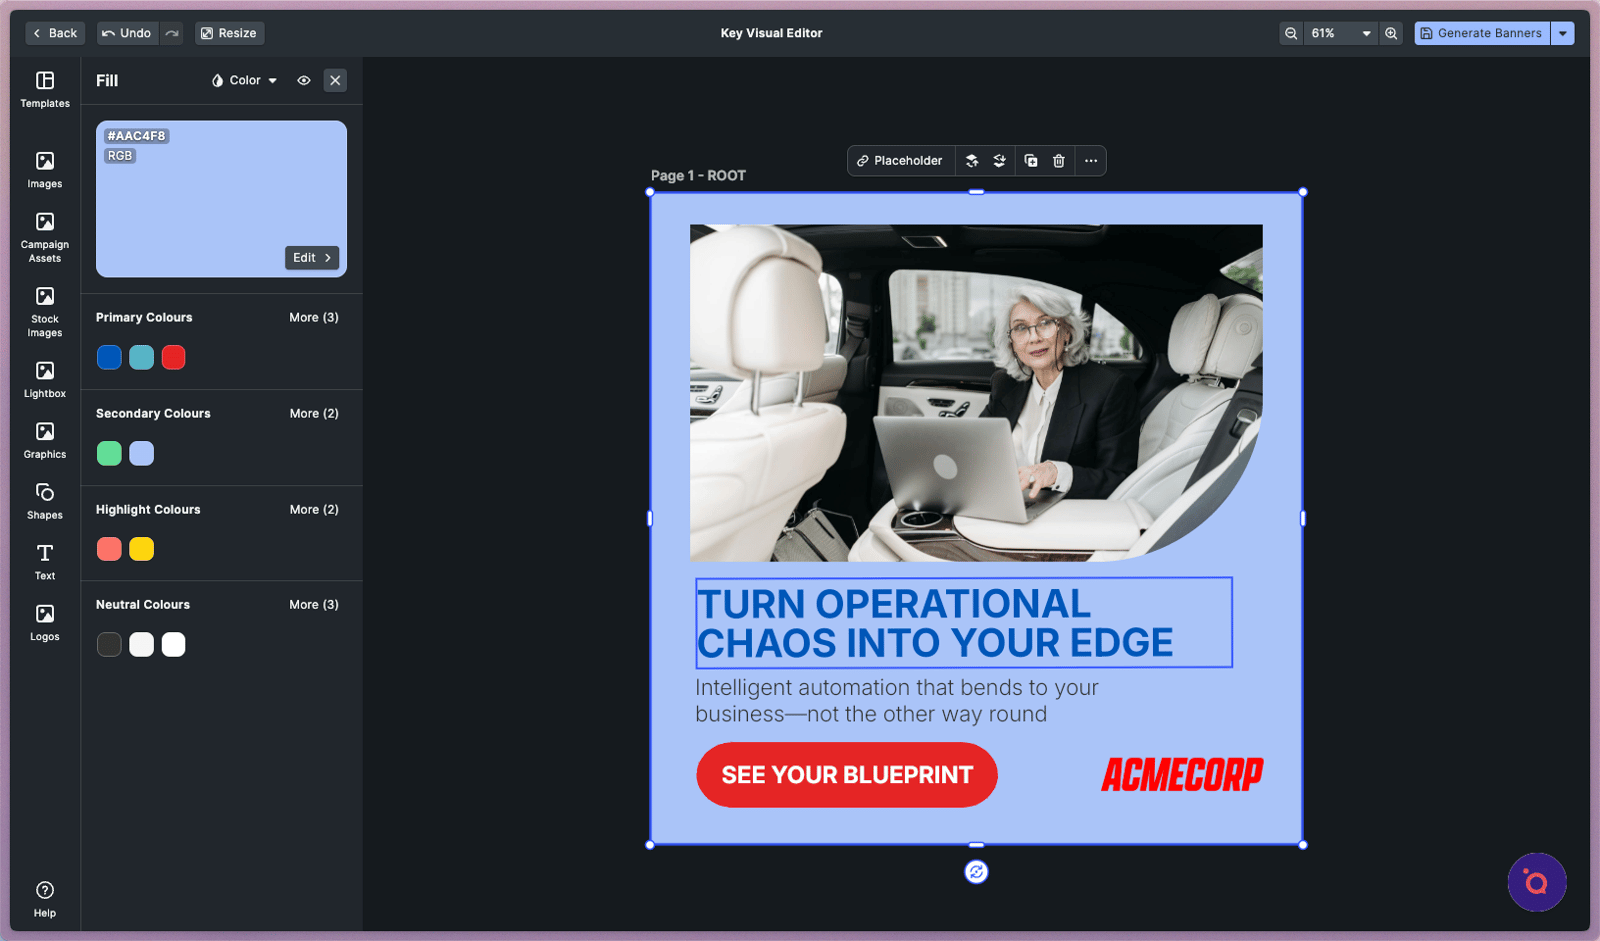
9. Change the background colour by selecting the component and clicking Fill.

10. Pick another colour from your brand palette.

12. Experiment with a different hero image by selecting and clicking Replace.

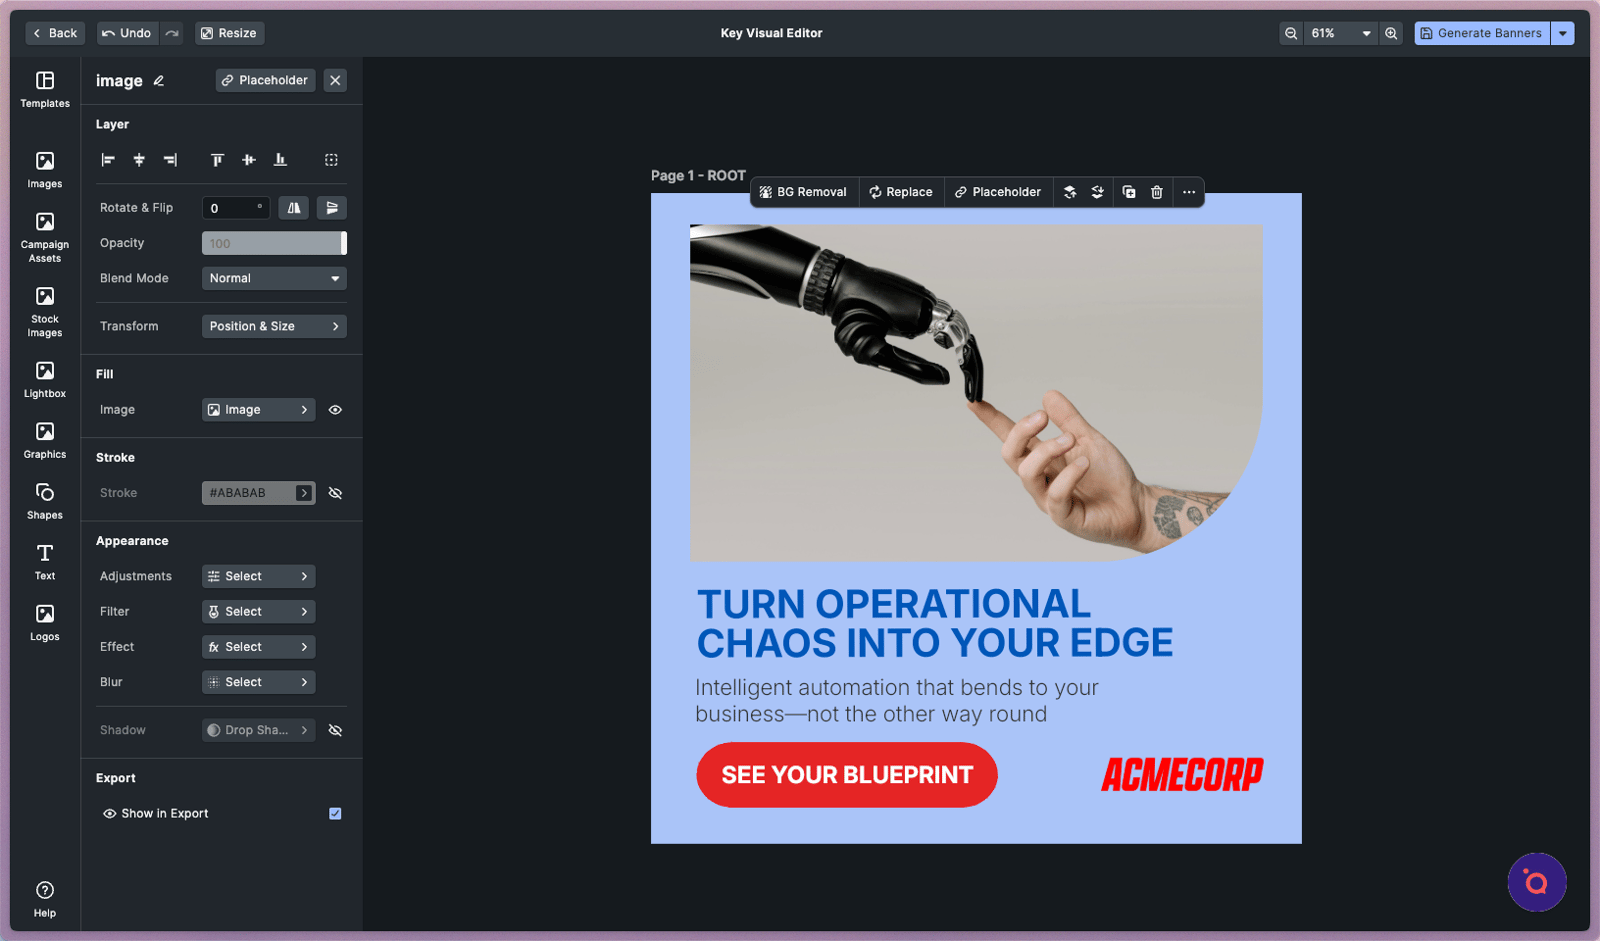
13. Access your image libraries in this side panel.

15. Click the logo to swap it for a bolder, high-contrast version that stands out.

16. Your Logo library from Brand DNA loads instantly.

17. Click Generate Banners when you are have finalised your edits.
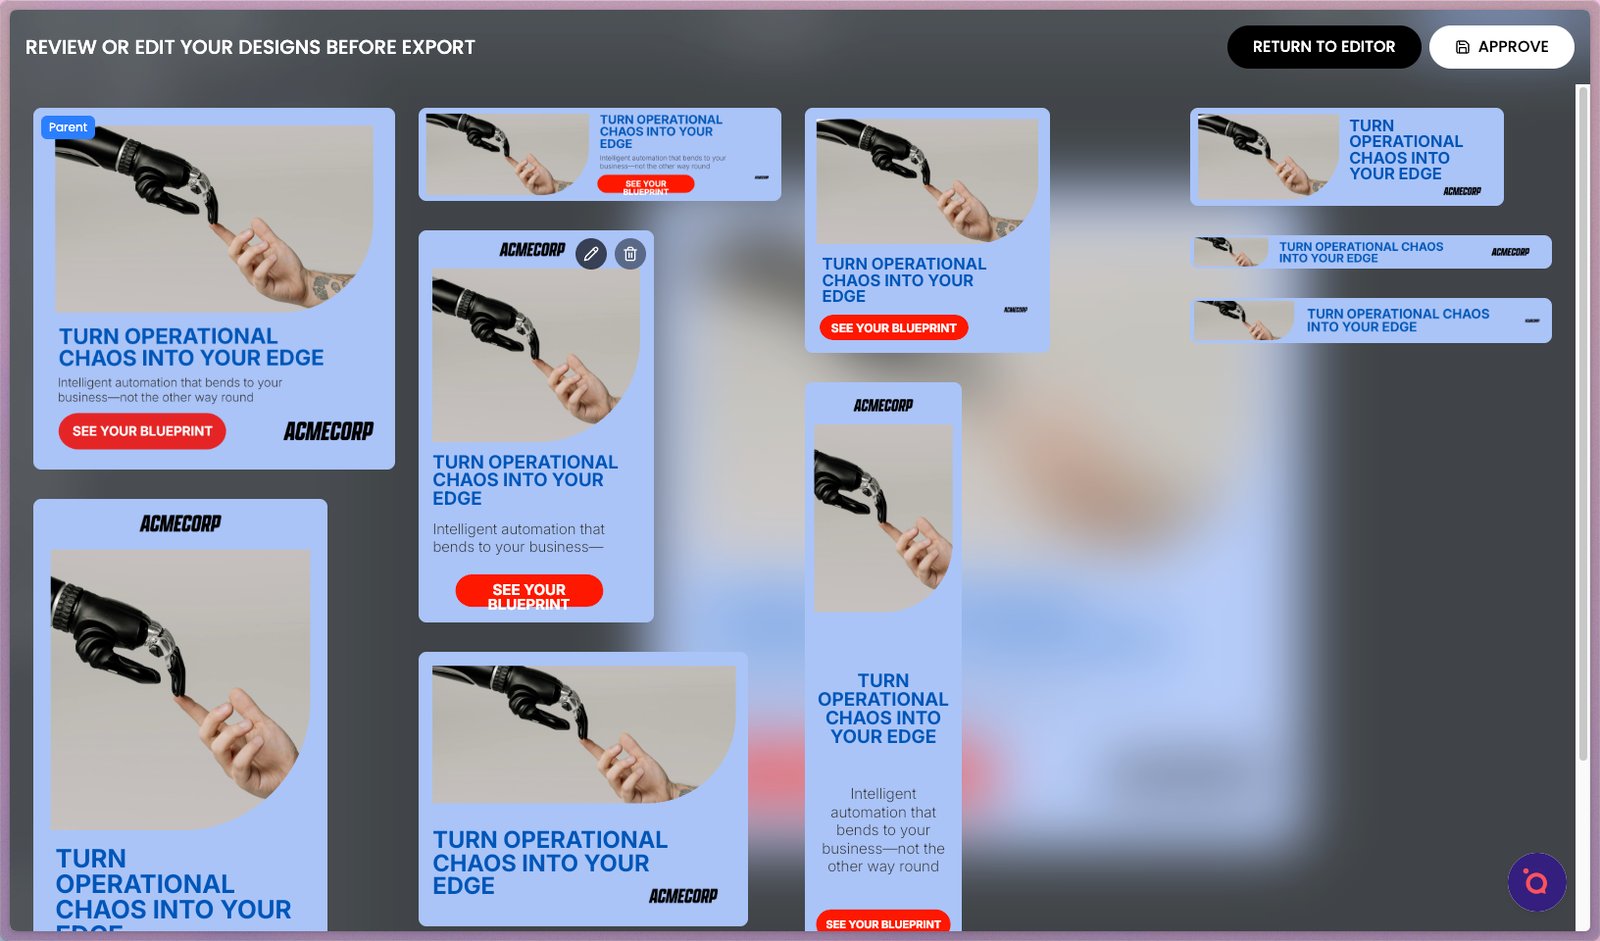
18. Watch as your changes instantly transform your entire banner kit. Choose a banner to refine its details.

19. Fine-tune the details in the editor. Updates made here apply to this banner and will not affect the others.

20. Continue making edits until you are satisfied then click Approve.

21. Your banner kit will be saved in Assets.

22. Click any banner to edit and make last minute fixes or revisions.


23. The Drafts tab is where you can find work-in-progress or saved for later.

26. Click the Key Visual Clone button to quickly create a new campaign kit for A/B testing

27. The Visual Editor will launch with your duplicated Key Visual to create a new campaign kit.
