How to import a Canva PPTX and convert it into a reusable, multi-format design kit
tl;dr Save your Canva file as a PPTX → upload one page at a time → name components correctly → clone and resize across every format
Your existing Canva layouts can become powerful, reusable templates inside Protaigé. When prepared correctly, your static Canva file transforms into a structured design system that can scale across every channel with minimal rework.
Once your components are named correctly, you can use Clone and Resize to expand your layout into a complete multi-format kit in minutes.
🚨 Before beginning, open the Component Name Index glossary as a reference for all supported component names and their types.
Further reading on our design kit system:
Design kits 101
A step-by-step guide
1. Navigate to the Canva design you'd like to import.
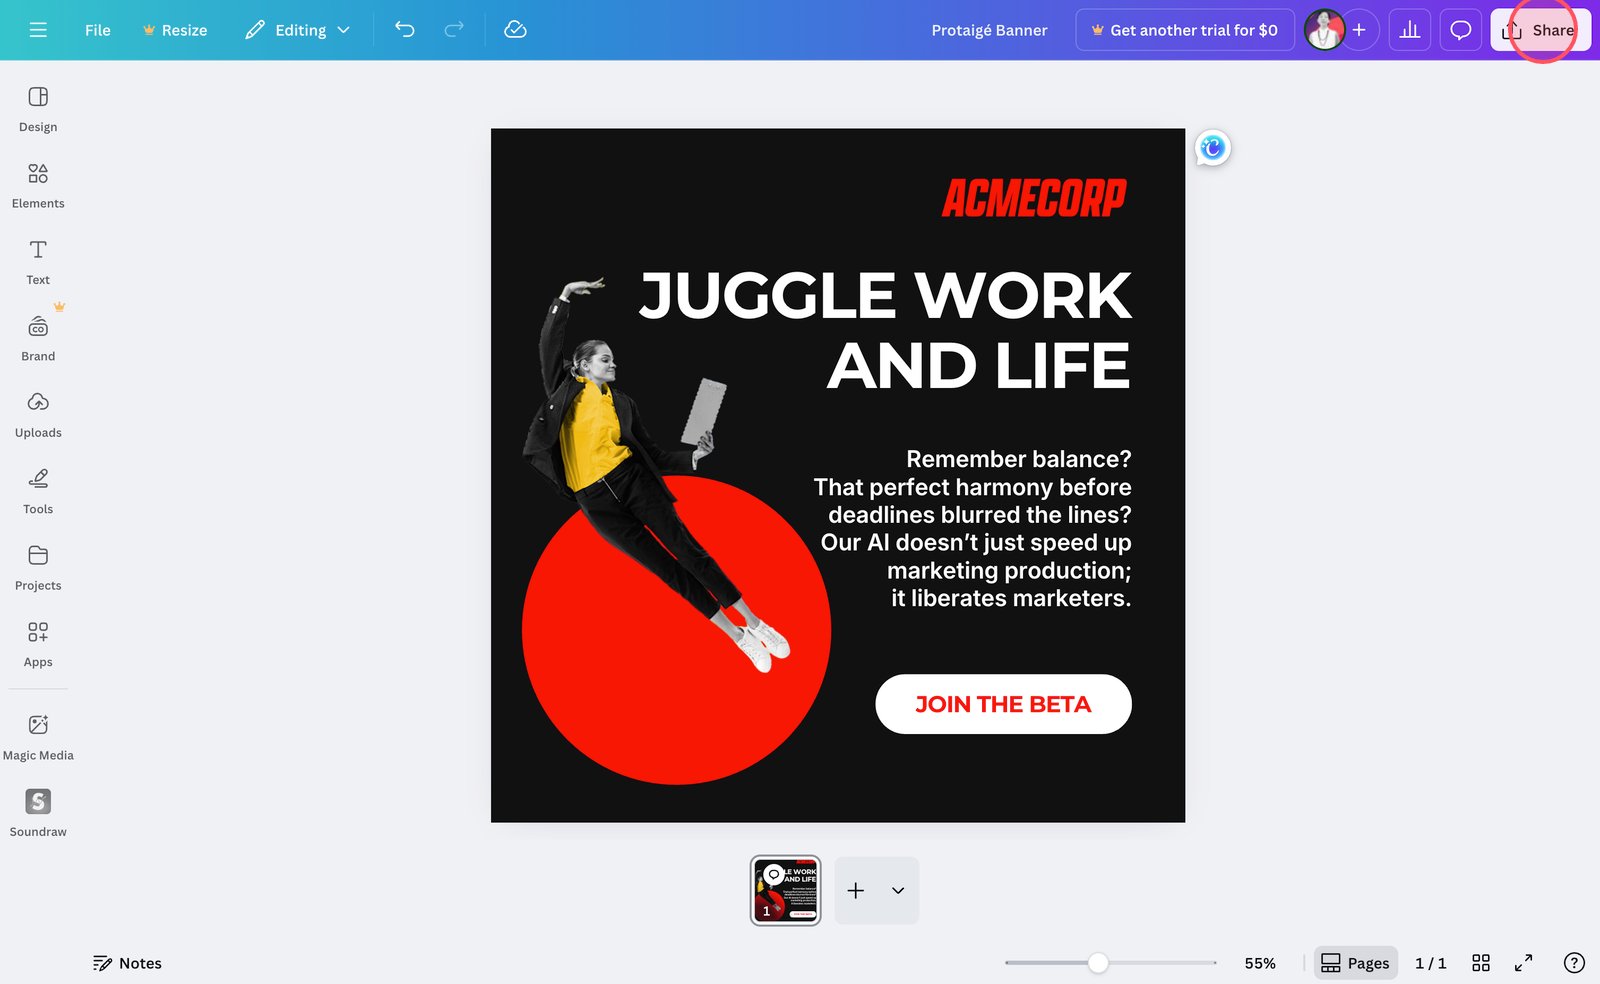
2. Click Share.
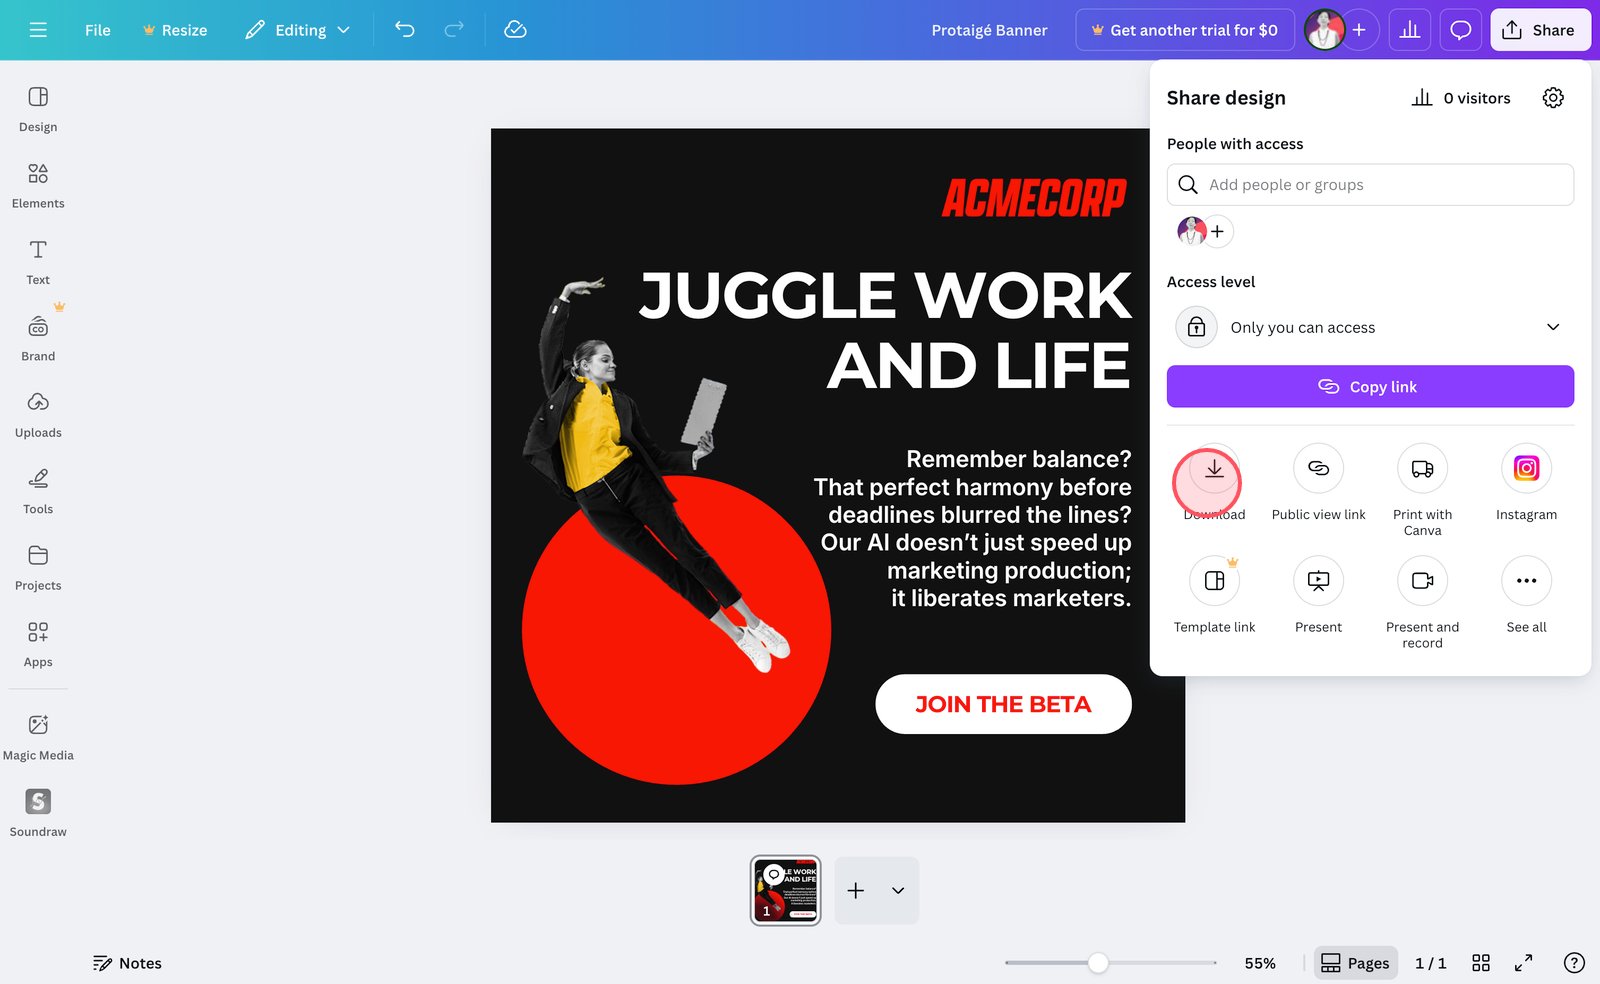
3. Select Download.
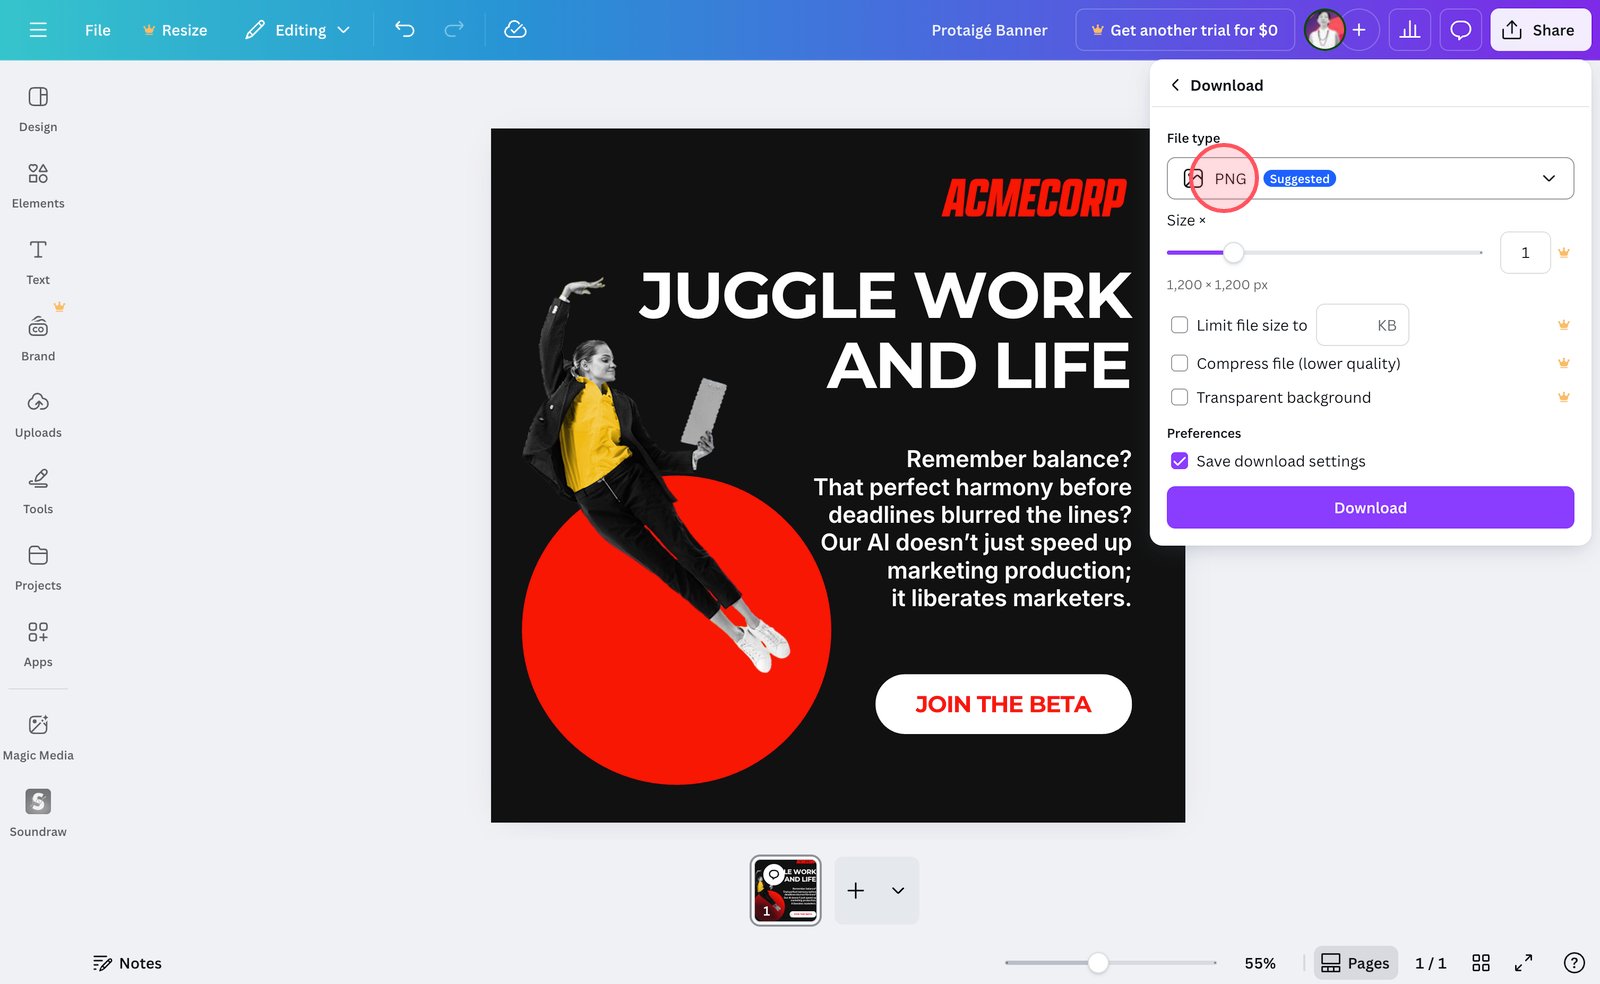
4. Open the File type dropdown.
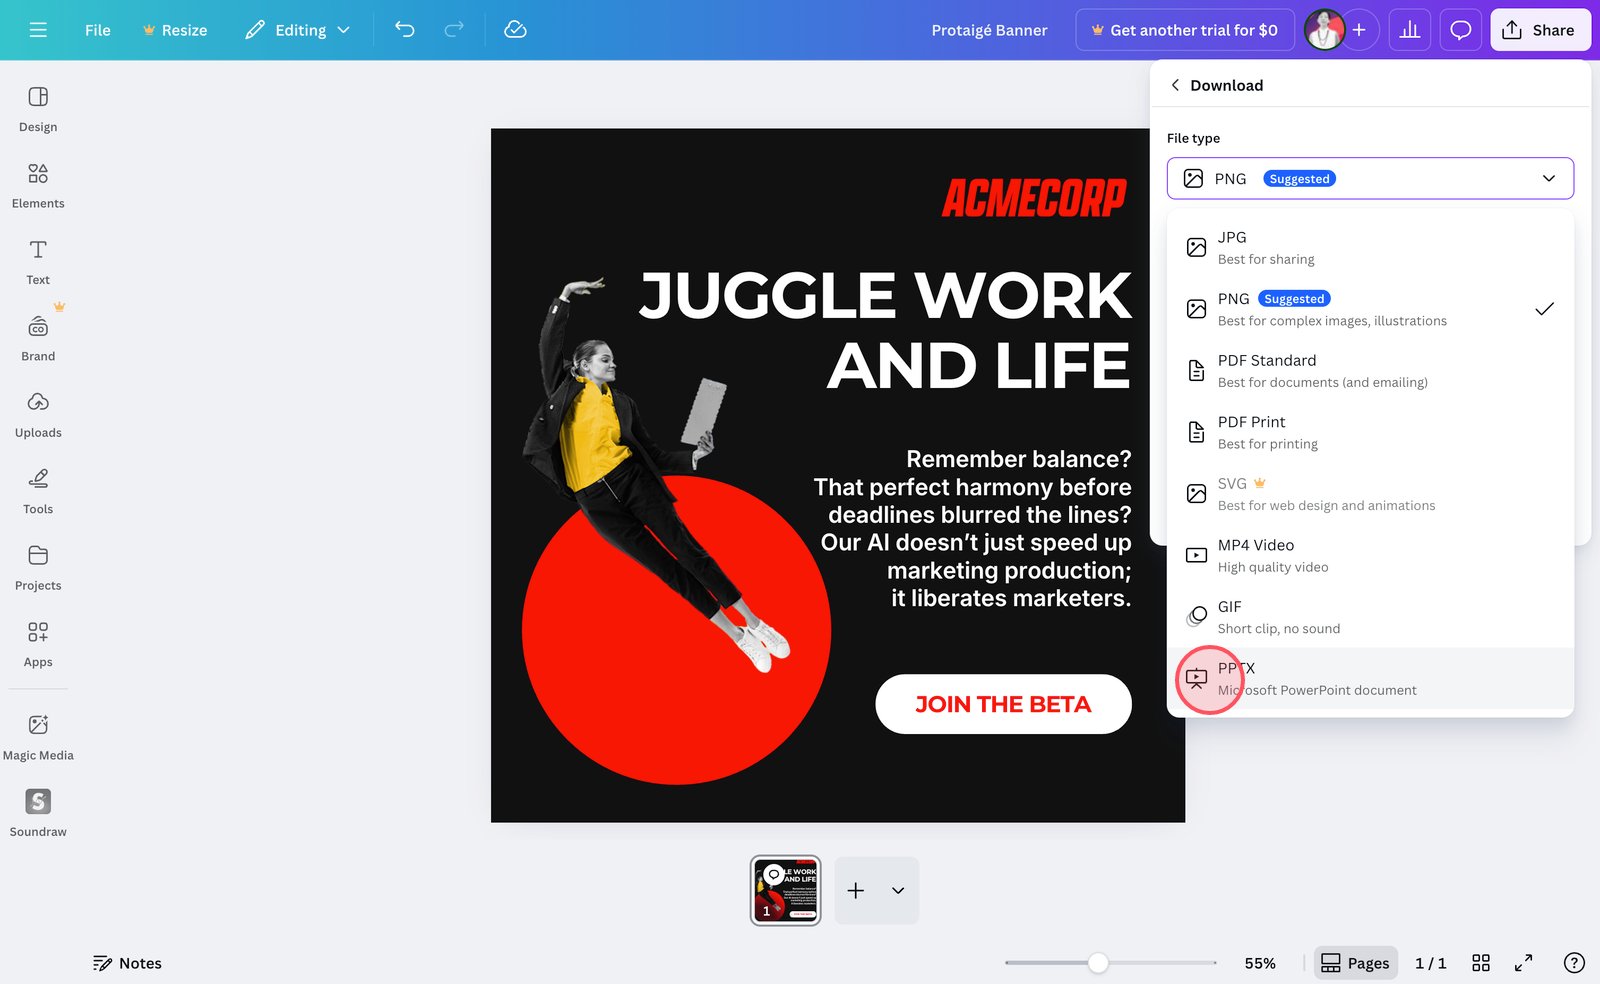
5. Select PPTX.
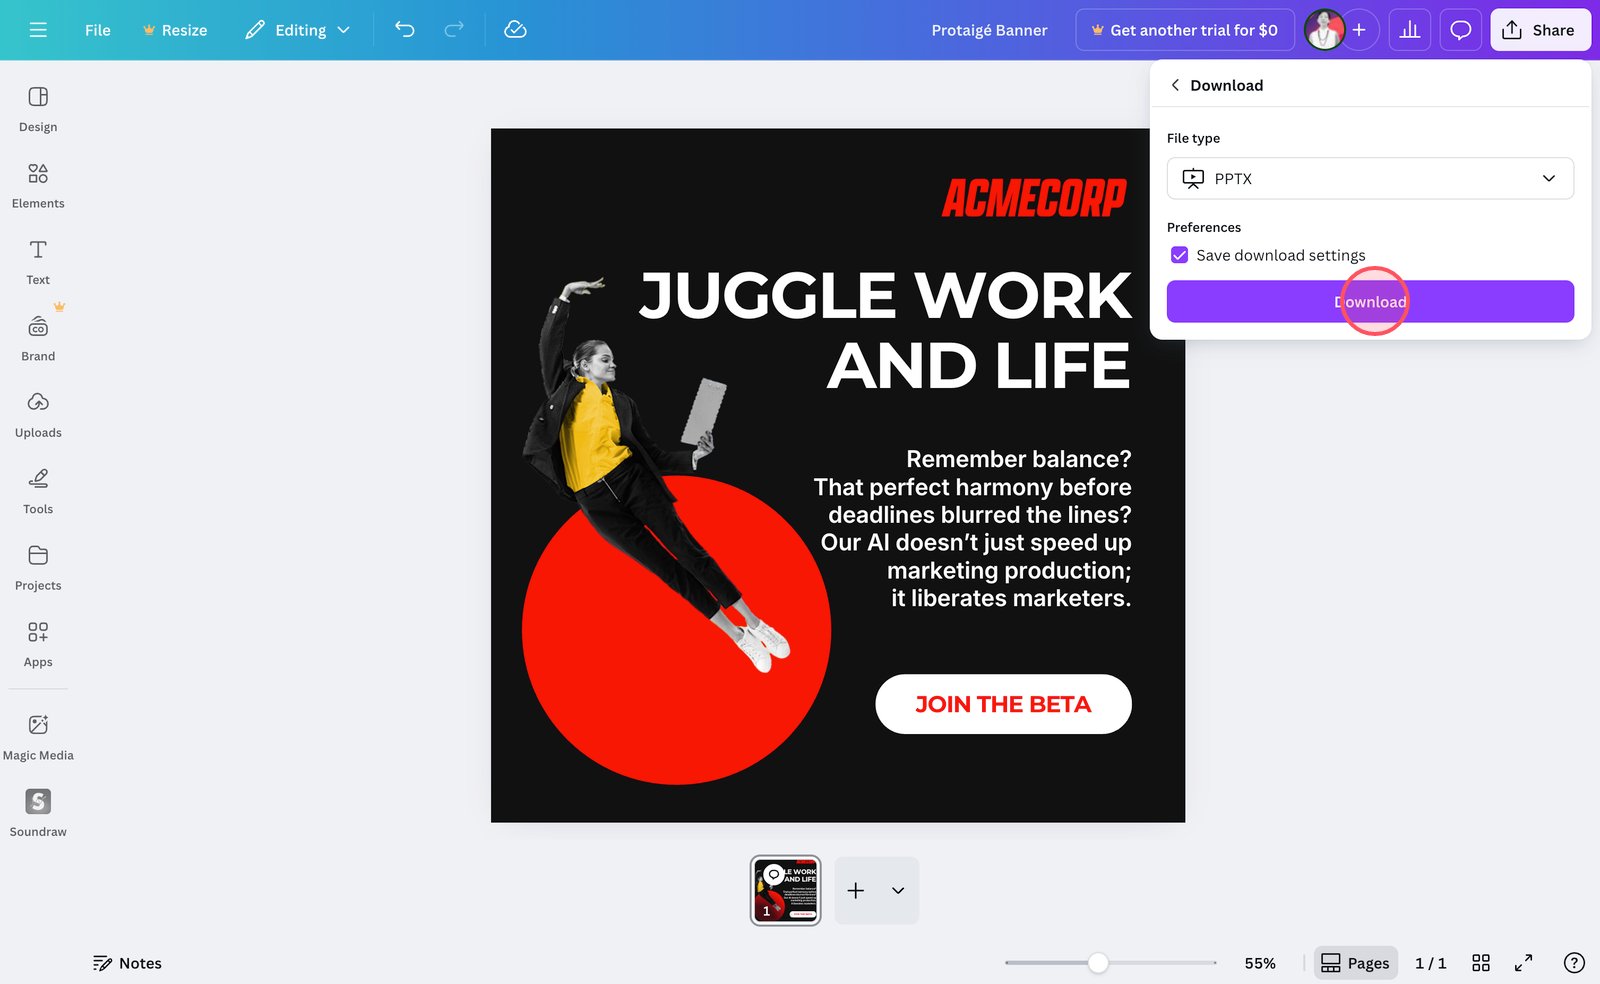
6. Click Download.
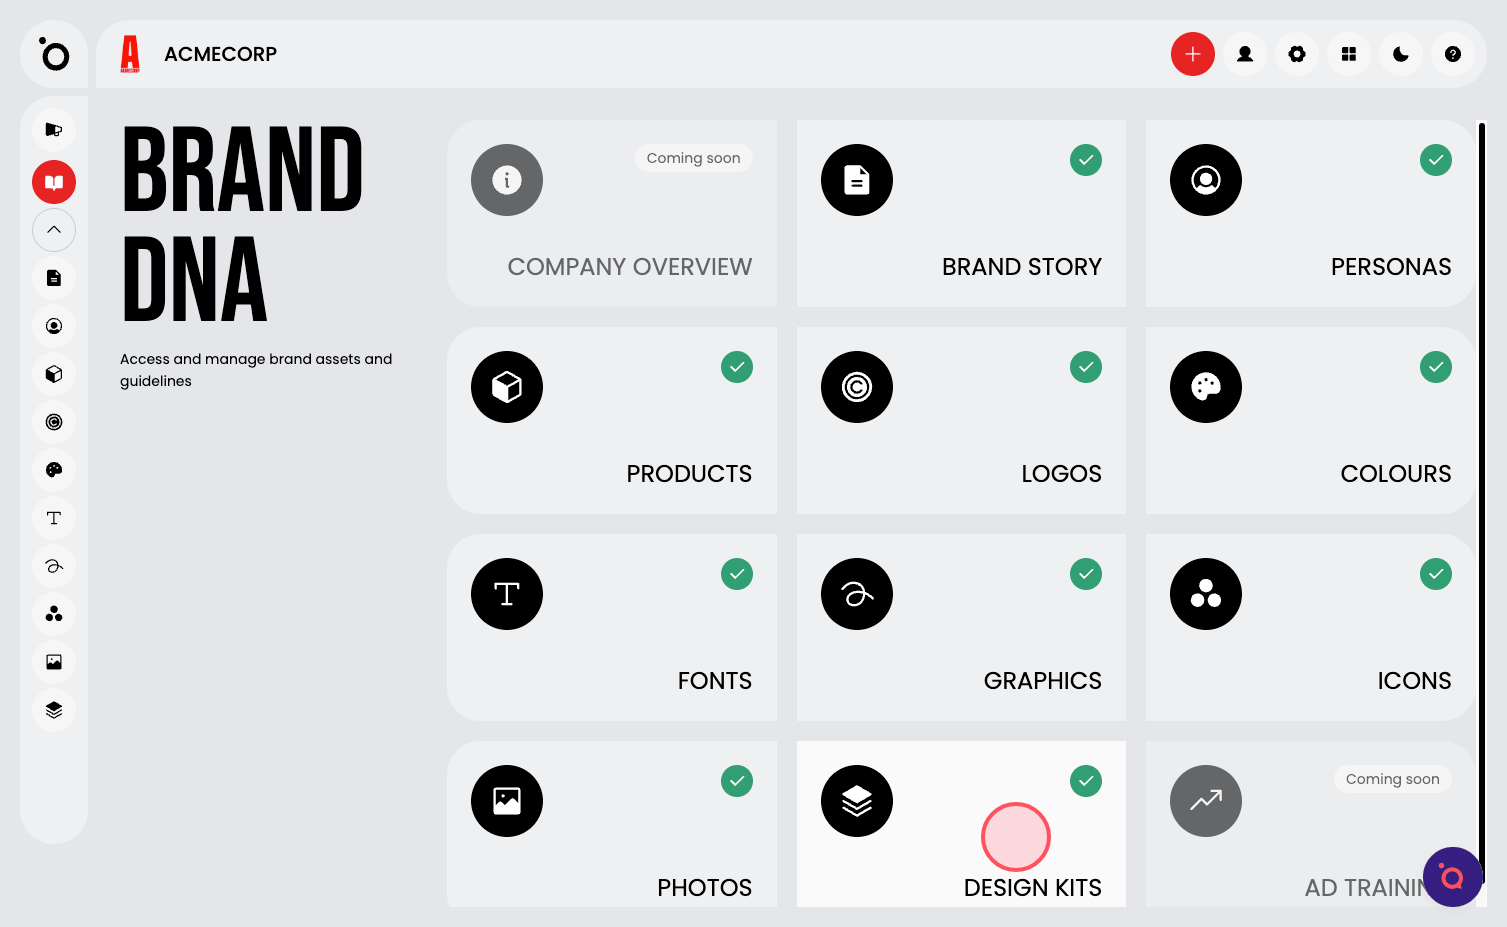
7. Navigate back to Design Kits.
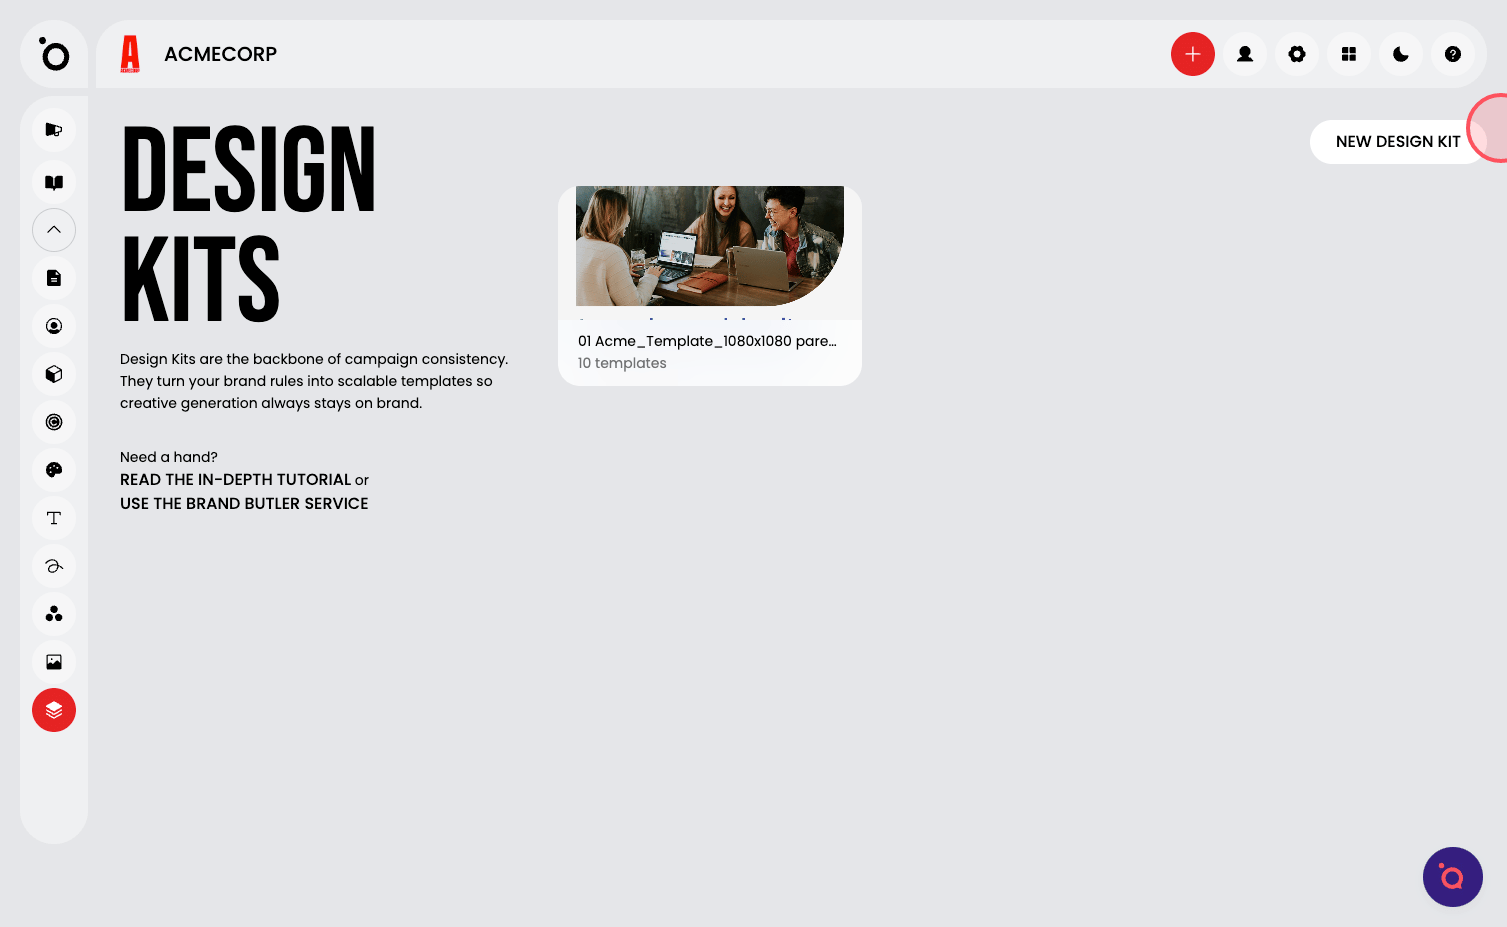
8. Click New Design Kit.
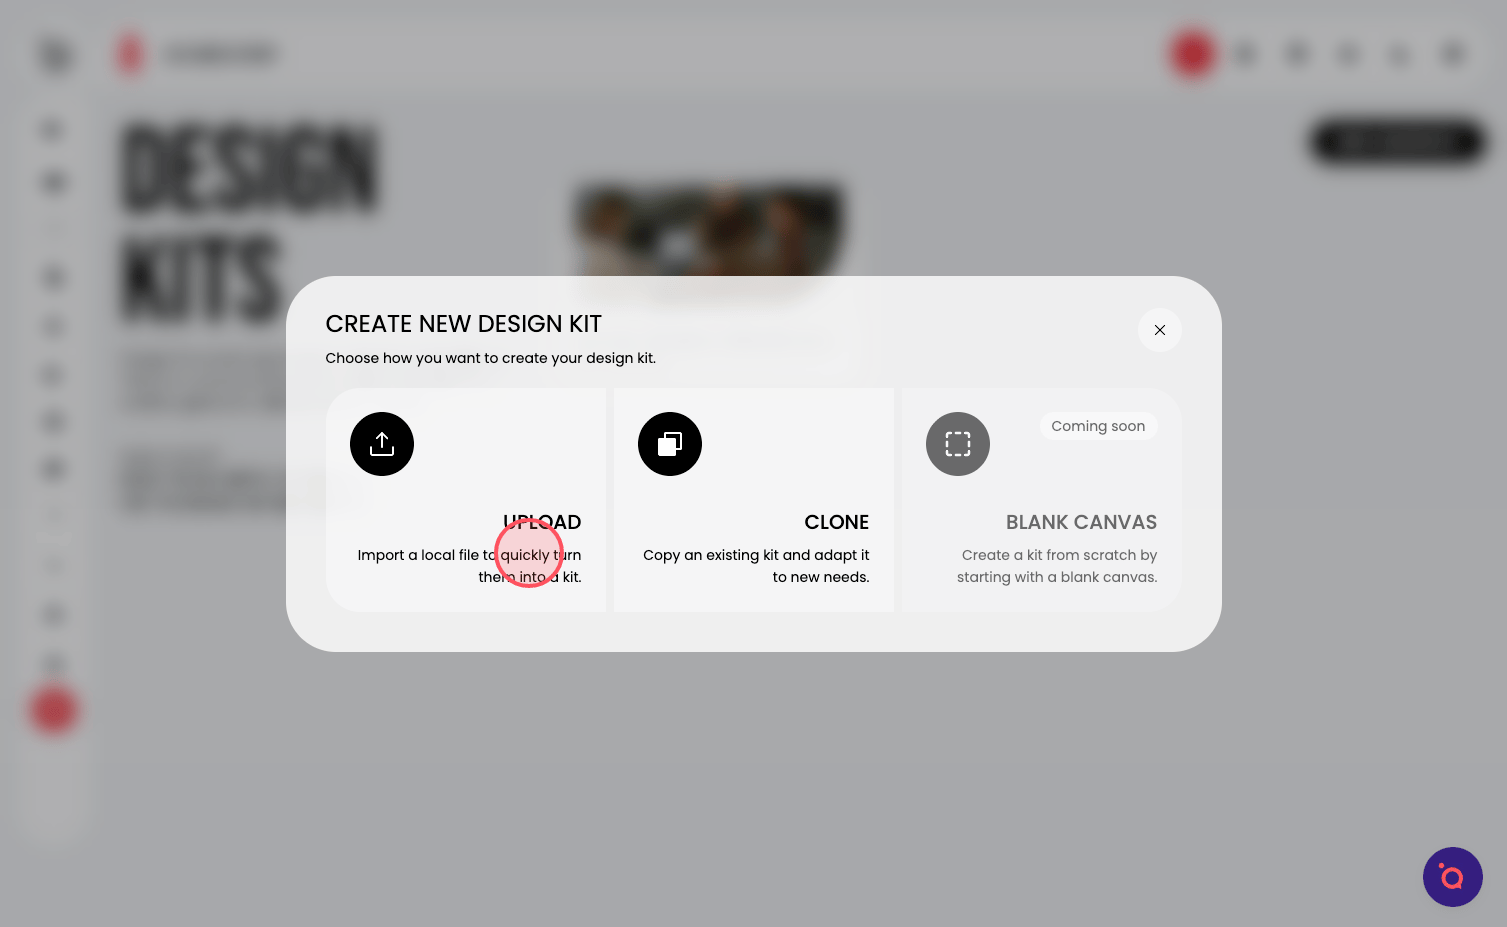
9. Click UPLOAD to import your Canva design.
🚨Only single-page PPTX are currently supported. Multi-page support is in progress.
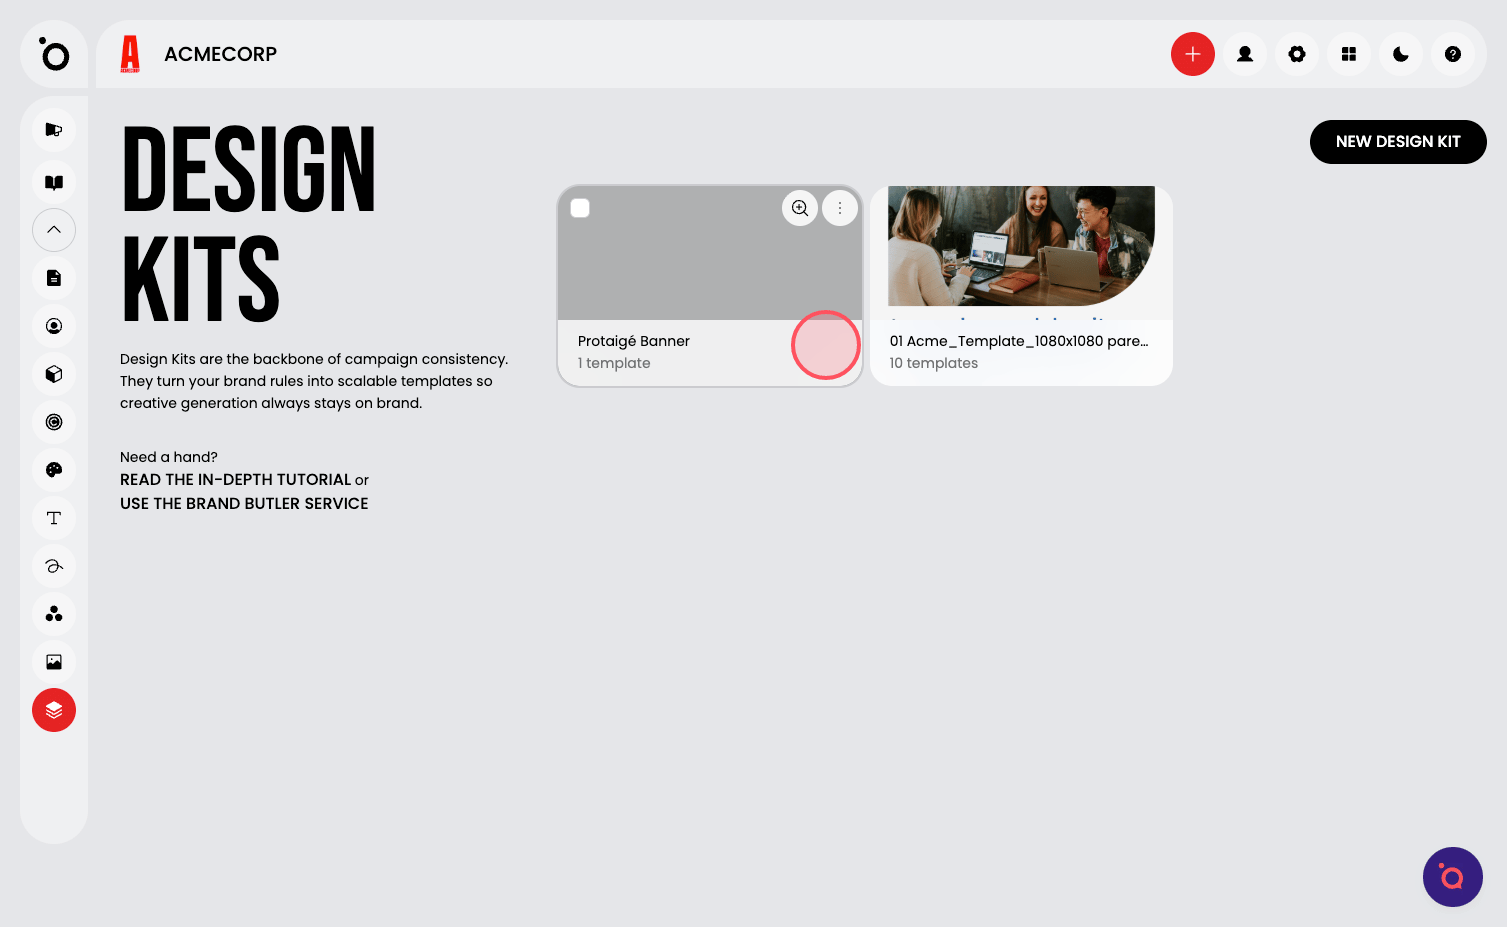
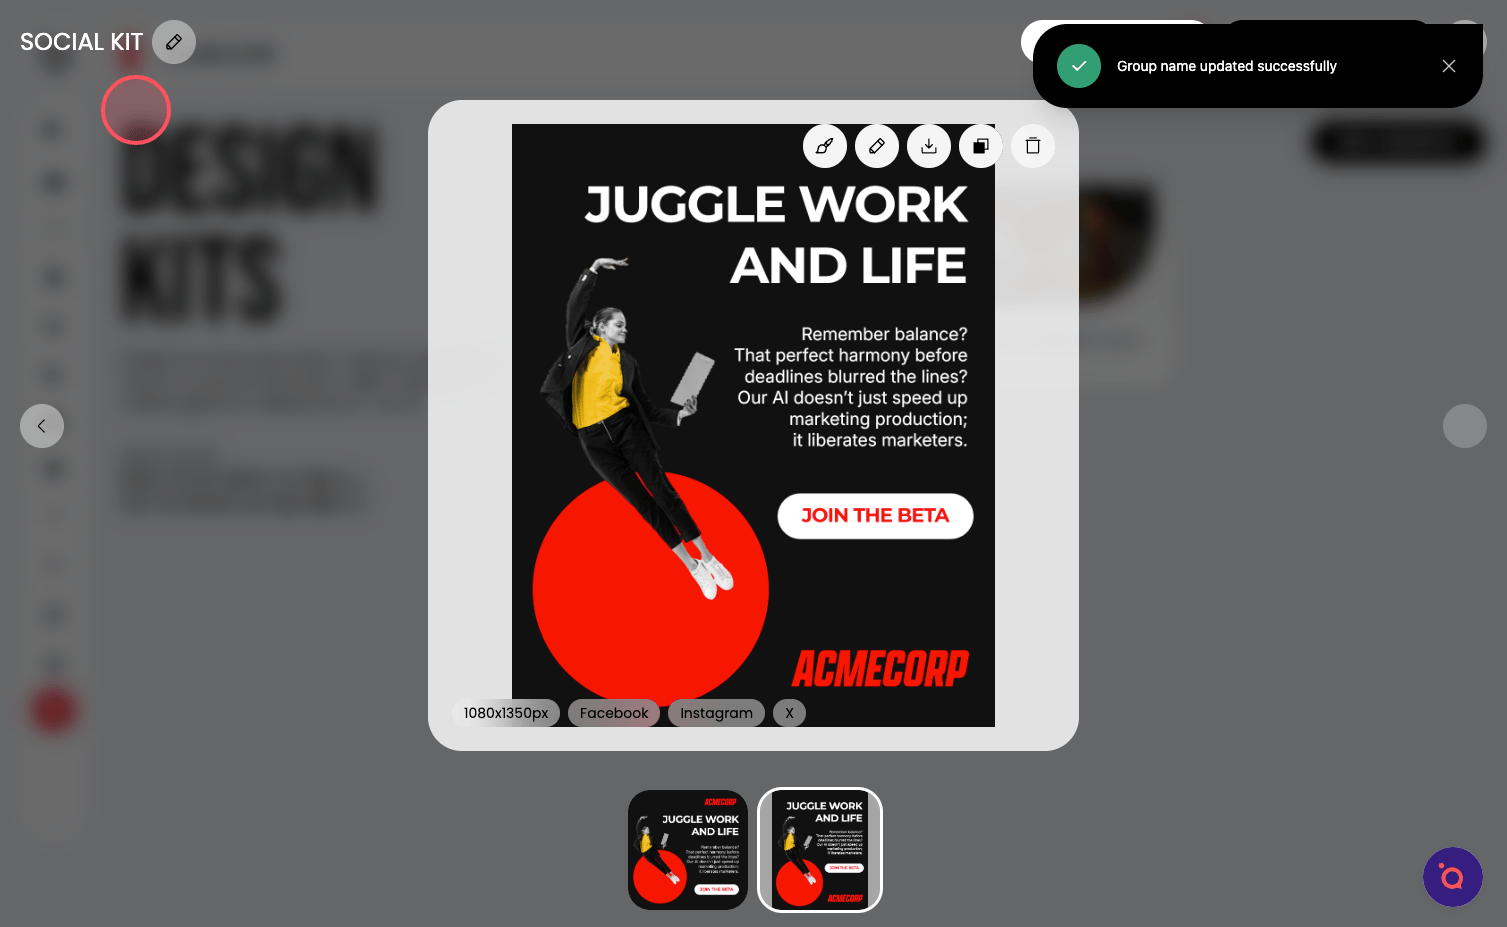
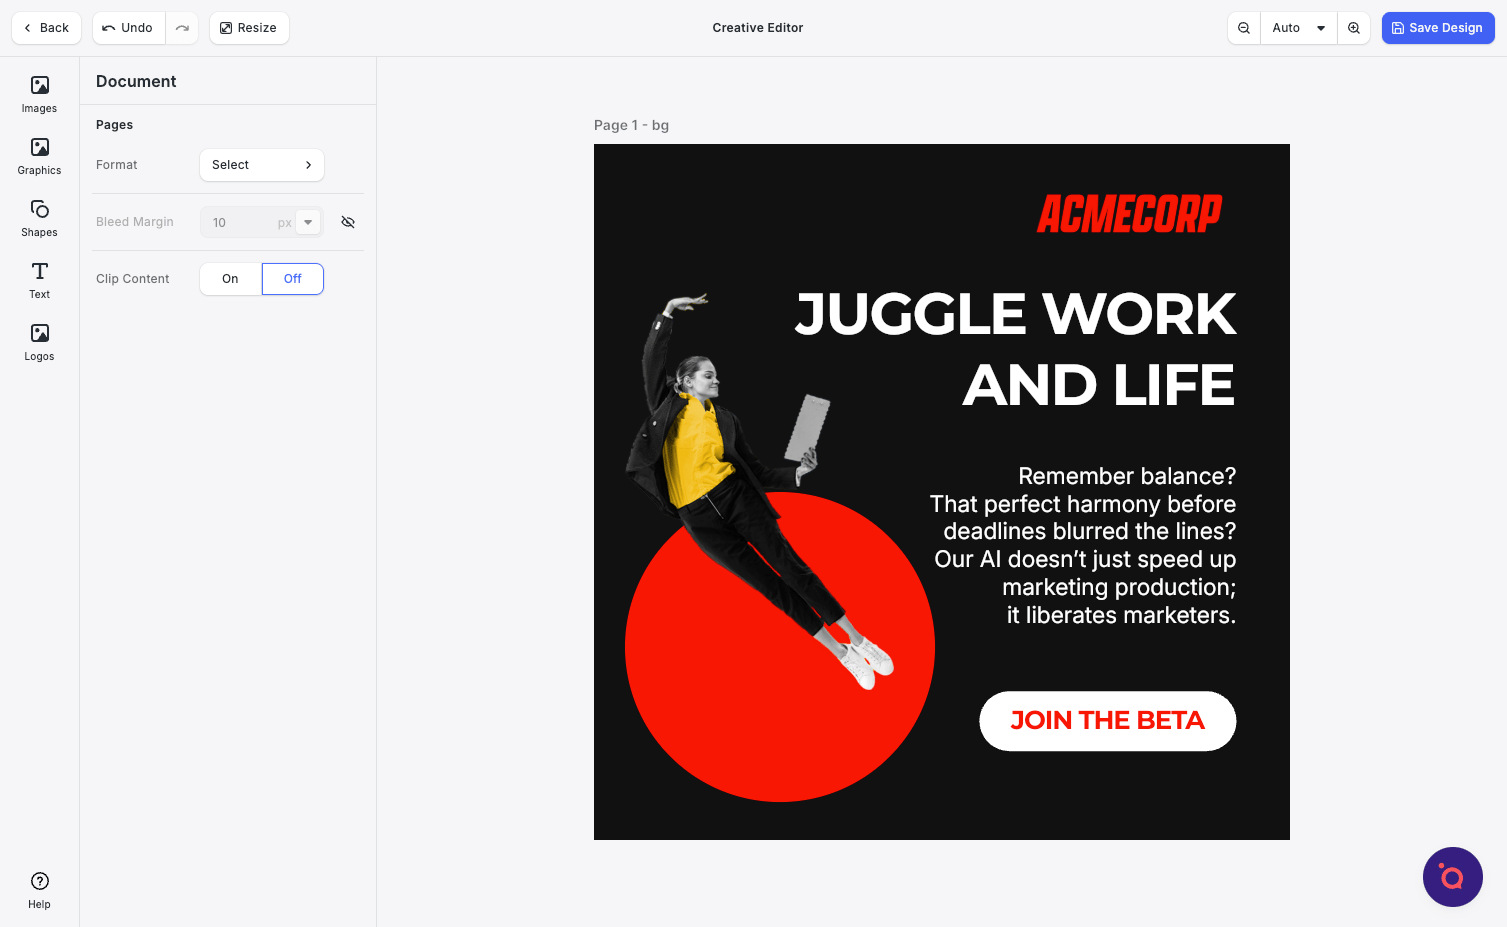
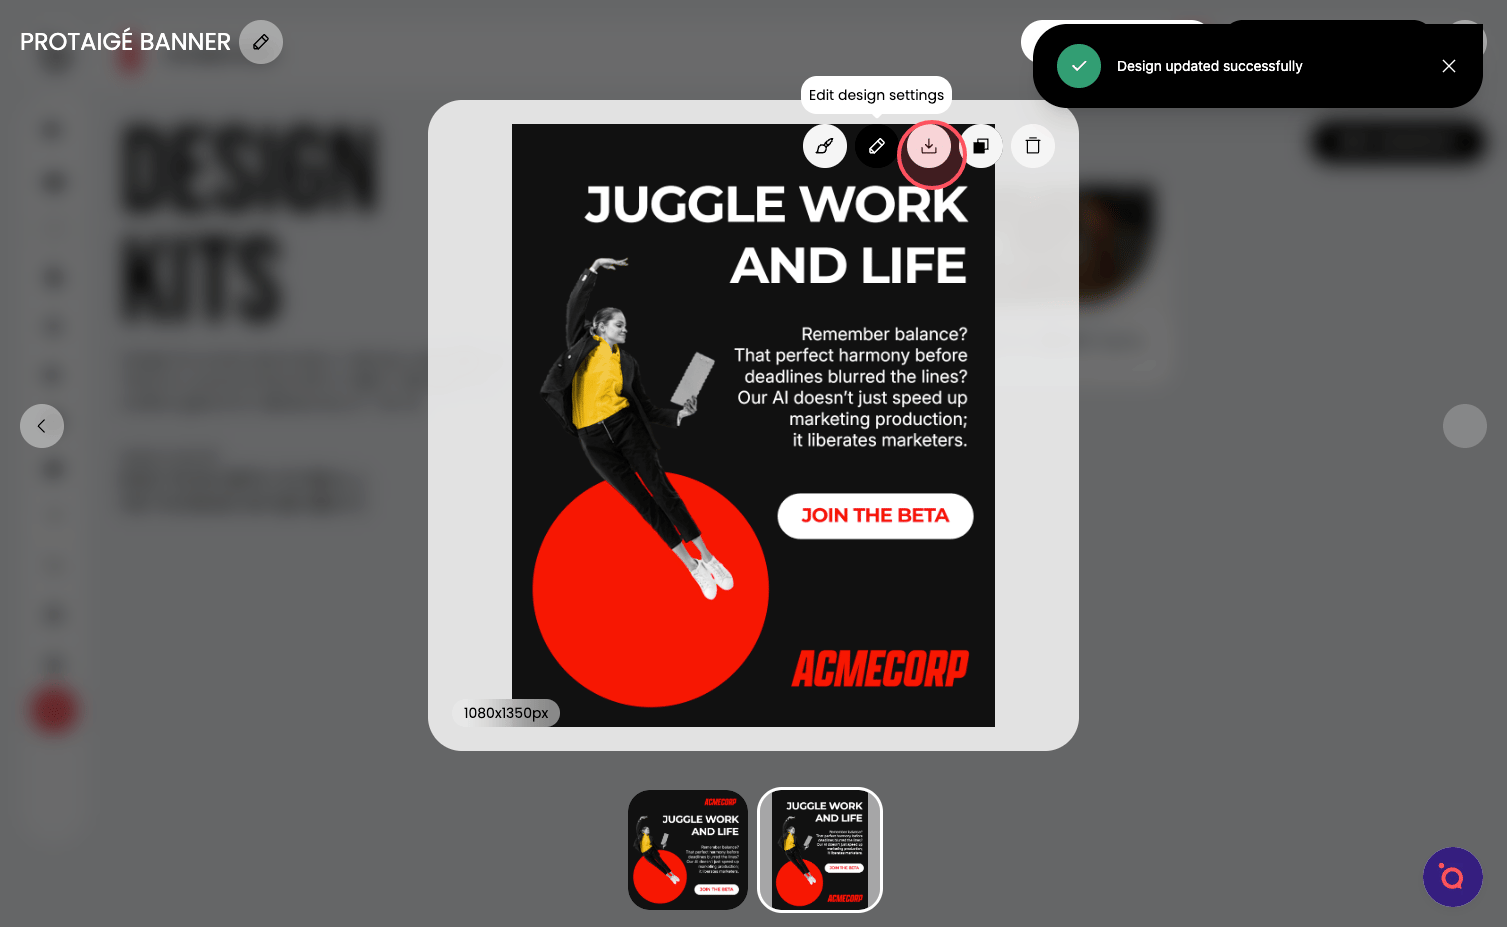
11. Your Canva design is now imported. Click the thumbnail to complete design setup and to scale this into a complete kit.
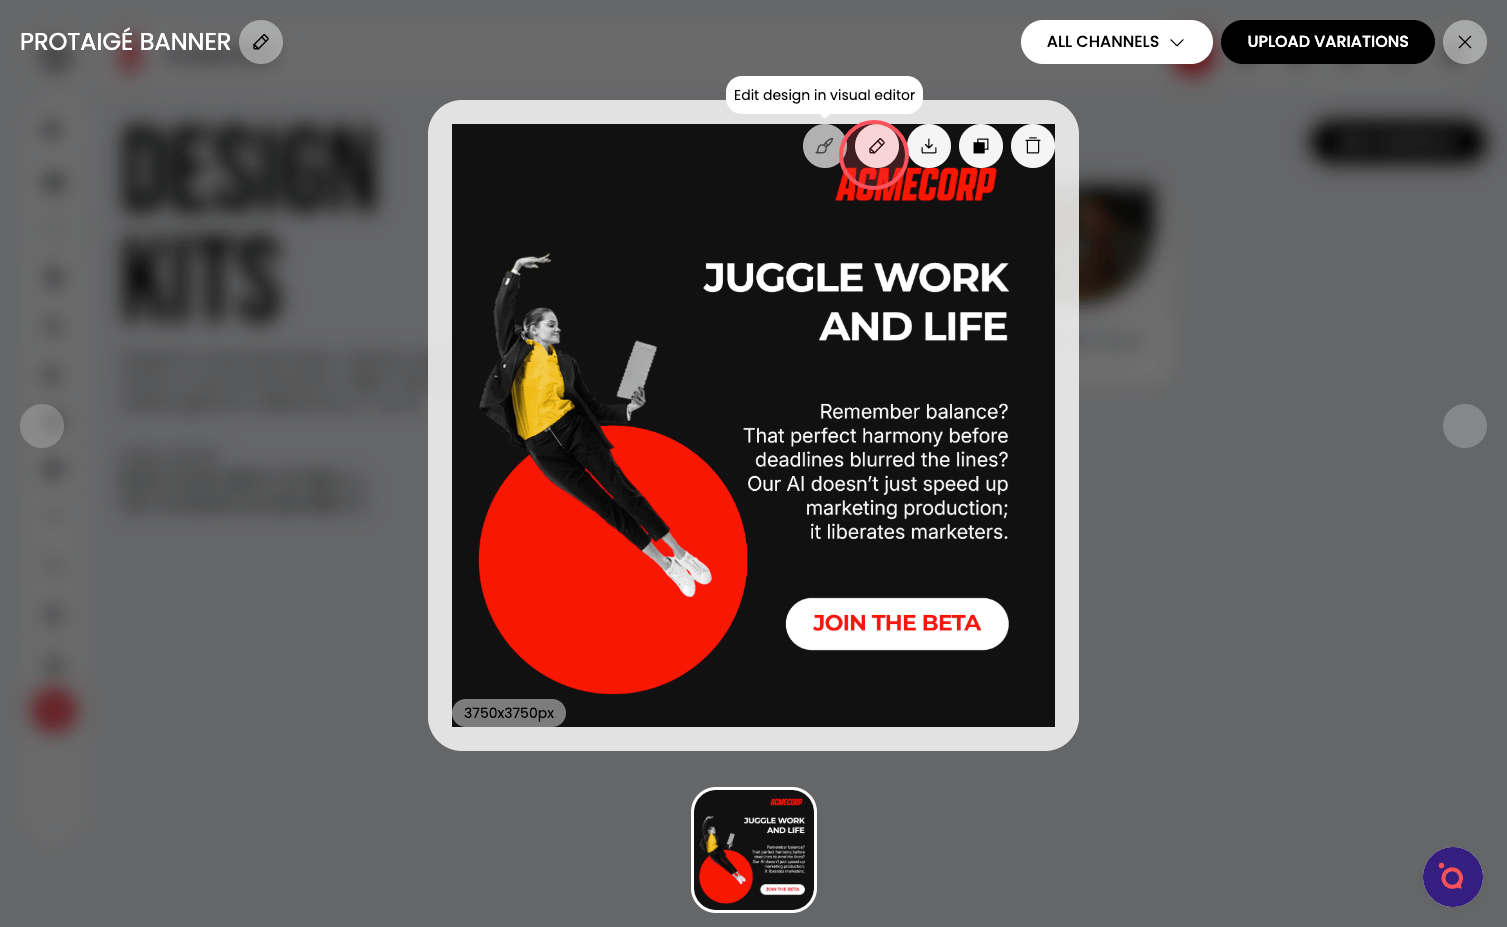
12. Select the Brush icon.
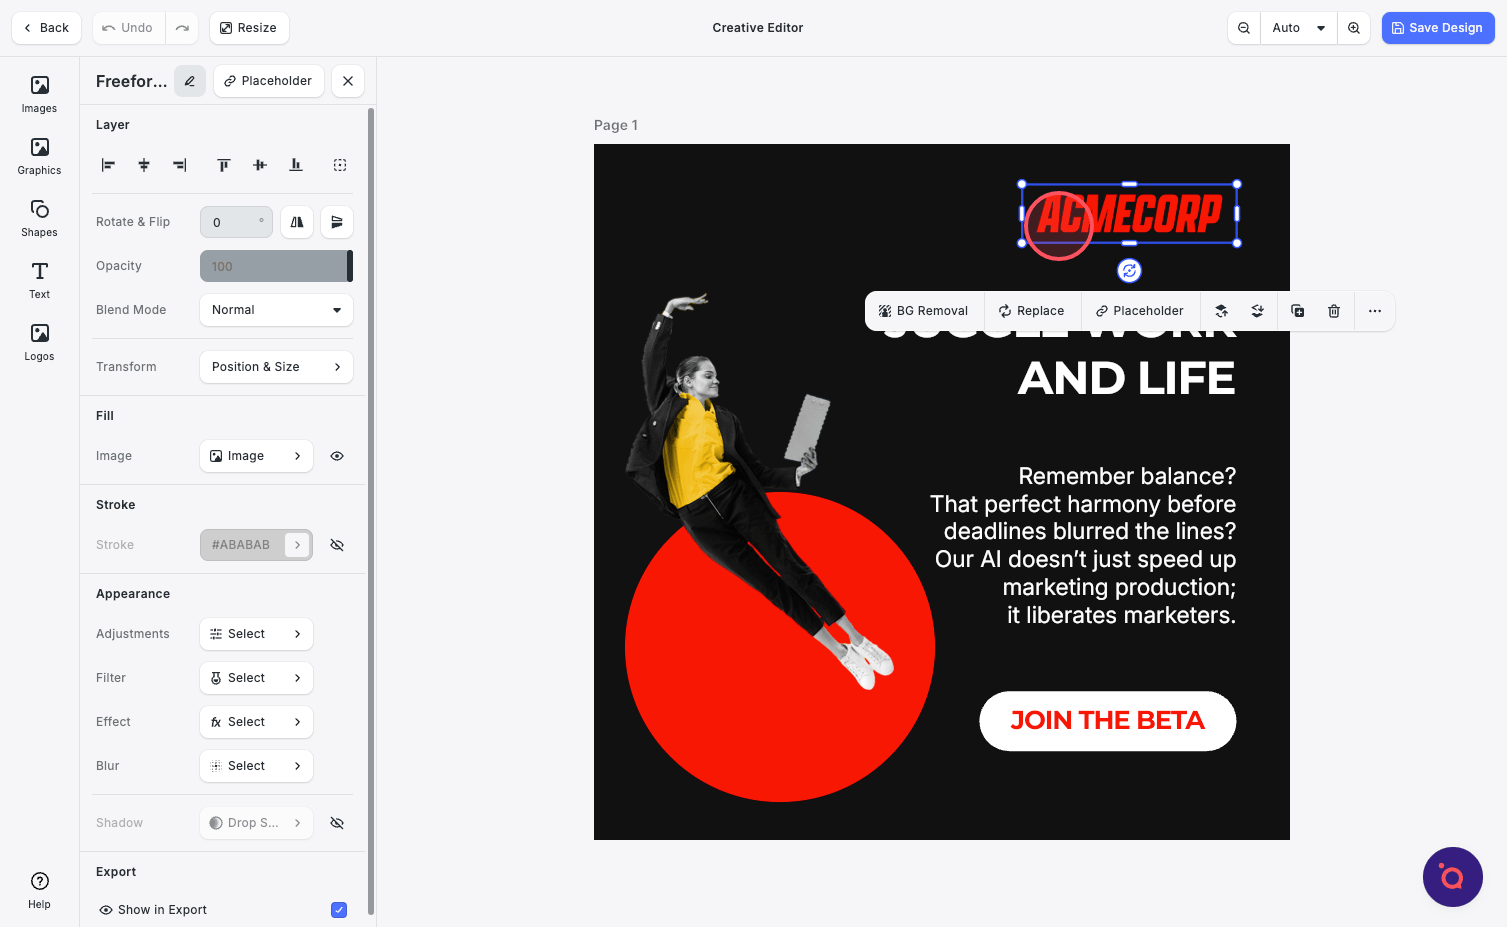
13. The first step is to label all the dynamic blocks. Select the logo block.
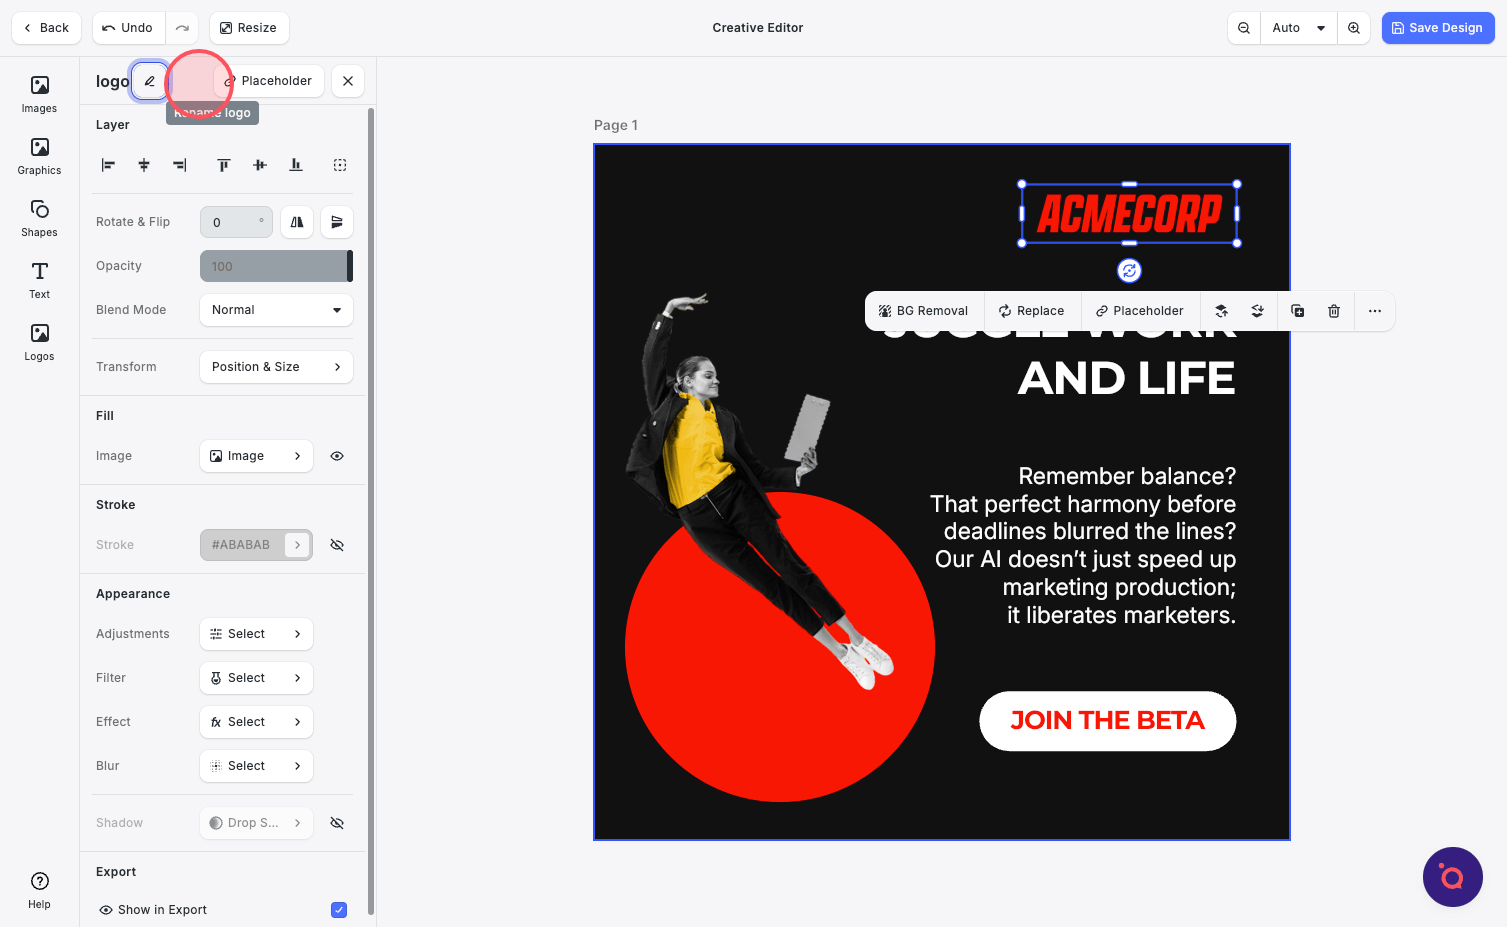
14. Rename this to logo and hit Save.
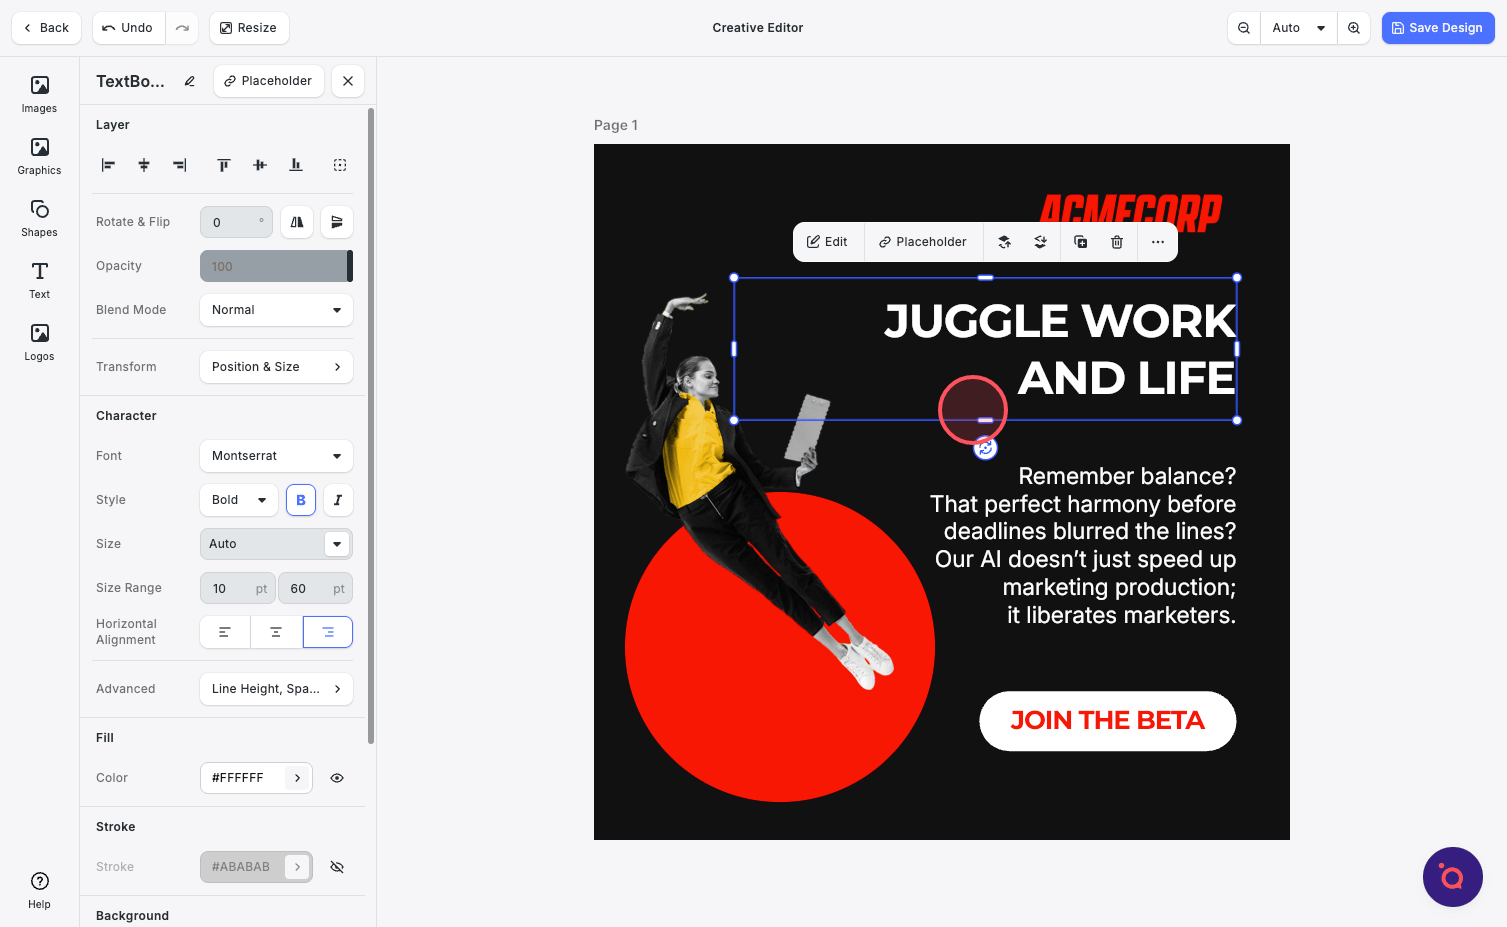
15. Repeat the mapping steps for each element—such as H1, H2, CTAs, images, and buttons—that you want to make dynamic.
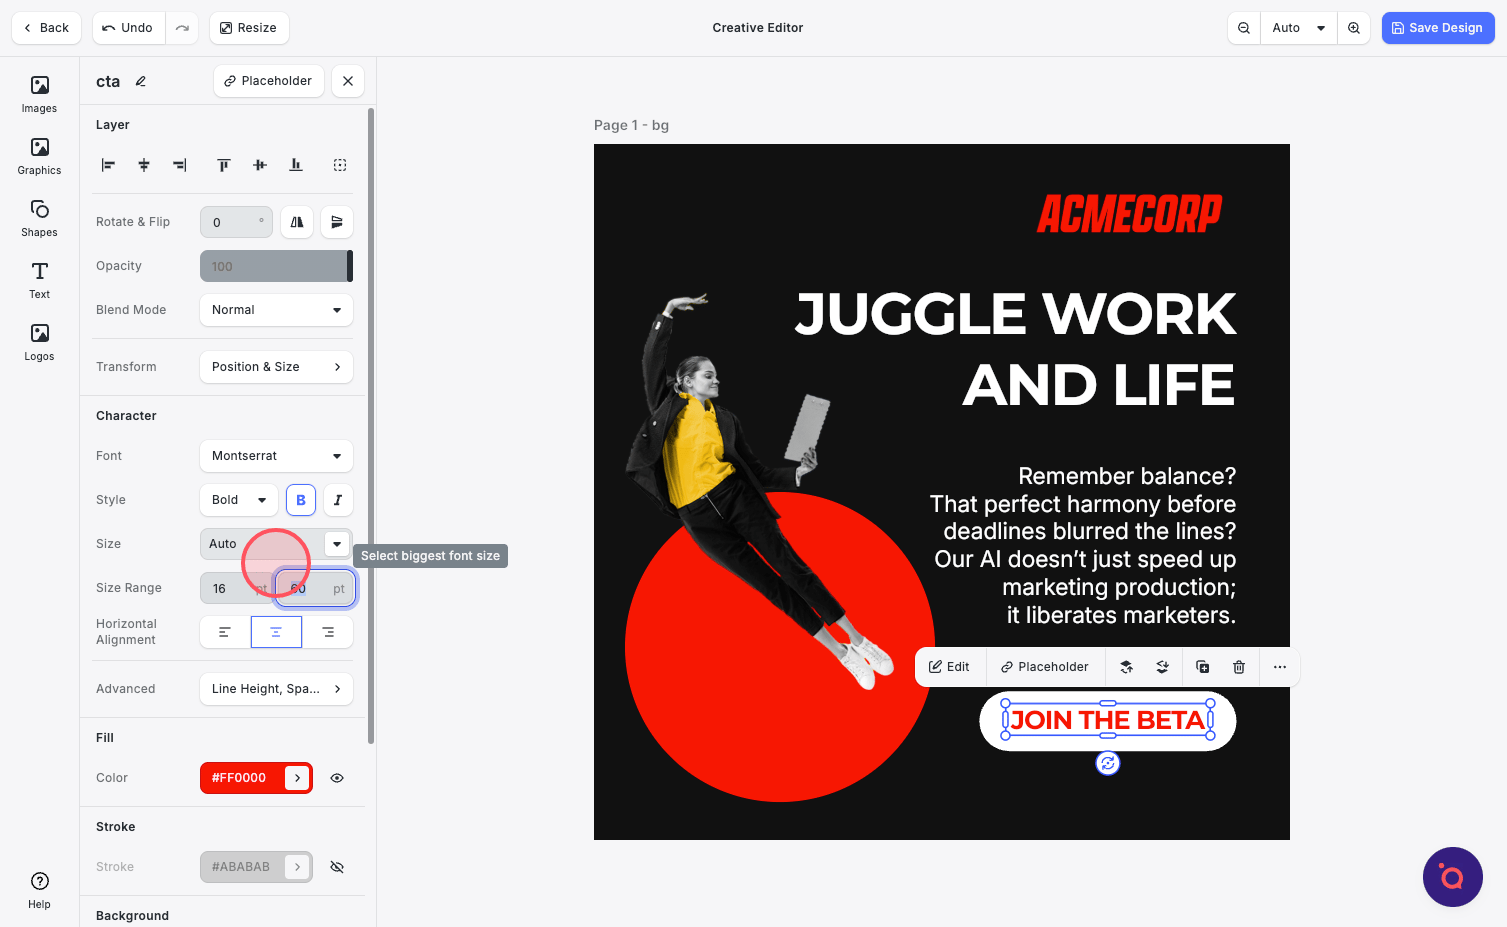
16. Make other refinements as necessary, such as adjusting minimum and maximum font sizes.
17. When you're done, hit Save.
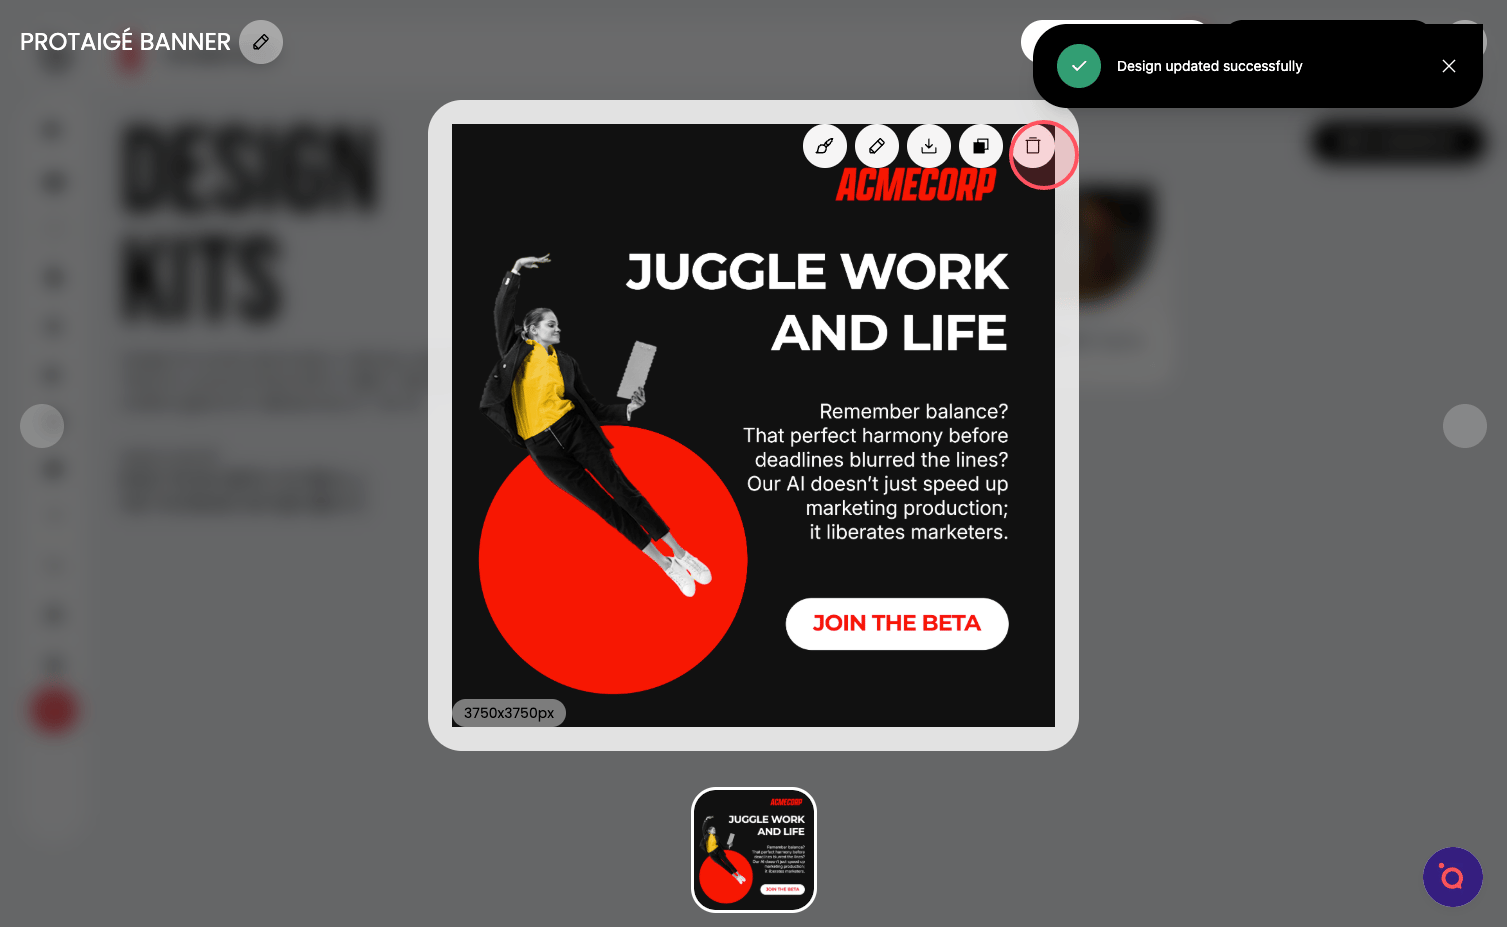
18. Now it's time to extend this design into a complete kit. Begin by clicking Clone.
19. Your duplicated design is now ready, complete with all dynamic blocks seamlessly mapped and your design enhancements fully preserved.

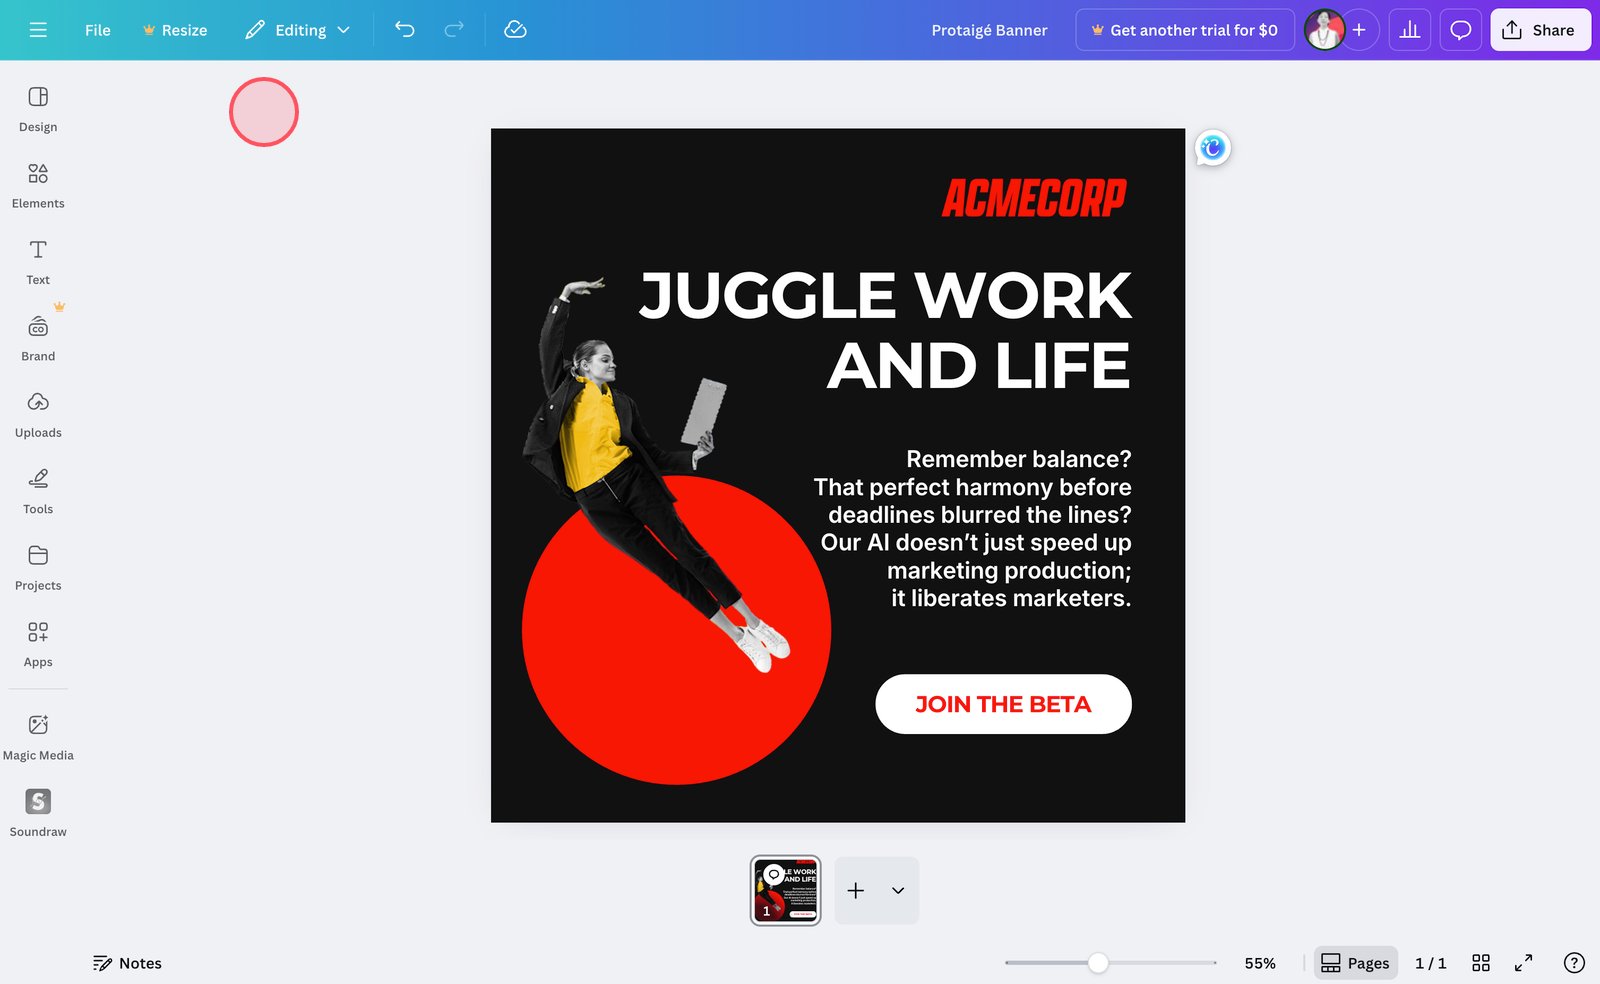
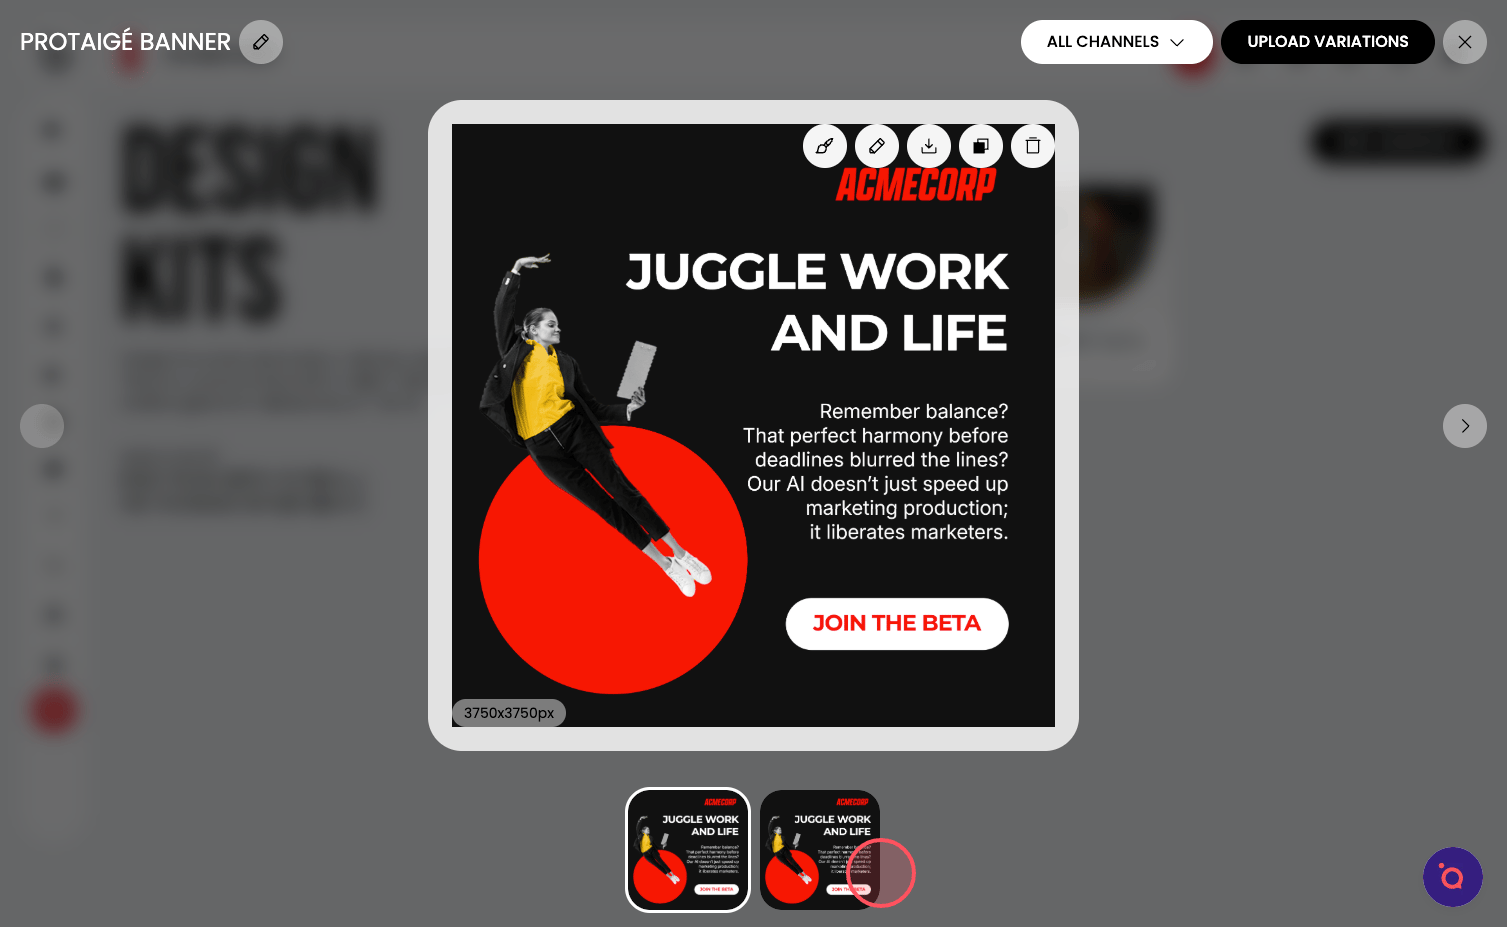
20. Open the cloned design in the editor.
21. Select Resize.
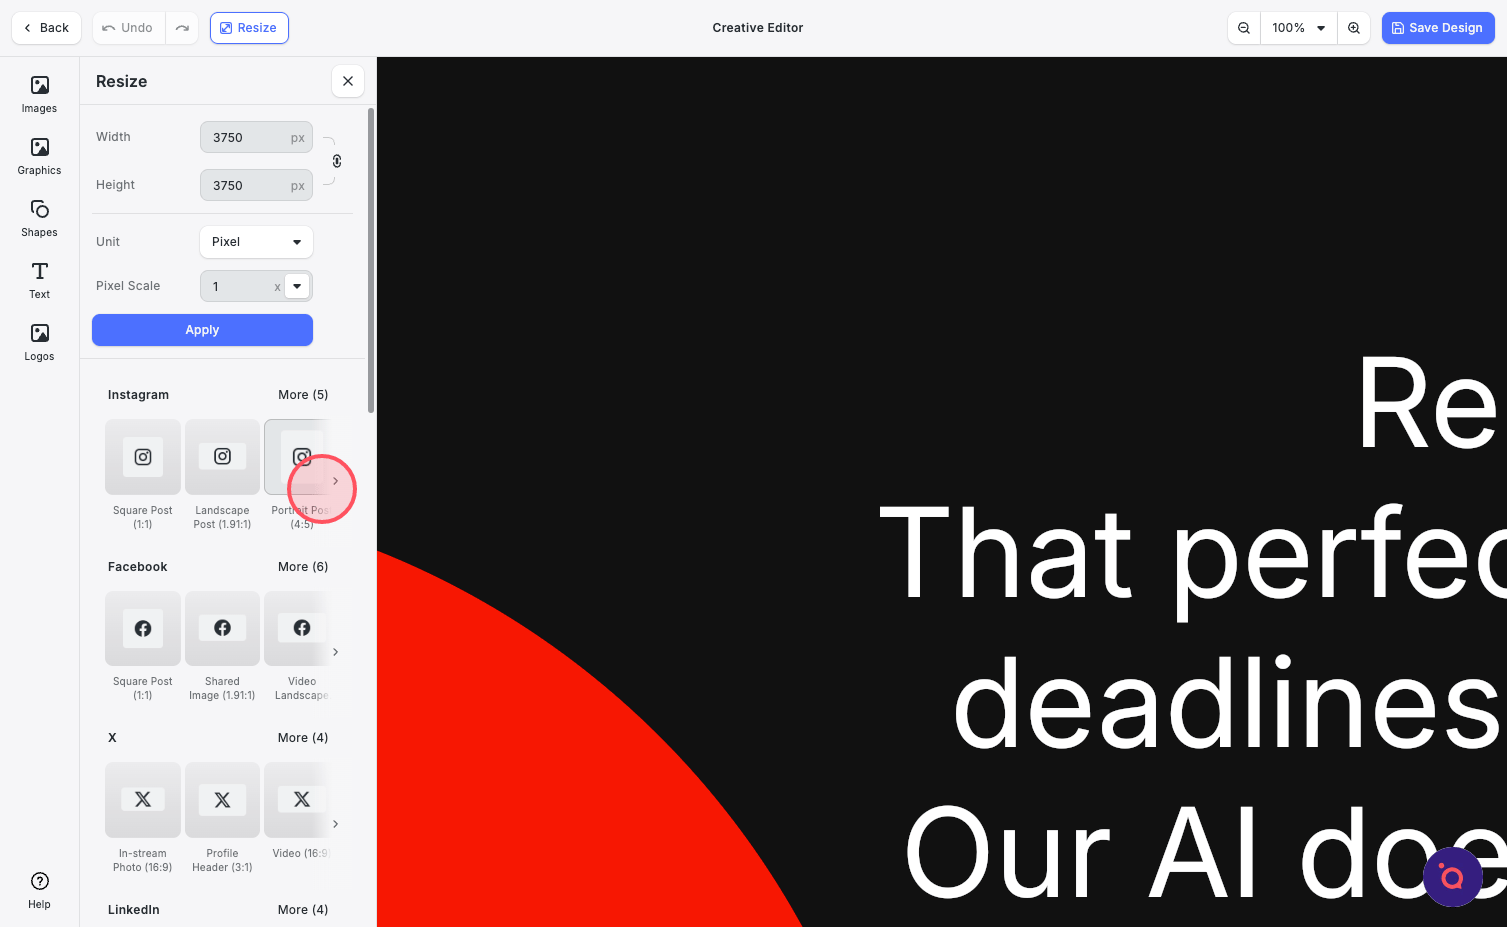
22. Pick one of the presets.

23. Or enter your own dimensions.

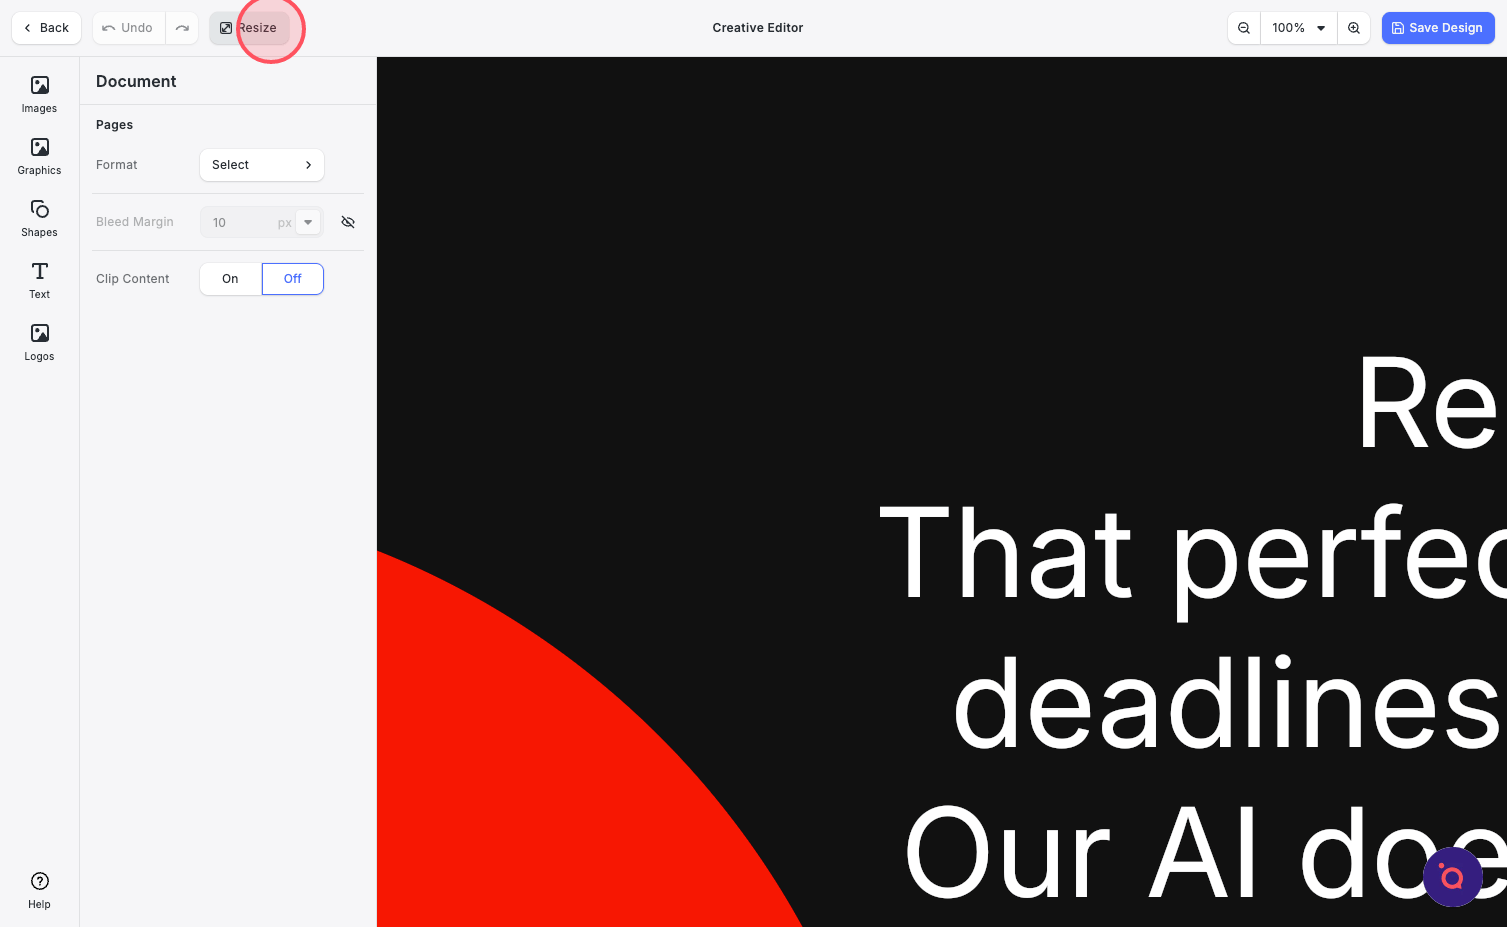
24. Your banner is instantly resized.
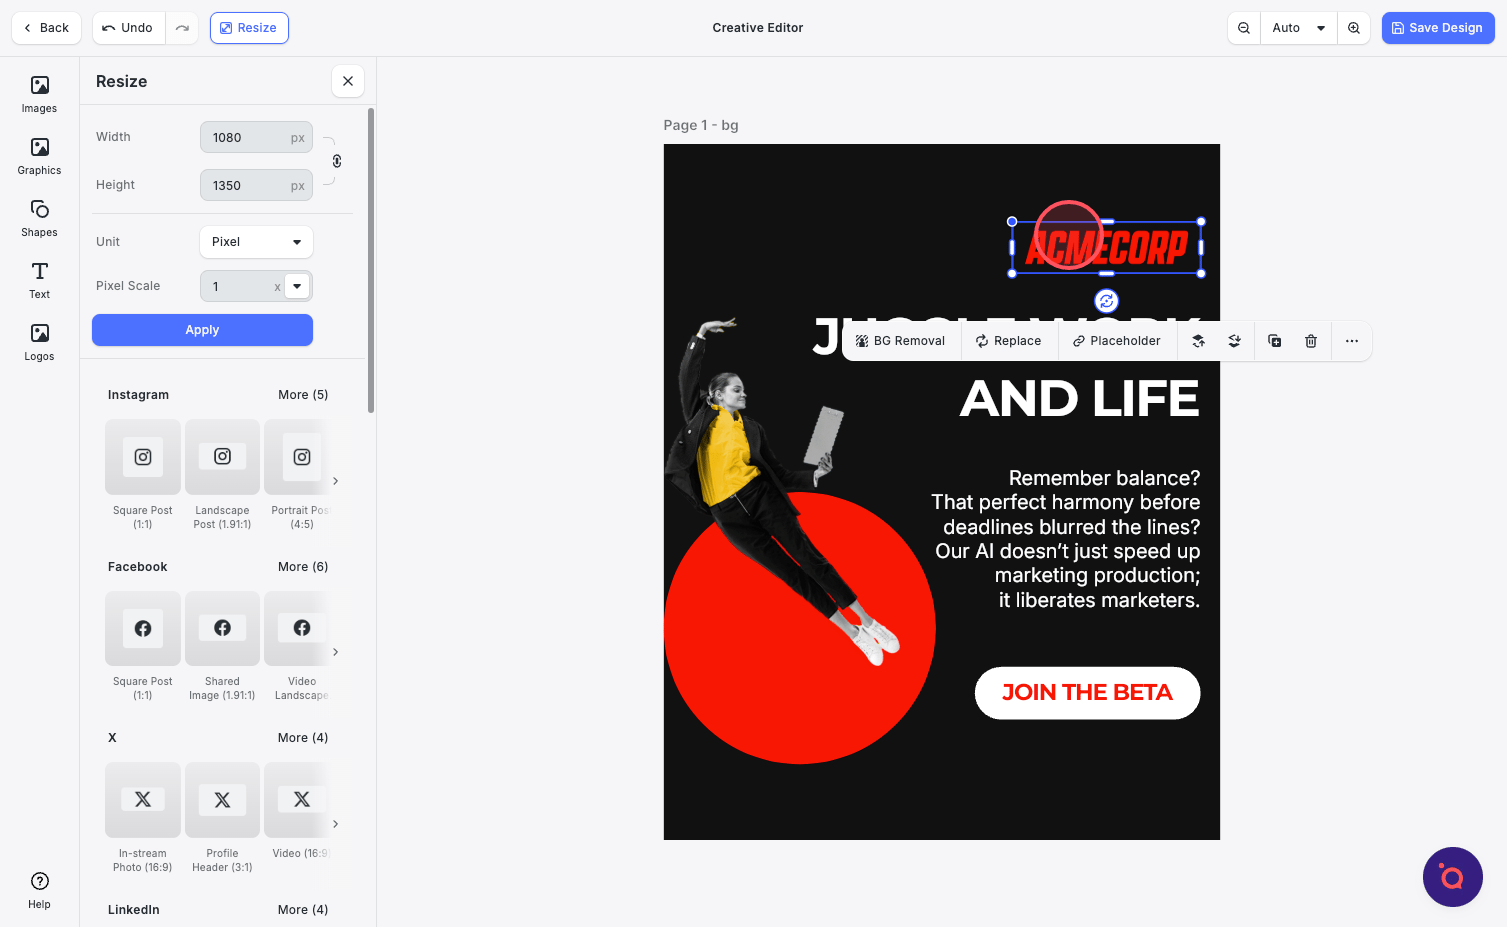
25. Adjust, reposition and resize the design elements accordingly. Remember, you only have to do this once!
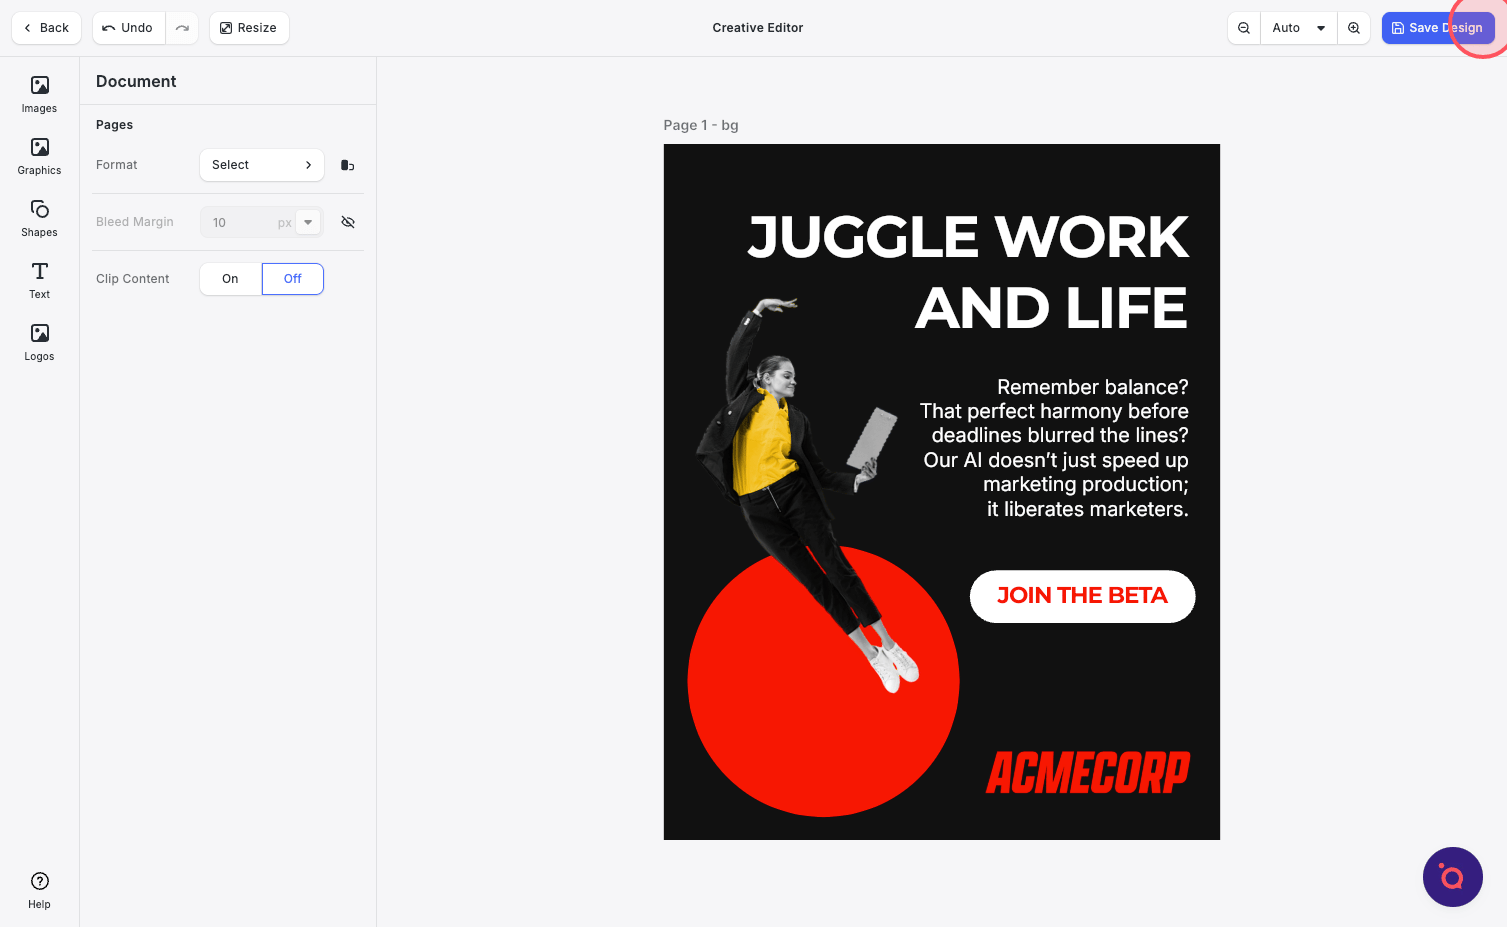
26. Looks good! Now hit Save.
27. Refine Design Settings to specify which channels this format is intended for.
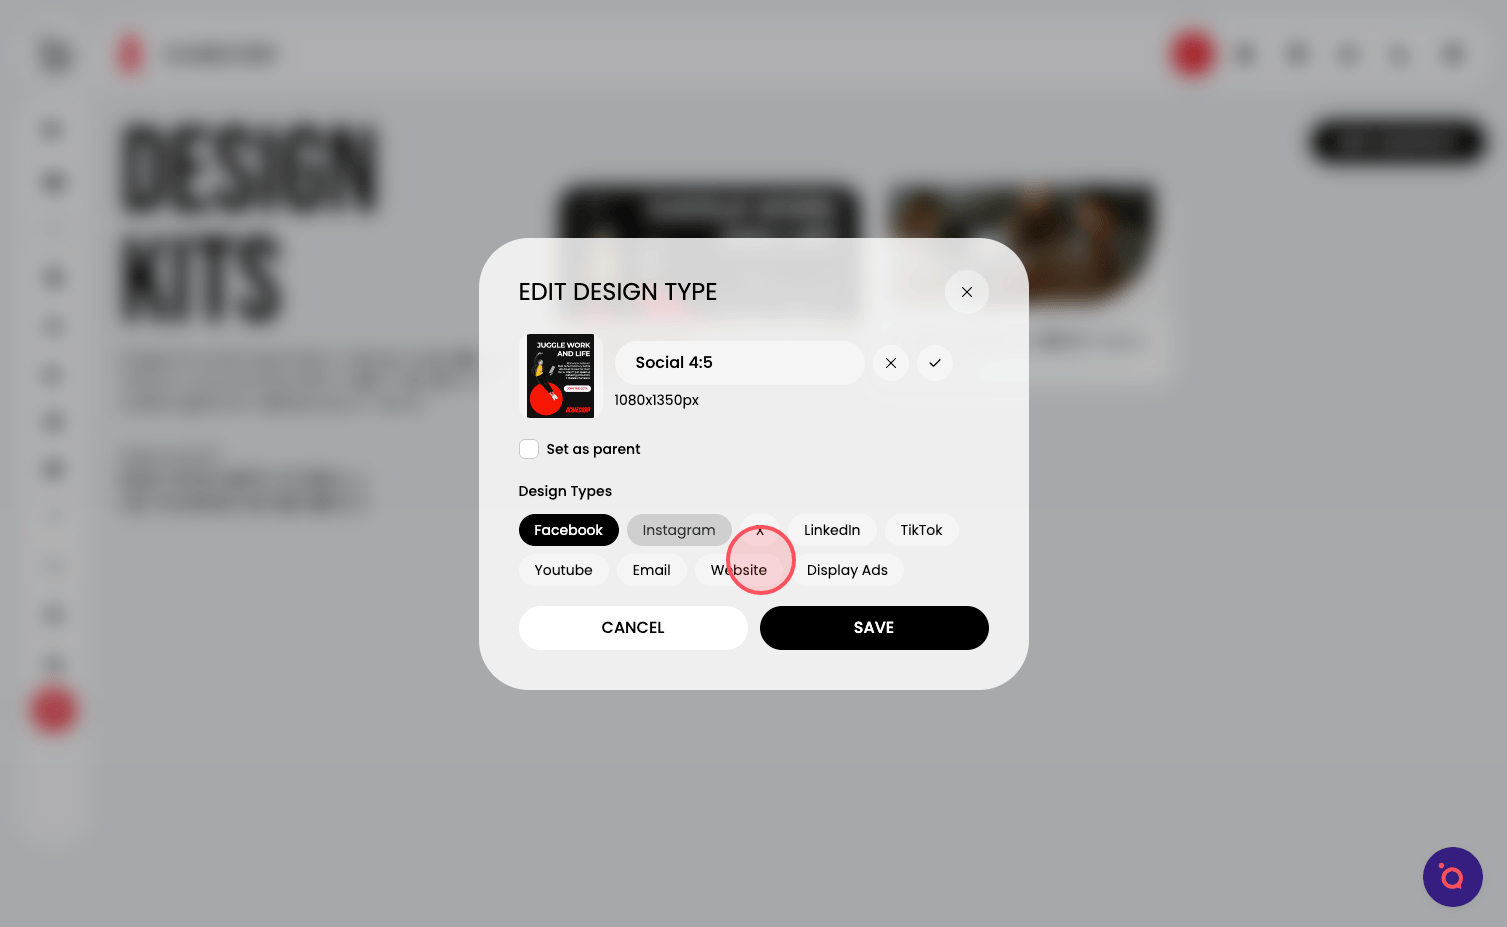
28. Select all that apply.
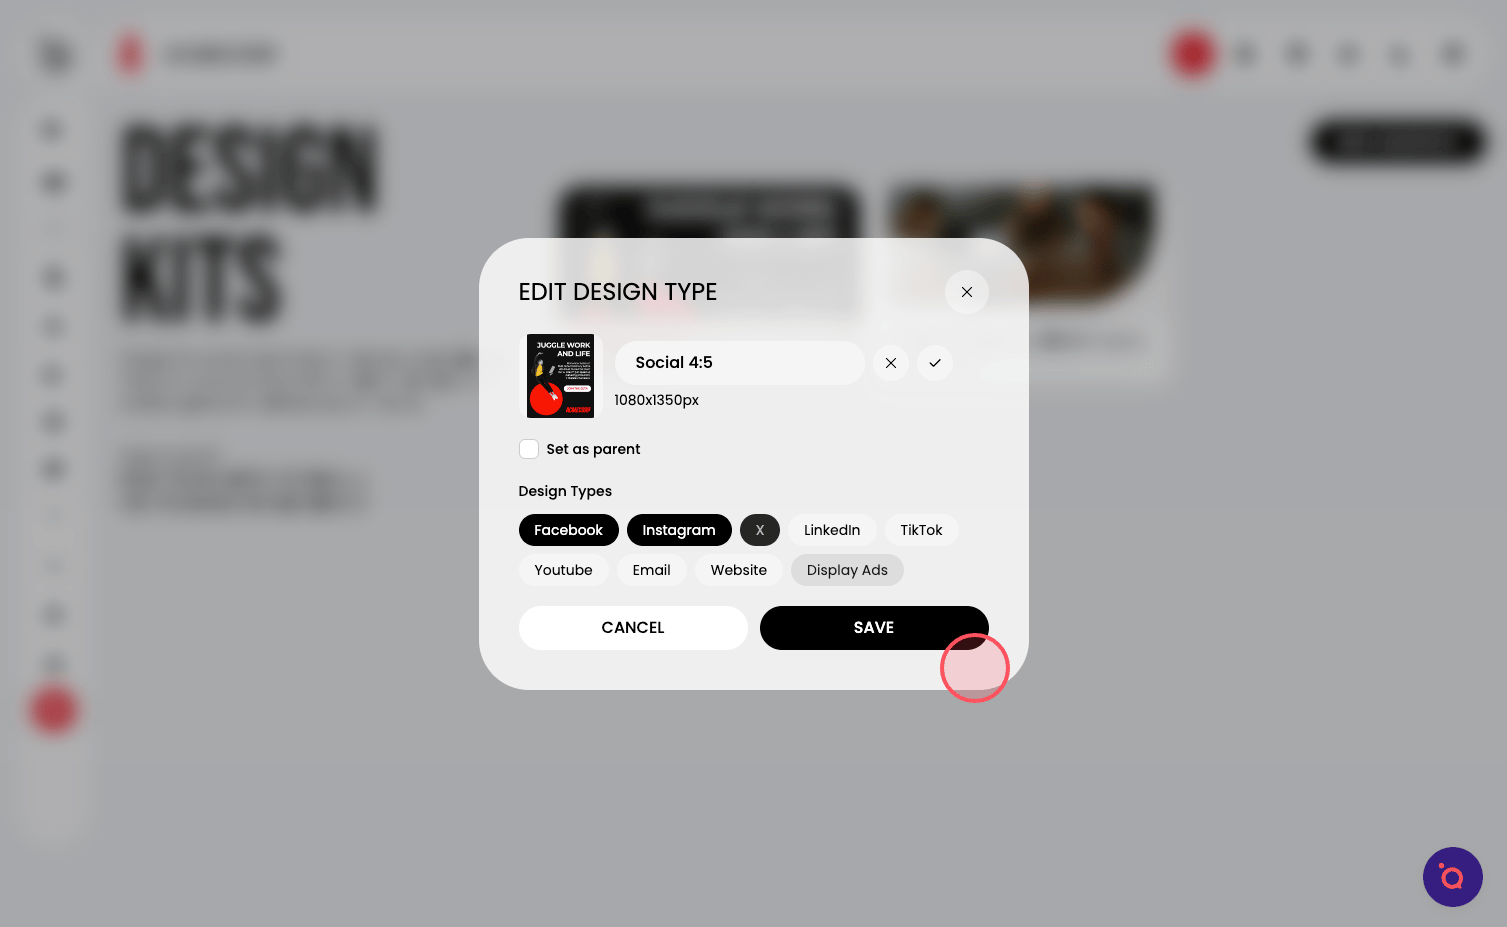
29. Don't forget to Save.
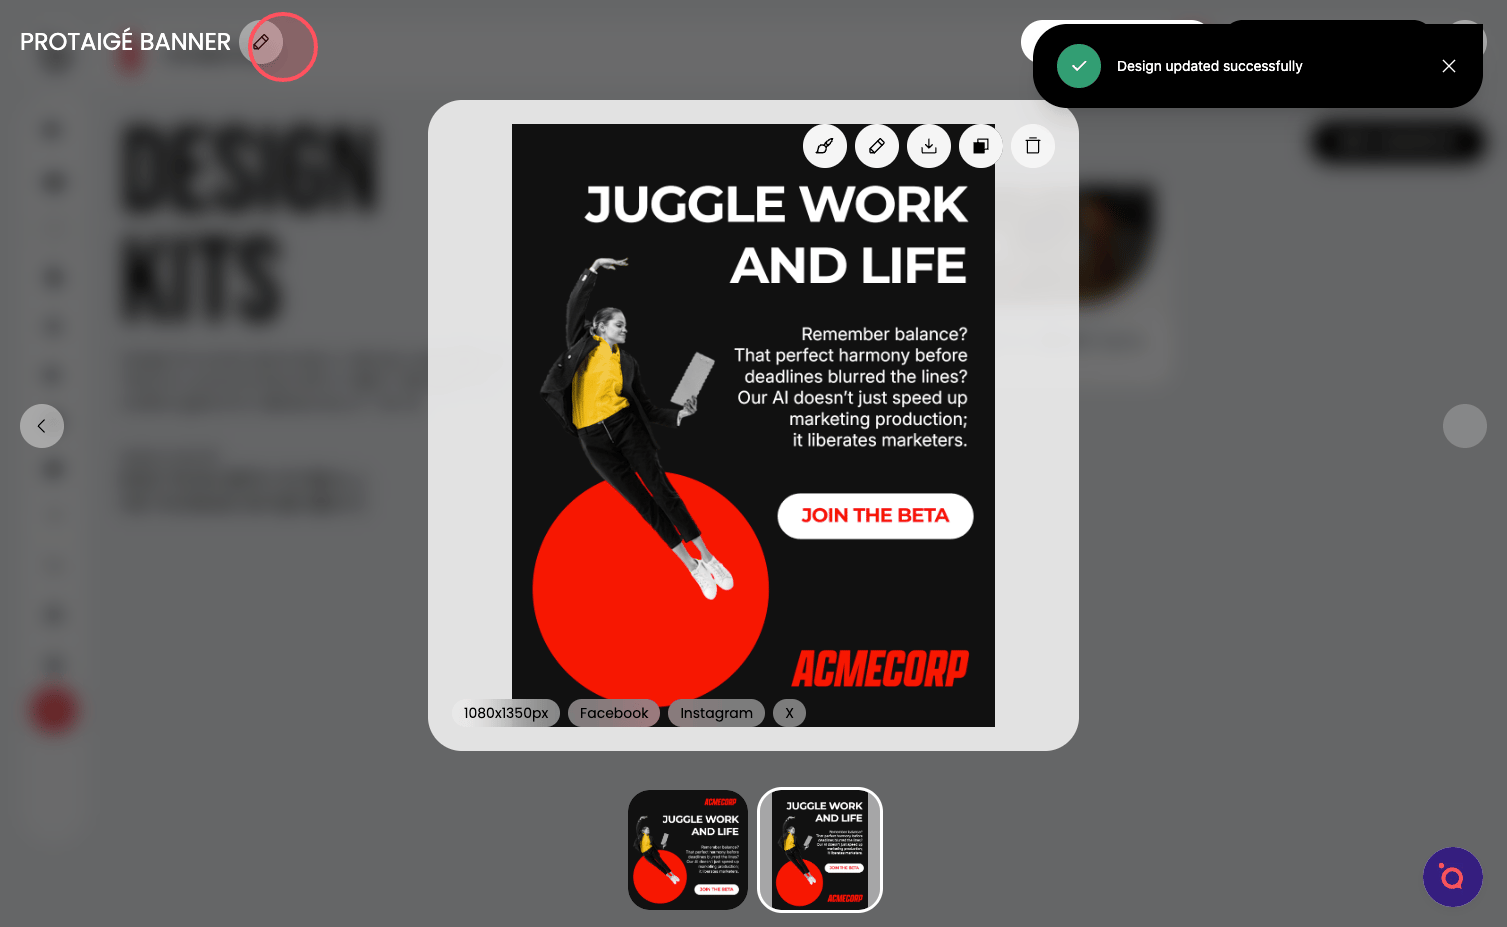
30. You can rename your entire kit here.